Did you know you can transform a simple mason jar into a thriving mini garden for under $5? Let’s get started with creating unique terrariums using everyday items. With just a 1-quart jar, some pebbles (about 2 inches deep), and a small succulent, you can build a sustainable ecosystem—a self-contained plant habitat. Stick around to uncover nine more creative, low-cost ideas for your home decor!
Contents
Mason Jar Mini Garden
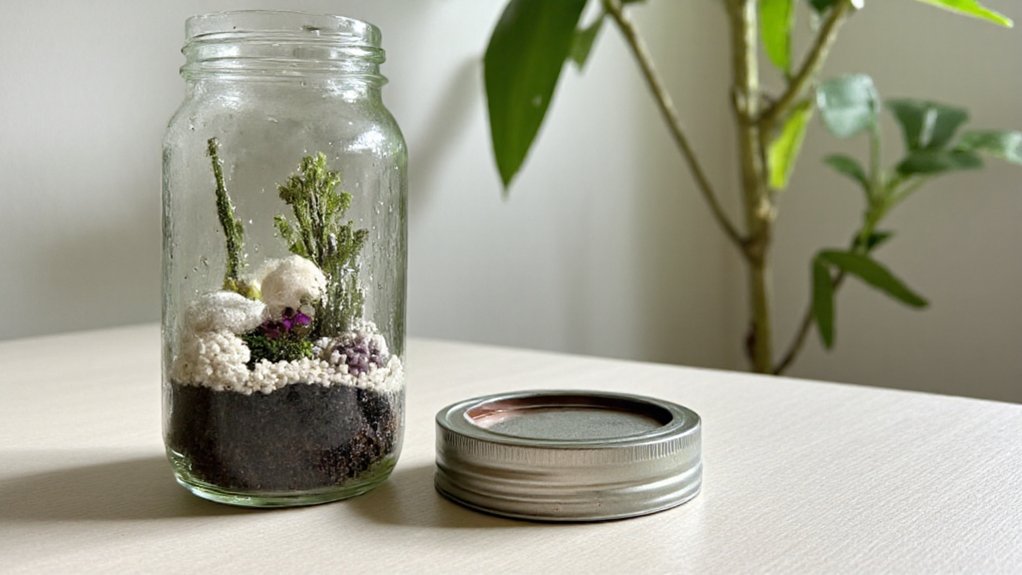
A Mason Jar Mini Garden is a simple and charming way to create a small-scale terrarium using a common household item. By repurposing a glass mason jar, you can craft a self-contained ecosystem that houses tiny plants, moss, and decorative elements. This concept is perfect for beginners due to its affordability, accessibility, and minimal space requirements, making it ideal for small apartments or desks.
To build a Mason Jar Mini Garden, start with a layer of pebbles or small rocks at the bottom for drainage, followed by a thin layer of activated charcoal to prevent mold and odors. Add a layer of potting soil, then carefully plant small, low-maintenance plants like succulents, air plants, or ferns. Finish with decorative touches such as miniature figurines or colorful stones, and seal the jar with its lid to maintain humidity. Place it in indirect sunlight and open the lid occasionally to allow fresh air circulation.
Thrifted Glassware Display
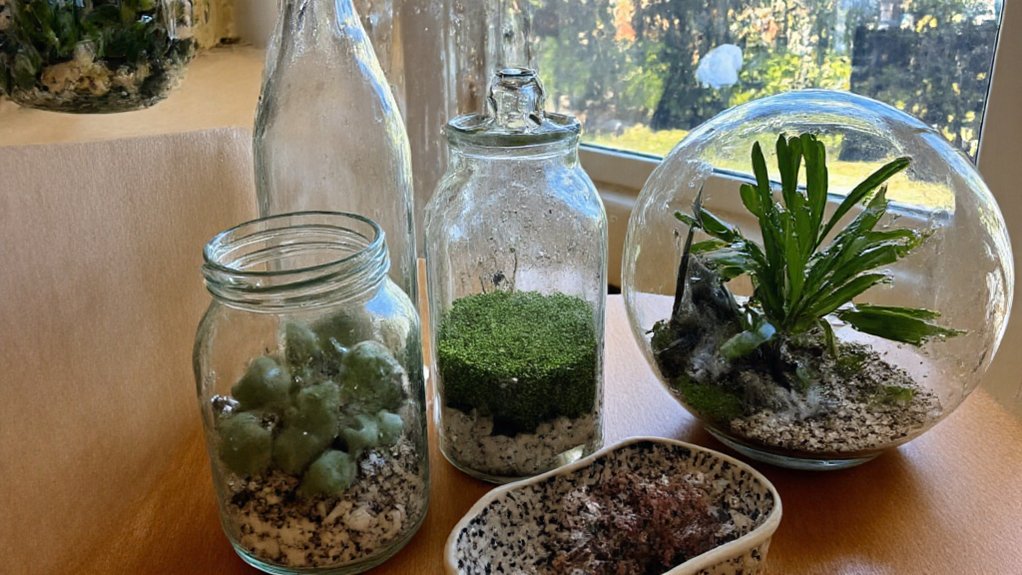
Thrifted glassware offers a budget-friendly and creative way to build unique terrariums for beginners. By scouring thrift stores or garage sales, you can find a variety of glass containers like old vases, jars, or even fishbowls that can be repurposed into charming mini ecosystems. These items often come with character and quirks, adding a personal touch to your terrarium design while keeping costs low.
To create a thrifted glassware display, make sure the container is clean and has a suitable shape for housing plants—opt for ones with a wide opening for easy access or a lid if you’re aiming for a closed terrarium. Layer the bottom with pebbles or gravel for drainage, add a barrier like moss or mesh to prevent soil from mixing, and then include a thin layer of potting mix suitable for your chosen plants, such as succulents or ferns. This approach not only recycles forgotten glassware but also transforms it into a stunning focal point for your home.
Recycled Bottle Biome

A Recycled Bottle Biome is an excellent and eco-friendly way for beginners to create a small-scale terrarium using materials you likely already have at home. By repurposing a clear plastic or glass bottle, you can build a self-contained ecosystem that requires minimal maintenance. Simply cut the bottle in half (if using plastic) or use a jar with a lid, add layers of pebbles for drainage, activated charcoal to prevent mold, potting soil, and small plants like moss or ferns that thrive in humid environments. Seal the container to create a closed system where moisture recycles through condensation, mimicking a natural water cycle.
This project is not only cost-effective but also a fun way to teach children or beginners about plant care and environmental sustainability. You can customize your biome by adding small figurines or rocks for decoration, making it a unique piece of living art. Just make sure the bottle is placed in indirect sunlight to avoid overheating, and monitor the moisture levels to prevent overwatering or drying out.
Teacup Tiny Landscape
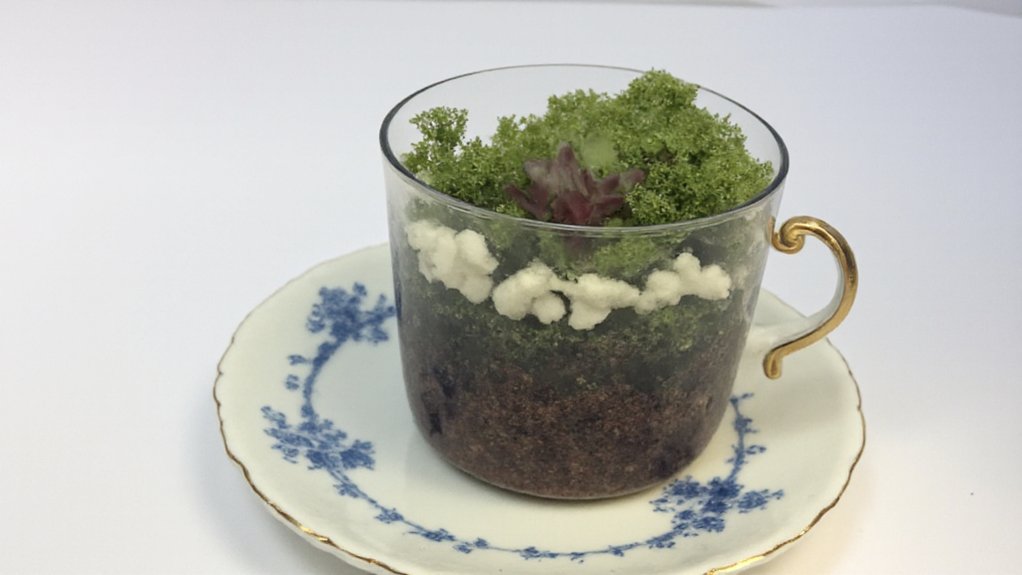
Teacup Tiny Landscapes are a charming and creative way to bring a miniature terrarium into small, everyday spaces. These tiny ecosystems are crafted inside teacups or similarly small containers, making them perfect for beginners who want to experiment with terrarium design on a micro scale. Using a teacup, you can layer materials like pebbles, activated charcoal, and potting soil, then add small plants such as moss, air plants, or miniature ferns to create a whimsical, self-contained garden.
The appeal of a Teacup Tiny Landscape lies in its simplicity and portability, allowing you to place it on a desk, windowsill, or shelf as a unique decorative piece. Since the space is limited, it requires minimal maintenance, though you must be mindful of watering to avoid over-saturation in such a small container. This concept is an excellent starting point for beginners to learn the basics of terrarium care while adding a personal touch to their living spaces.
Vintage Tin Container Setup
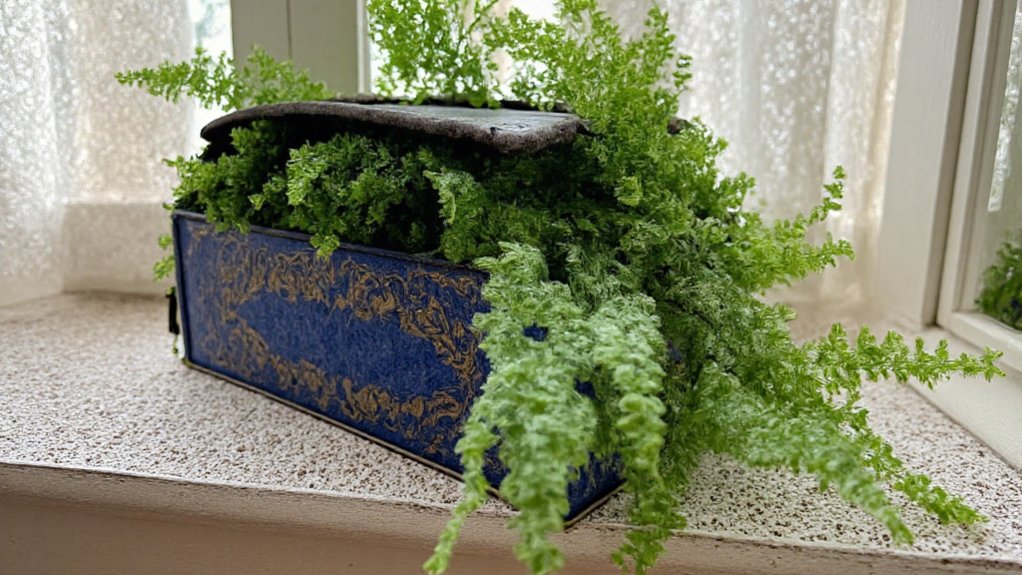
A vintage tin container setup offers a charming and unique way to create a small terrarium with a retro aesthetic. These containers, often found at thrift stores or flea markets, come in various shapes and sizes, making them ideal for housing tiny plants like mosses, air plants, or small ferns. To set one up, start by ensuring the tin is clean and free of rust or debris. Add a layer of pebbles or small rocks at the bottom for drainage, followed by a thin layer of activated charcoal to prevent mold and odors. Then, add a substrate suitable for your chosen plants, such as potting soil or sphagnum moss, and carefully plant your selections.
Since vintage tins are typically not airtight, they work best for plants that don’t require high humidity, unless you can seal the container or add a glass lid. Place the terrarium in indirect light to avoid overheating the metal, which could harm the plants. This setup is perfect for creating a nostalgic, decorative piece that adds character to any space while being an affordable and creative project for beginners.
Hanging Bulb Terrarium
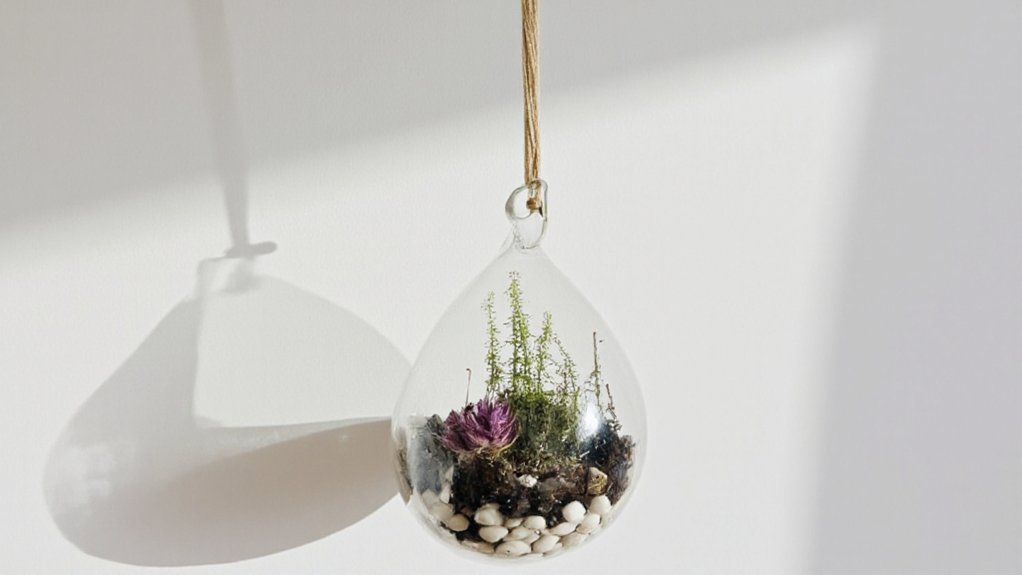
A hanging bulb terrarium is a creative and stylish way to bring a miniature garden into your living space. These terrariums are typically made using a clear glass bulb or orb that can be suspended from the ceiling or a stand, allowing for a unique display of small plants like air plants, moss, or tiny succulents. The design not only saves space but also adds a modern, artistic touch to home decor, making it an ideal choice for beginners looking to experiment with terrarium concepts.
To create a hanging bulb terrarium, you’ll need a glass bulb with an opening, a hanging mechanism like a rope or chain, and basic materials such as pebbles, activated charcoal, and potting mix. Start by layering the base materials for drainage and moisture control, then carefully add your chosen plants using a spoon or tweezers for precision. Once assembled, hang the terrarium in a spot with indirect sunlight to guarantee the plants thrive while maintaining the aesthetic appeal of the suspended design.
Repurposed Fish Bowl Habitat
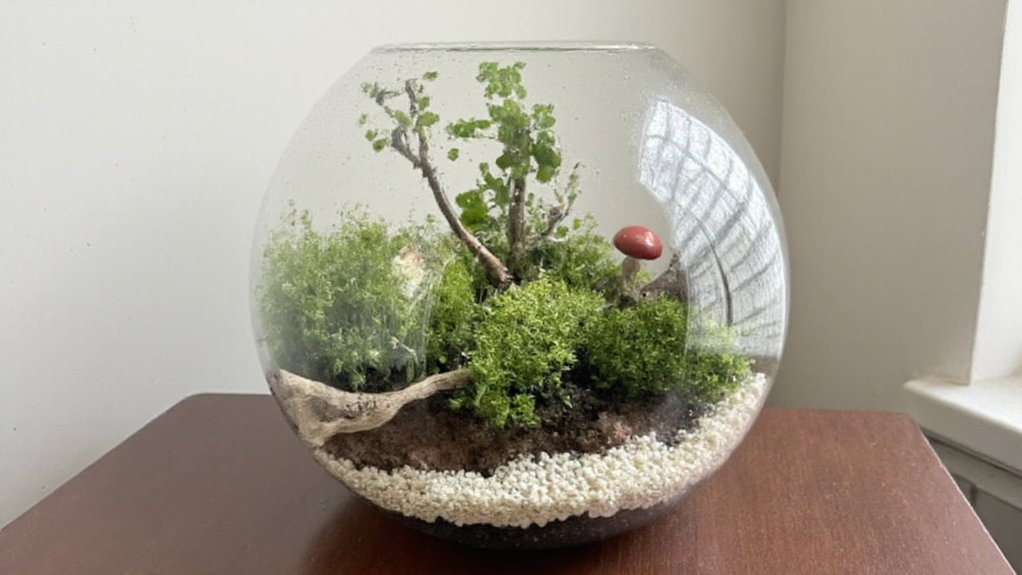
A repurposed fish bowl habitat is an excellent and creative way to start a small terrarium for beginners. By using an old or unused fish bowl, you can create a miniature ecosystem that is both visually appealing and easy to maintain. The clear glass of the fish bowl allows for a full view of the plants and decorations inside, making it a charming centerpiece for any space. Simply clean the bowl thoroughly to remove any residue, then layer the bottom with small pebbles or gravel for drainage, followed by a thin layer of activated charcoal to prevent mold, and finally, add potting soil suitable for your chosen plants.
Select small, humidity-loving plants like mosses, ferns, or air plants that thrive in the enclosed environment of a fish bowl. You can also add decorative elements such as tiny figurines, rocks, or driftwood to enhance the aesthetic appeal. Since fish bowls often lack lids, they are best suited for open terrariums, which require less frequent watering and are ideal for succulents or other plants that prefer drier conditions. Place the terrarium in indirect sunlight and monitor the moisture levels to make sure the plants remain healthy, creating a delightful and low-maintenance green space in your home.
DIY Wooden Box Enclosure
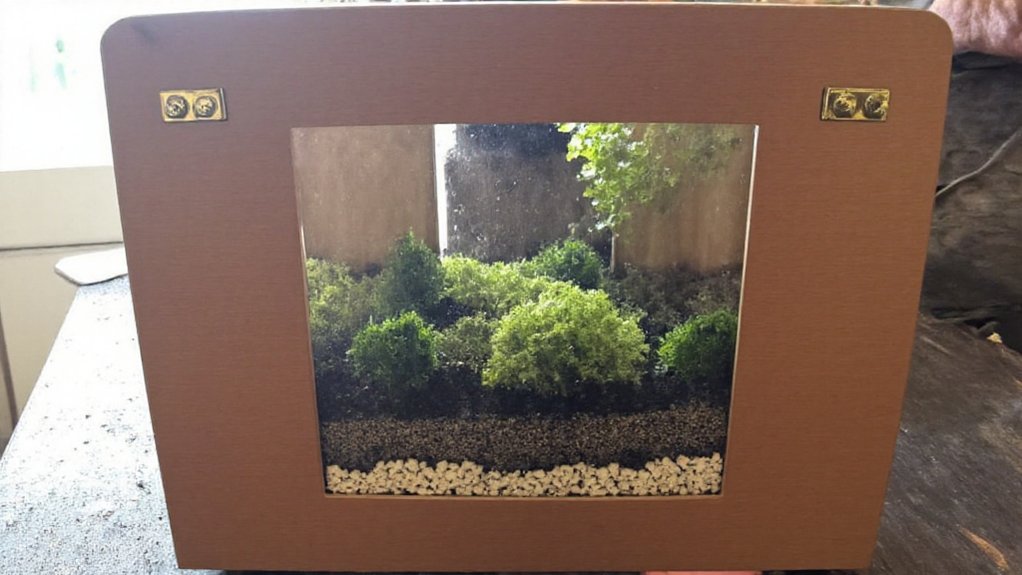
Creating a DIY wooden box enclosure for a terrarium is an excellent way for beginners to craft a custom habitat for their plants or small reptiles. Start by selecting a sturdy, untreated wooden box or constructing one using plywood or cedar, guaranteeing it’s free from harmful chemicals that could affect the terrarium’s inhabitants. Cut a piece of glass or clear acrylic to fit as a lid or front panel for visibility and to maintain humidity, securing it with hinges or a sliding mechanism for easy access. Drill small ventilation holes on the sides to guarantee proper air circulation while preventing excessive moisture loss.
Line the interior with a waterproof material, such as a plastic liner or pond liner, to protect the wood from moisture and prevent leaks. Add a layer of drainage material like pebbles at the bottom, followed by a barrier like mesh or fabric, and then substrate suitable for your plants or animals. This setup not only provides a natural aesthetic but also allows for customization in size and design to fit your space and needs.
Upcycled Plastic Container Oasis

An upcycled plastic container oasis is a creative and sustainable way to build a terrarium using everyday items that might otherwise be discarded. By repurposing clear plastic containers, such as large water bottles, food storage boxes, or packaging materials, you can create a miniature ecosystem for small plants like mosses, ferns, or air plants. This approach not only reduces waste but also provides an affordable entry point for beginners who want to experiment with terrarium design without investing in specialized equipment.
To create this oasis, simply clean and dry the container, then layer the bottom with small pebbles or gravel for drainage, followed by a thin layer of activated charcoal to prevent mold and odors. Add a substrate like potting soil, and plant your chosen greenery, ensuring they are small enough to fit comfortably within the container. Seal the lid or leave it slightly open for ventilation, depending on the humidity needs of your plants, and place the terrarium in indirect sunlight. This upcycled setup is perfect for learning the basics of terrarium care while embracing an eco-friendly mindset.
Broken Pottery Patch
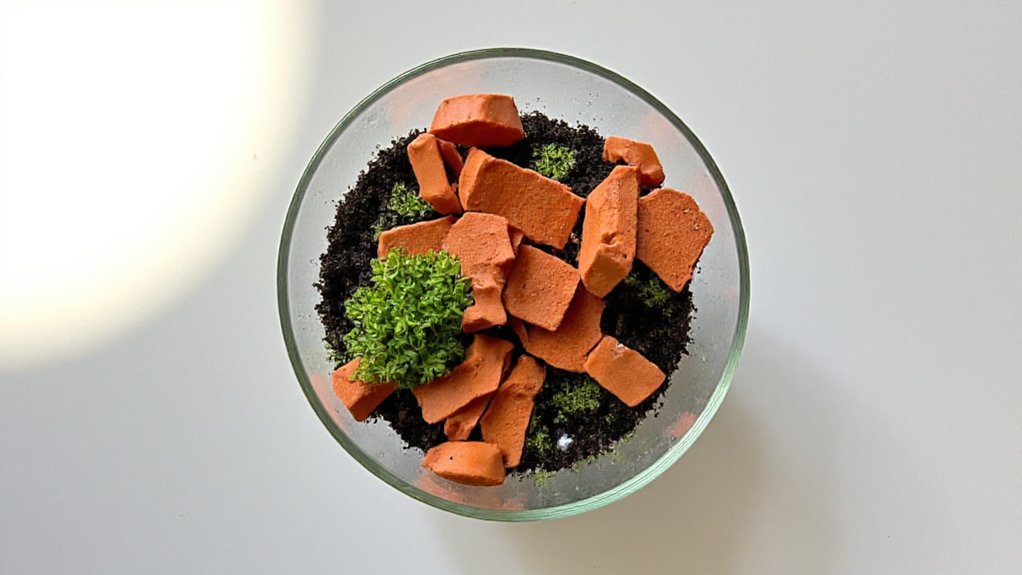
The Broken Pottery Patch is a creative and practical concept for beginners building a terrarium. It involves using pieces of broken pottery or ceramics as a drainage layer at the bottom of the terrarium. This layer helps prevent root rot by allowing excess water to collect away from the plant roots, ensuring proper drainage in a container that typically lacks holes.
To create a Broken Pottery Patch, simply gather small, clean pieces of broken pottery and place them evenly at the base of your terrarium container. This method not only recycles materials but also adds a unique, rustic aesthetic to your miniature garden. Be sure to cover the pottery layer with a barrier, like moss or a mesh fabric, to prevent soil from mixing with the drainage material.