Seeing a thriving plant wilt overnight can be jarring, yet there’s hope to turn it around. Don’t give up; start by checking the soil’s moisture with your finger, about 1-2 inches deep. If it’s bone-dry, water it slowly until the excess drains out within 5 minutes. Curious about the next steps to nurse it back to health? Stick around for practical tips to save your green buddy.
Assessing Soil Moisture
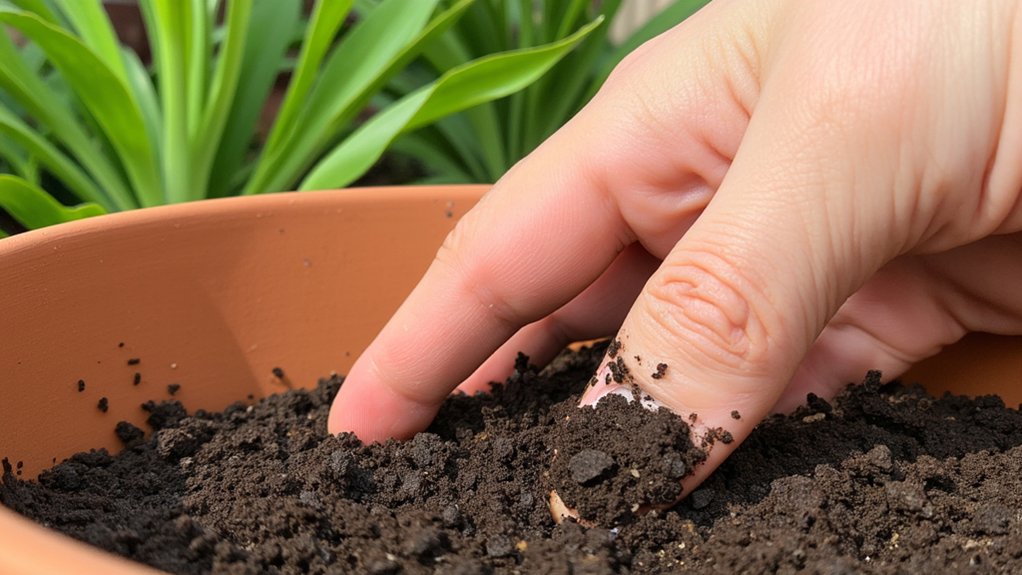
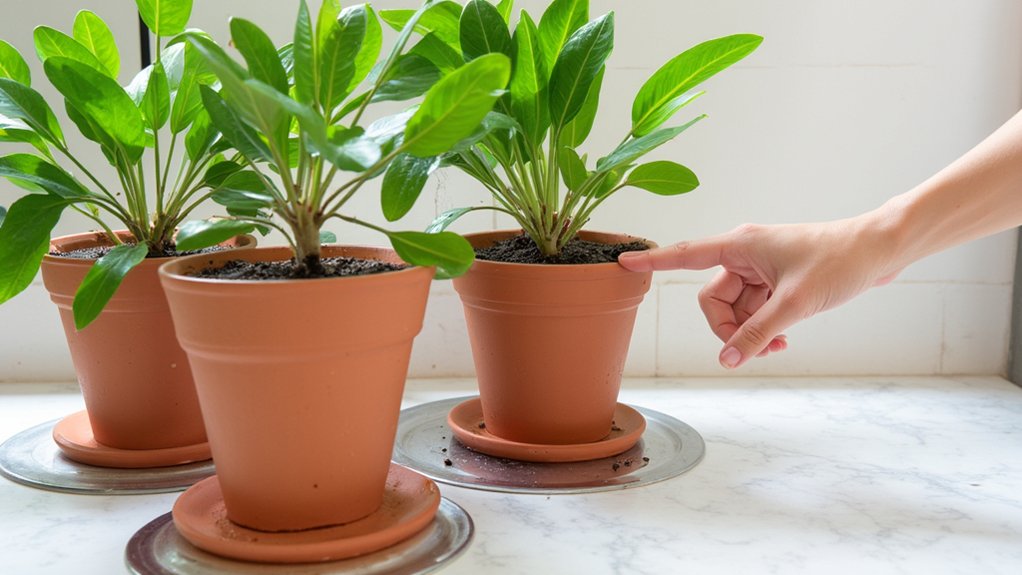
Hey, let’s kick things off by checking your plant’s soil moisture, an essential first step. Grab a finger, stick it about 1-2 inches into the soil, and feel around. Is it bone-dry, soggy, or just right? This quick test tells you a lot.
Now, if it’s dry as a desert, your plant’s likely thirsty. Water it slowly until the soil feels moist, not drenched—aim for about a cup for small pots. Wait 10 minutes, then check if water’s pooling at the bottom. Drain any excess to avoid issues.
If it’s overly wet, hold off watering for a few days. Let the top inch dry out before you add more. Keep checking every 3-4 days to maintain balance. You’ve got this!
Checking Root Health
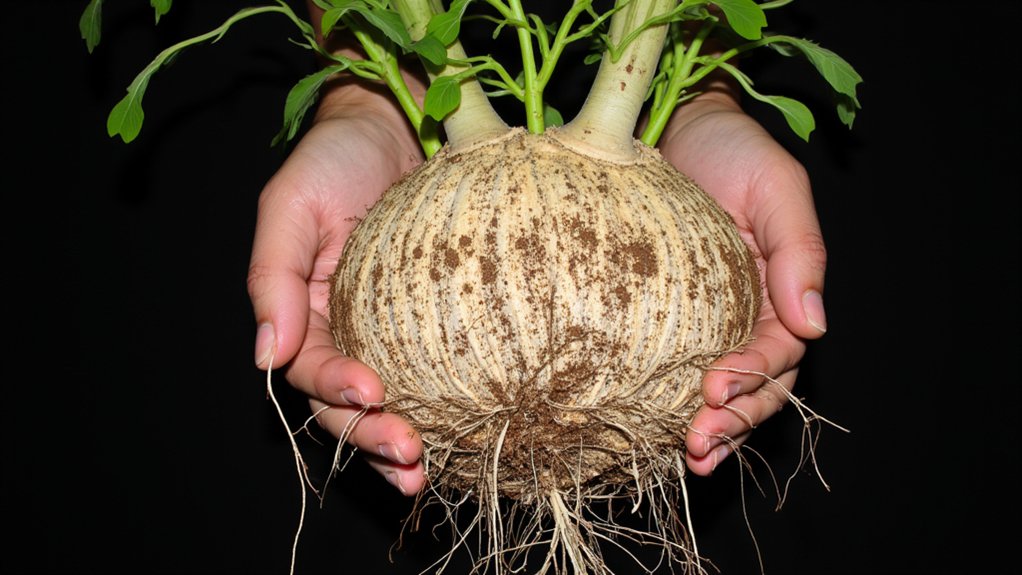
Three critical steps can guide you in checking your plant’s root health, so let’s dive right in. First, gently remove your plant from its pot. Tilt it sideways, tap the bottom, and ease the root ball out with care.
Next, inspect the roots closely for color and texture. Healthy roots are usually white or light tan, firm to the touch, not mushy. If you spot black, slimy, or smelly roots, that’s a sign of rot—yikes, not good. Use scissors to trim off any damaged parts, cutting about 1-2 inches above the rot.
Finally, check the root density. If they’re circling tightly, loosen them with your fingers. Repot if needed, giving roots room to grow, about 2-3 inches of space.
Adjusting Light Exposure
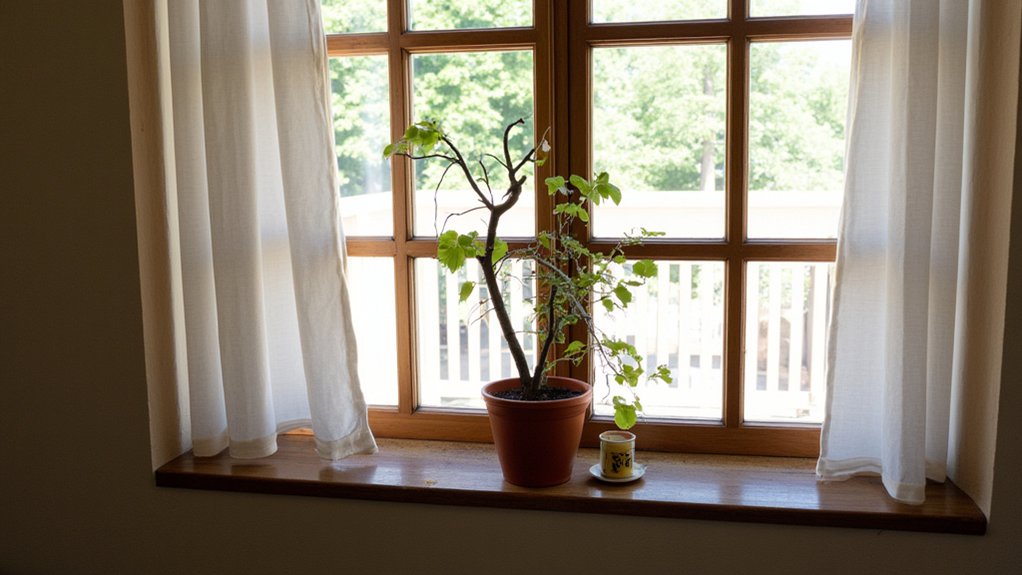
Let’s shift focus from root care to another key factor in reviving your struggling plant: light exposure. Plants crave the right amount of light, and too much or too little can stress them out.
Start by observing where your plant sits. Is it in direct sun for over 6 hours, or stuck in a dim corner with less than 2 hours of light? Move it to a spot with indirect sunlight, like near a north-facing window, for 4-6 hours daily. Watch for signs of improvement over 3-5 days.
If it’s still looking sad, try adjusting again. Maybe shift it a foot closer to the window, or use a sheer curtain to filter harsh rays. Keep tweaking until you nail the sweet spot!
Pruning Dead Leaves
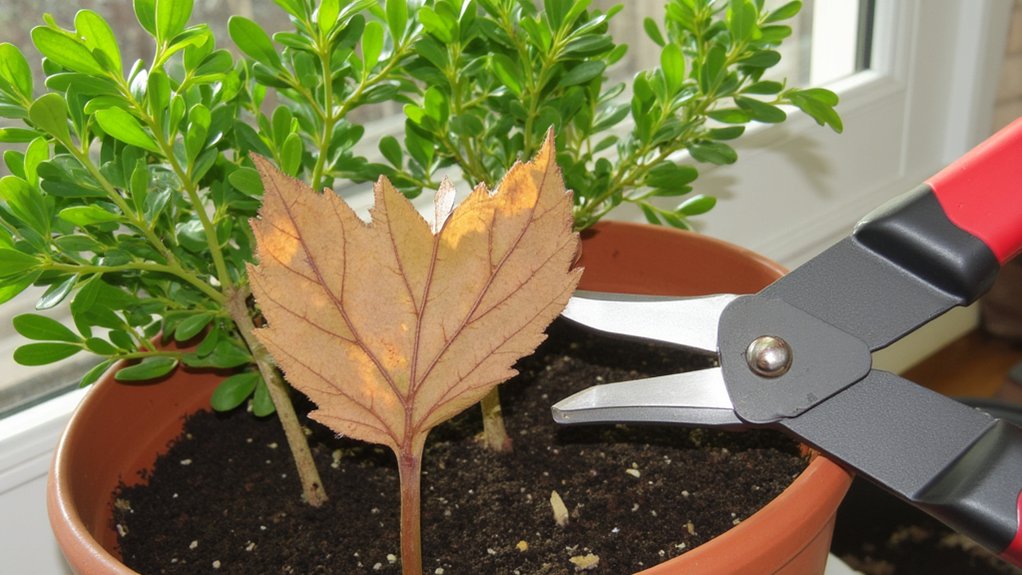
Now, turn your attention to pruning dead leaves, a simple yet essential step in reviving your plant. Grab a pair of clean, sharp scissors or pruning shears. Don’t use anything dull; it’ll crush the stems.
First, inspect your plant closely for leaves that are brown, crispy, or wilted. Cut these off at the base, about 1/4 inch above where they meet a healthy stem or node. Be precise, and don’t yank or tear; that can harm the plant further. Dispose of the clippings right away to avoid pests.
This process, done every few weeks, helps your plant focus energy on new growth. It’s like giving it a fresh start, so don’t skip it. Keep those tools handy for regular trims!
Providing Balanced Fertilizer
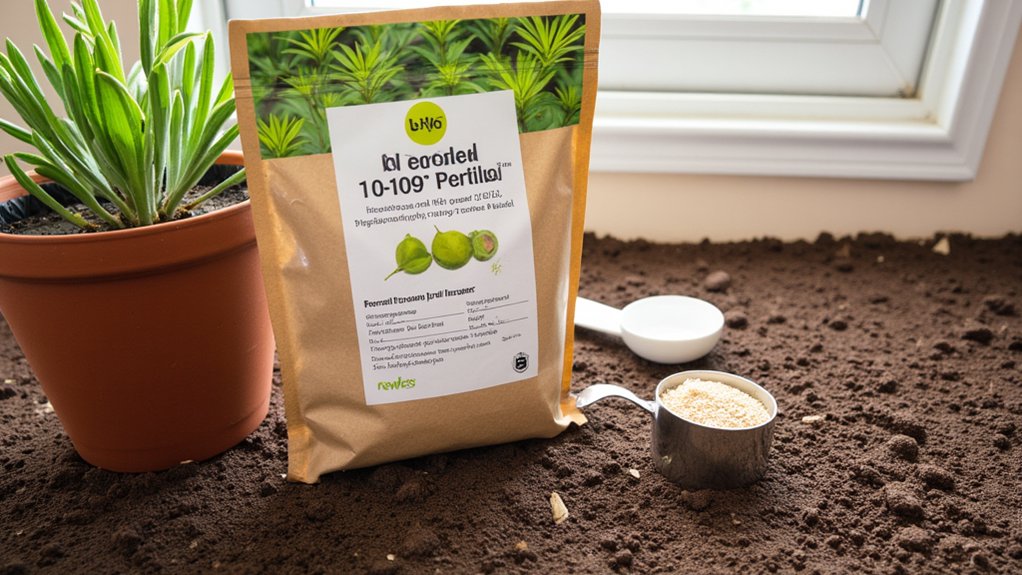
Several key steps can help your struggling plant bounce back, and providing balanced fertilizer is a big one. You’ve gotta give your plant the nutrients it’s craving, especially if it’s looking weak. A balanced fertilizer, like a 10-10-10 mix, offers equal parts nitrogen, phosphorus, and potassium, supporting overall growth.
Start by checking the label for dosage instructions, usually about a teaspoon per gallon of soil, applied every 4-6 weeks. Mix it into the soil gently, ensuring it’s evenly spread, so roots can absorb it. Don’t overdo it—too much can burn the plant, worsening its condition. Stick to this schedule, and you’ll likely see greener leaves and stronger stems in a few weeks. Keep at it, champ!
Monitoring Watering Frequency
Hey, while feeding your plant the right nutrients is a solid step, don’t overlook how often you’re watering it. Watering frequency can make or break your plant’s recovery, so let’s get it right. Check the soil daily by sticking your finger about an inch deep. If it’s dry, give it a drink; if it’s damp, hold off.
Most indoor plants need water every 5-7 days, but adjust based on your environment. Hot, dry rooms might mean watering every 3-4 days, while humid spots could stretch to 10. Use room-temperature water, about 8-16 ounces per session, depending on pot size. Pour slowly at the base until it drains slightly from the bottom, ensuring even moisture. Keep a log to track patterns!
Repotting With Fresh Soil
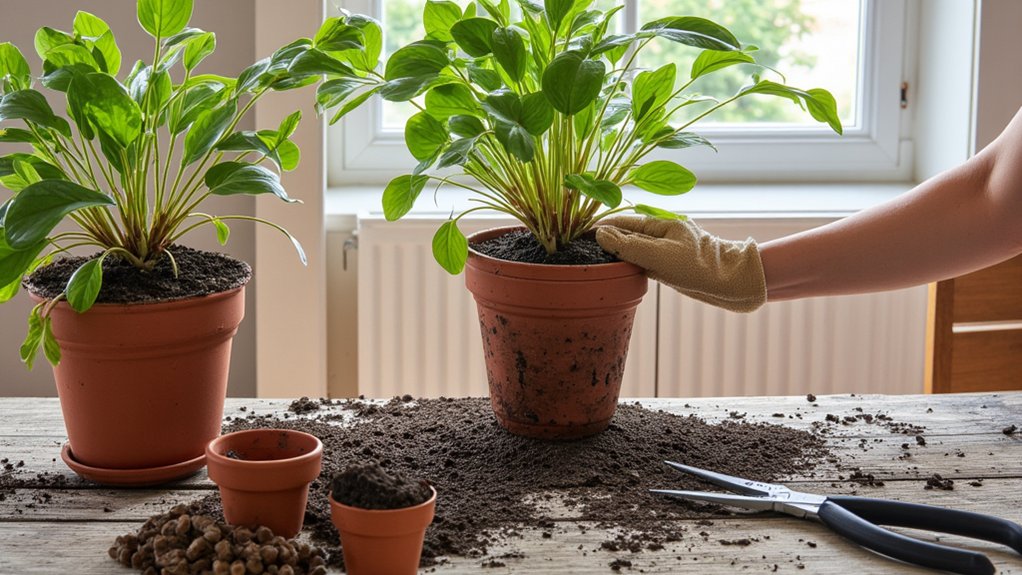
While watering routines are critical, don’t ignore the impact of fresh soil on your plant’s revival. If the soil’s old and compacted, it can’t hold nutrients or water well. So, let’s get repotting!
First, grab a pot that’s 1-2 inches larger in diameter than the current one. Make sure it has drainage holes, okay? Fill it halfway with fresh, well-draining potting mix—look for one with perlite or sand.
Now, gently remove your plant, shake off old soil, and check the roots for rot. Trim any mushy bits with clean scissors. Place it in the new pot, add soil around it, and press lightly. Water it just enough to settle the soil, about ¼ cup for small pots. See the difference in a week!
Controlling Pest Infestation
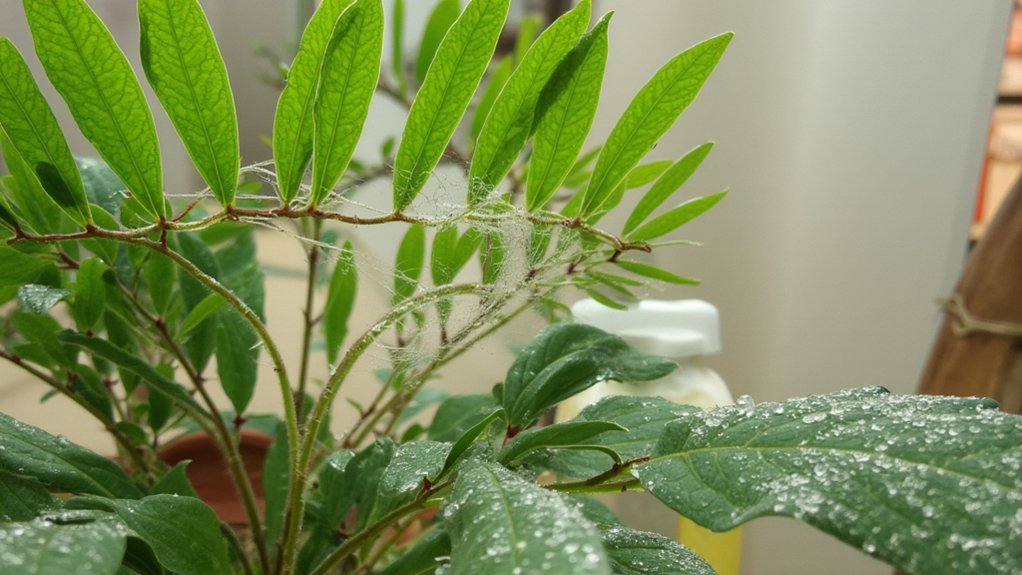
After tackling soil issues, let’s plunge into another sneaky culprit: pests. They’re tiny terrors that can wreck your plant’s health, fast. Look closely at leaves and stems for signs like sticky residue, tiny holes, or webbing.
Start by isolating your plant to stop pests from spreading to others nearby. Next, mix a solution of 1 teaspoon dish soap with 1 quart of water, pour it into a spray bottle, and mist the plant thoroughly, especially under leaves. Wait 15 minutes, then rinse with lukewarm water to wash pests away. Repeat this every 3-5 days until you see no more bugs.
Check daily for returning critters, and don’t slack off. Persistence pays when you’re battling these sneaky invaders.
Enhancing Humidity Levels
Three key factors often zap a plant’s vigor, and humidity is one you can’t ignore. Many houseplants, especially tropical ones, crave moist air to thrive. If your home’s too dry, you’ll see wilting or crispy leaves fast.
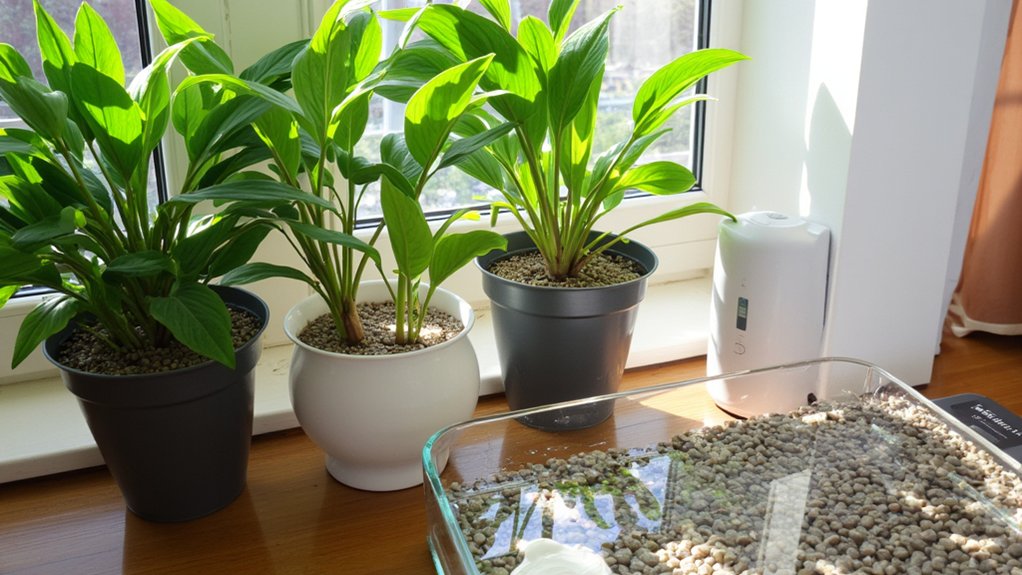
Boost humidity by grouping plants together; their transpiration creates a mini moist zone. Place a tray of water with pebbles near them, ensuring pots sit above, not in, the water. Mist leaves daily with a spray bottle, but don’t overdo it—aim for a light coating. For precision, grab a humidifier and set it to maintain 50-60% humidity, checking levels with a hygrometer.
Keep at it consistently, and you’ll notice perkier leaves within a week. Stick to these tricks, and your plant’s got a fighting chance!
Regulating Temperature Conditions
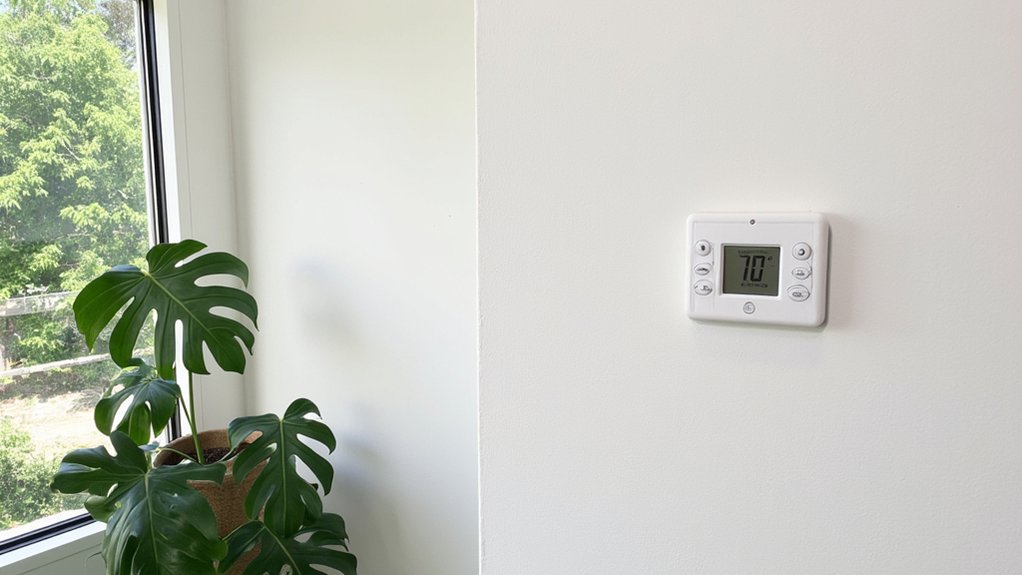
Since temperature swings can stress your plant, let’s tackle how to keep conditions just right. Most houseplants thrive between 65-75°F, so aim for that sweet spot. Don’t place them near drafty windows or heating vents, as sudden changes can shock their system.
Check the temperature with a simple thermometer near your plant’s spot. If it’s too cold, below 60°F, move it to a warmer room, ideally within a day. For hot zones above 80°F, shift it to a cooler area, away from direct sun, and do this promptly to avoid leaf burn.
Lastly, maintain consistency. Avoid frequent moves, and monitor daily for a week to guarantee stability. You’ve got this—keep it steady!