Did you know that sudden temperature drops can damage your plants’ roots overnight, even if the leaves look fine? Don’t worry, you’ve got options to shield them. Start with a 2-4 inch layer of organic mulch around the base, keeping it 1-2 inches from stems to avoid rot. Curious about more tricks, like using frost blankets or windbreaks? Stick around for practical tips to safeguard your garden!
Contents
Mulching Plants
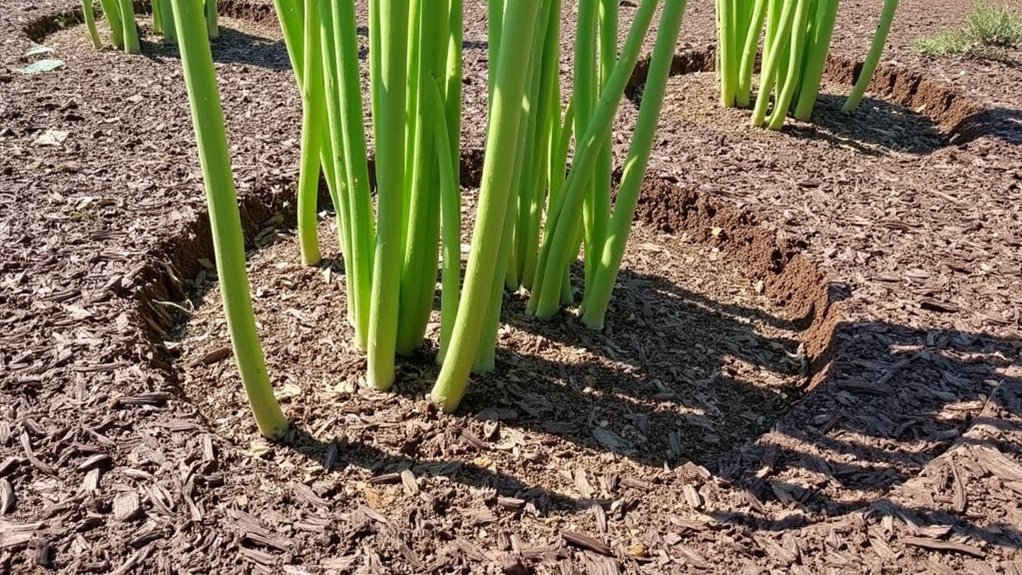
Hey, let’s kick off with a solid way to shield your plants from those pesky temperature drops—mulching! It’s a simple trick, but it works wonders. Grab some organic mulch, like straw, bark, or compost, and get started.
Spread a 2- to 4-inch layer around the base of your plants, keeping it a few inches from the stems. This barrier traps heat, insulates roots, and prevents rapid temperature swings. Make sure you apply it before the first cold snap, ideally in late fall.
Check the mulch every few weeks, topping it up if it thins out. Don’t skimp on coverage; bare spots won’t help. With this, you’re giving your plants a cozy buffer against the chill!
Using Frost Blankets
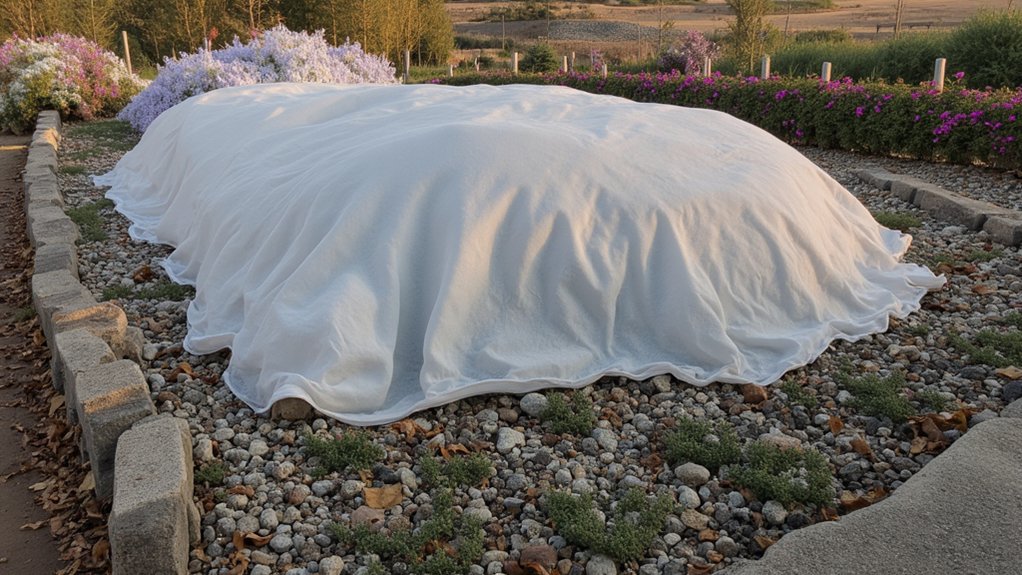
Another solid trick to protect your plants from temperature drops is using frost blankets. These lightweight, breathable fabrics act as a cozy shield. You’ll find them at most garden stores, often in rolls or pre-cut sizes.
Grab a frost blanket that’s large enough to cover your plants completely, ideally with 6-12 inches of extra fabric on each side. Drape it over your plants in the late afternoon, before the chill hits. Secure the edges with rocks or garden stakes so it doesn’t blow away.
Make sure there’s a bit of slack in the fabric, allowing air to circulate underneath. Check your plants after 48 hours; remove the blanket during warmer daylight to prevent overheating. Easy, right?
Installing Protective Cloches
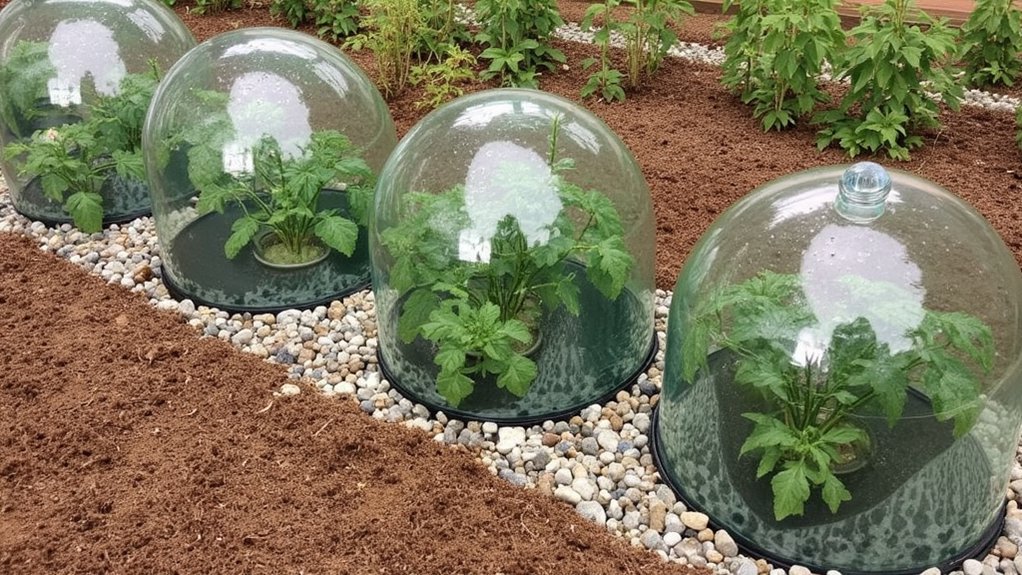
Let’s plunge into installing protective cloches, a handy way to shield your plants from sudden cold snaps. You’ve got options like glass, plastic, or even DIY versions, so pick what suits your budget.
First, measure your plants’ height and width, ensuring the cloche covers them fully, ideally with 2-3 inches of clearance. Place it over each plant, pressing the edges into the soil to block cold air. If it’s windy, weigh down the base with small rocks or bricks.
Check your cloches daily, especially on sunny days, to prevent overheating—lift them for an hour if temps inside hit 75°F. With these steps, you’re giving your plants a cozy barrier against those unexpected chills. Easy, right?
Watering Before Frost
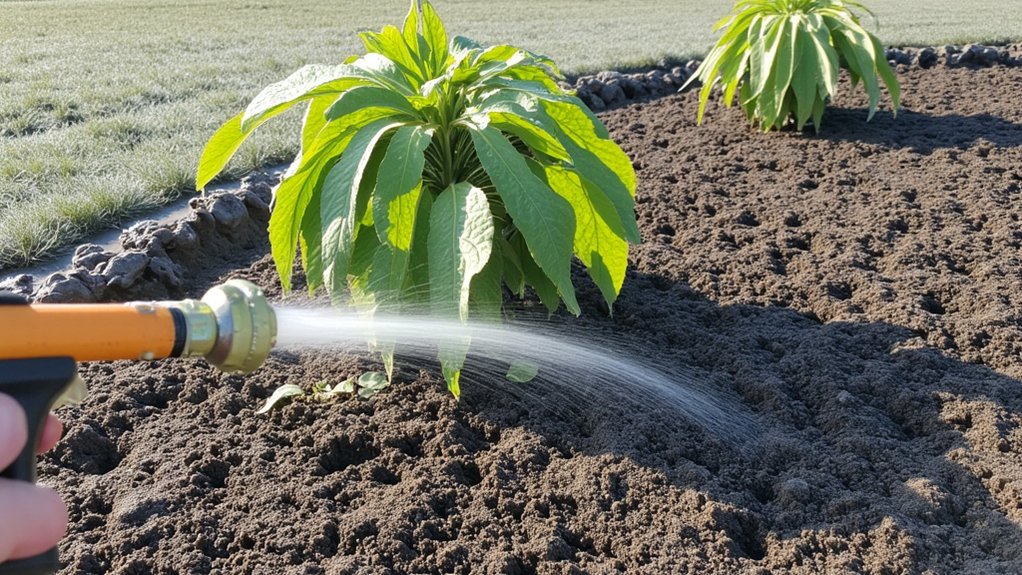
Before a frost hits, make sure you water your plants thoroughly to help them endure the cold. Wet soil holds heat better than dry soil, so you’re giving your plants a cozy buffer. Aim to water early in the day, ideally before 10 a.m., when the ground can absorb warmth.
Now, don’t just sprinkle a little; soak the soil around the roots, about 6-8 inches deep. Use a hose or watering can, checking that the water seeps down properly. This keeps the roots hydrated and less likely to freeze overnight.
Building Windbreaks
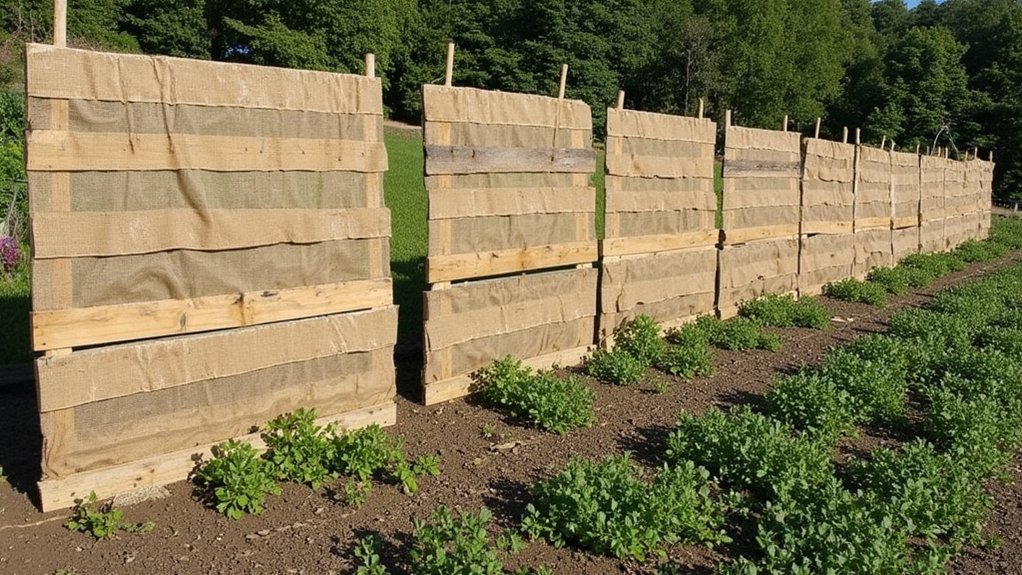
While you’ve got watering down, it’s time to shield your plants from biting winds with windbreaks. These barriers can cut wind speed, protecting delicate leaves and stems. Don’t worry, it’s simpler than it sounds!
Start by grabbing sturdy materials like burlap, wooden planks, or even old pallets. Set up a barrier about 2-3 feet high, placing it on the windward side—usually the north or west—of your garden. Secure it with stakes driven 6 inches into the ground, ensuring it won’t topple over.
For small plants, wrap burlap around a frame of sticks, creating a mini shield. Check weekly for damage, and adjust as needed. With this setup, you’re giving your plants a fighting chance against harsh gusts!
Adding Heat Sources
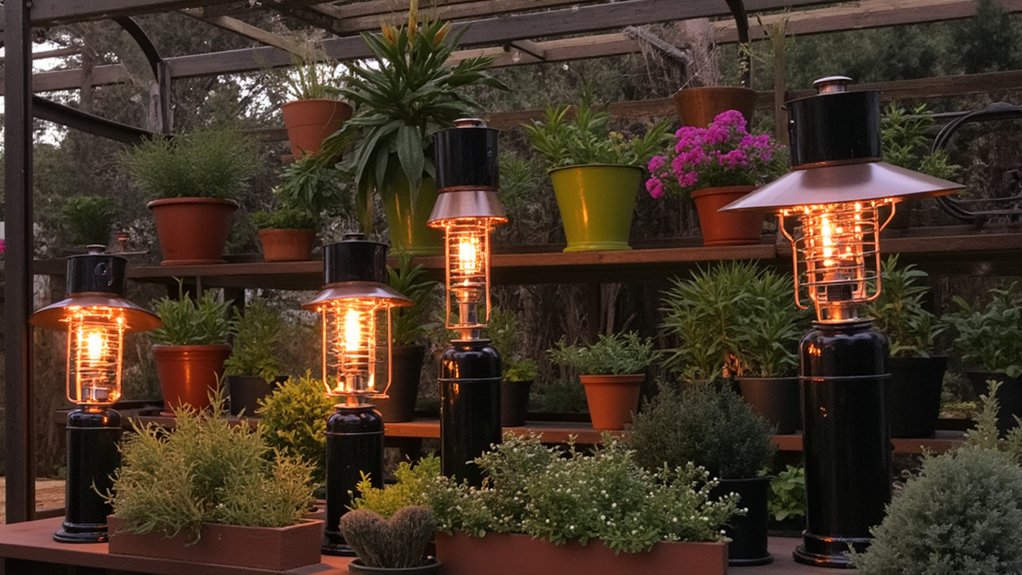
As the temperature plummets, it’s time to crank up the warmth for your plants with some clever heat sources. Don’t let the cold sneak up on you; act fast to keep those greens cozy. You’ve got options, so let’s explore.
Start with heat lamps or outdoor-rated string lights, positioning them 12-18 inches above your plants. Check they’re secure, and plug them into a weatherproof outlet to avoid hazards. Turn them on at dusk, running through the night until temps rise above 40°F.
Another trick? Use water jugs painted black, filled with water, and placed near plants. They’ll absorb heat during the day, slowly releasing warmth overnight. Monitor temps daily, adjusting as needed, to keep frost at bay.
Creating Mini Greenhouses
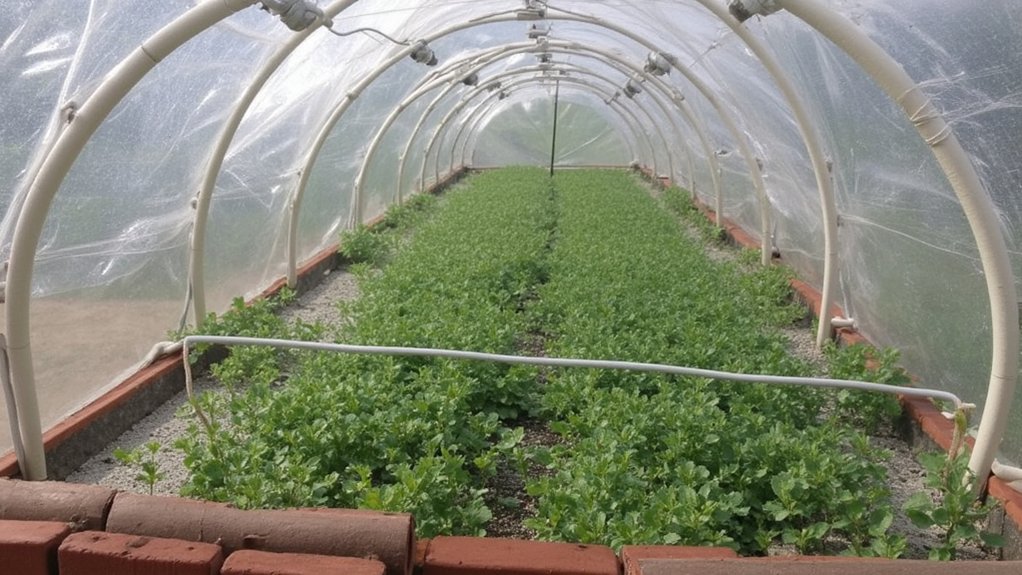
Hey, let’s plunge into crafting mini greenhouses to shield your plants from those chilly nights. You’ve got this, and it’s simpler than you’d think!
Start by grabbing some clear plastic sheeting or old windows, anything transparent, really. Cut the plastic to fit over a frame—use PVC pipes or wooden stakes, about 3 feet high, bent into a hoop over your plants. Secure it tightly with zip ties or rope, ensuring no gaps let cold air sneak in.
Next, anchor the edges with heavy rocks or bricks to keep it steady against wind. Check daily for condensation; if it builds up, lift a corner for an hour to ventilate. This setup traps heat, keeping your plants cozy overnight!
Applying Row Covers

Before the cold snaps hit, let’s get your plants bundled up with row covers for solid protection. These lightweight fabrics act like a cozy blanket, shielding your crops from frost. You’ll find them at garden stores, often in rolls or pre-cut sheets.
Start by measuring your garden beds; cut the row cover to fit, leaving 6-12 inches of extra fabric on each side. Drape it over your plants loosely, so they’ve got room to breathe. Secure the edges with rocks, bricks, or garden staples to keep it from blowing away in gusty winds.
Check the forecast, and apply covers before temperatures drop below 32°F, ideally in late afternoon. Remove them during warmer days to prevent overheating. Easy, right?
Elevating Container Plants
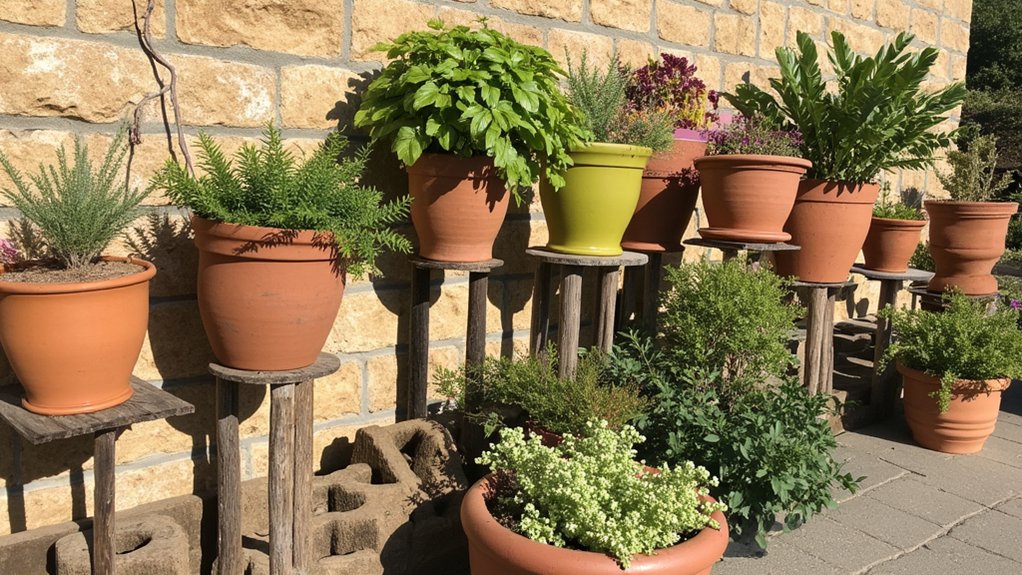
While row covers shield garden beds, let’s tackle protecting your potted plants by elevating container plants. You’ve gotta keep those pots off the cold ground, since soil freezes faster than air. Elevating them reduces heat loss, so grab some sturdy stands or cinder blocks.
Place your containers at least 12-18 inches above the ground, ideally on a south-facing patio for extra warmth. Check that the stand holds steady—wobbly pots can tip in windy weather. This simple lift, done before a frost hits, can save roots from freezing overnight.
Don’t wait for the first cold snap; act now. Inspect your setup weekly, ensuring drainage holes aren’t clogged, and adjust heights if needed. You’ve got this—keep those plants safe!
Choosing Cold-Hardy Varieties
As you gear up to protect your plants, let’s explore picking cold-hardy varieties that can handle chilly weather. You’ve gotta choose plants rated for your USDA Hardiness Zone, which you can check online. Look for labels or tags specifying zones, like 3 to 5, ensuring they survive temps down to -40°F.
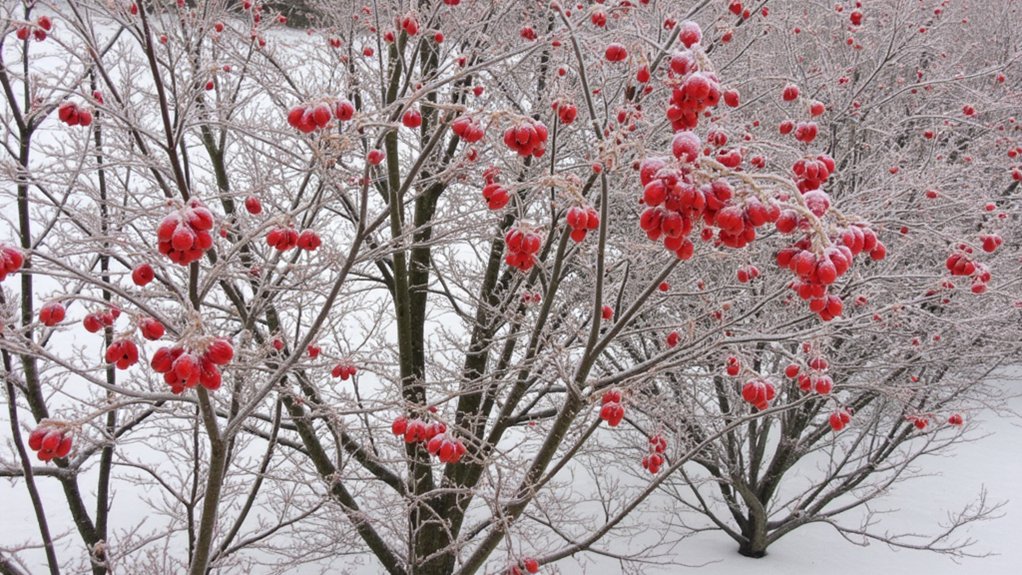
Start by researching perennials or shrubs known for cold tolerance, such as winterberry or Siberian iris. Check with local nurseries for recommendations tailored to your area’s microclimate. They often know what thrives best.
When planting, do it in early fall, at least 6 weeks before the first frost. This gives roots time to settle. Stick to these varieties, and you’ll dodge most cold-snap disasters without extra hassle.