Hey, let’s talk about getting your garden ready for sudden weather shifts. Unexpected frosts or heatwaves can stress your plants, so you’ve gotta act fast. Start with a solid plan, like mulching to protect roots and keep soil moist. There’s a bunch of innovative techniques, from organic bark to biodegradable options, that can save the day. Stick with me to explore the best ways to shield your garden!
Contents
Innovative Mulching Techniques
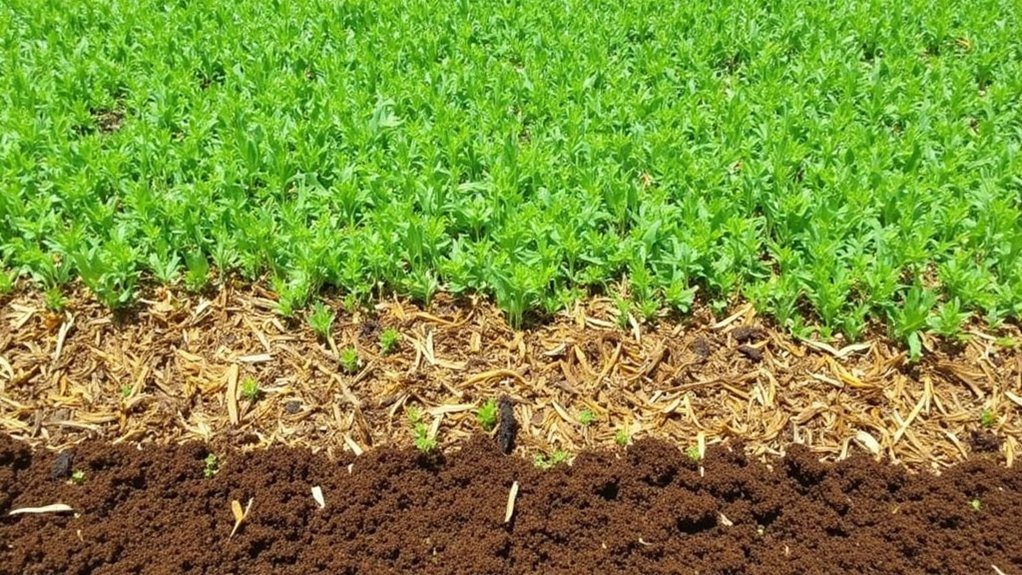
Hey, let’s plunge into some innovative mulching techniques to protect your garden from wild weather swings. You’ve gotta try using straw mixed with grass clippings. This combo, applied 3 inches thick, insulates soil against sudden temperature drops.
Start by spreading a 2-inch layer of straw over your garden beds, especially around tender plants. Then, top it with 1 inch of fresh grass clippings for extra moisture retention. Do this right after watering, ideally in early morning, to lock in hydration.
Another trick? Use shredded leaves as a lightweight mulch. Collect dry leaves, shred them with a lawnmower, and apply a 4-inch layer around shrubs. Reapply every two weeks during stormy seasons to keep soil stable and roots safe.
Organic Bark Mulch
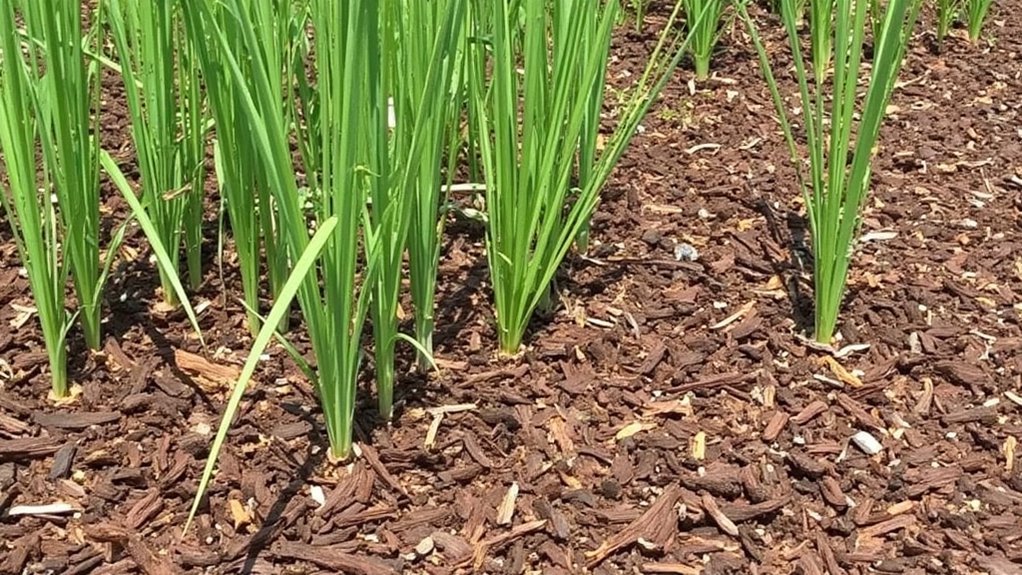
Gardeners, let’s plunge into the benefits of organic bark mulch for weathering those unpredictable climate shifts. This stuff’s a game-changer, trust me. It acts as a protective barrier, insulating soil against sudden temperature swings.
Spread a 2- to 4-inch layer of bark mulch around your plants, keeping it 3 inches from stems to prevent rot. It retains moisture, so you won’t need to water as often during dry spells. Plus, it suppresses weeds, saving you time on tedious pulling.
Apply it in early spring or fall for best results, rejuvenating every 1-2 years as it breaks down. Check for compaction monthly, fluffing it with a rake if needed. With this, your garden’s ready for whatever weather hits next.
Straw Mulch Layering
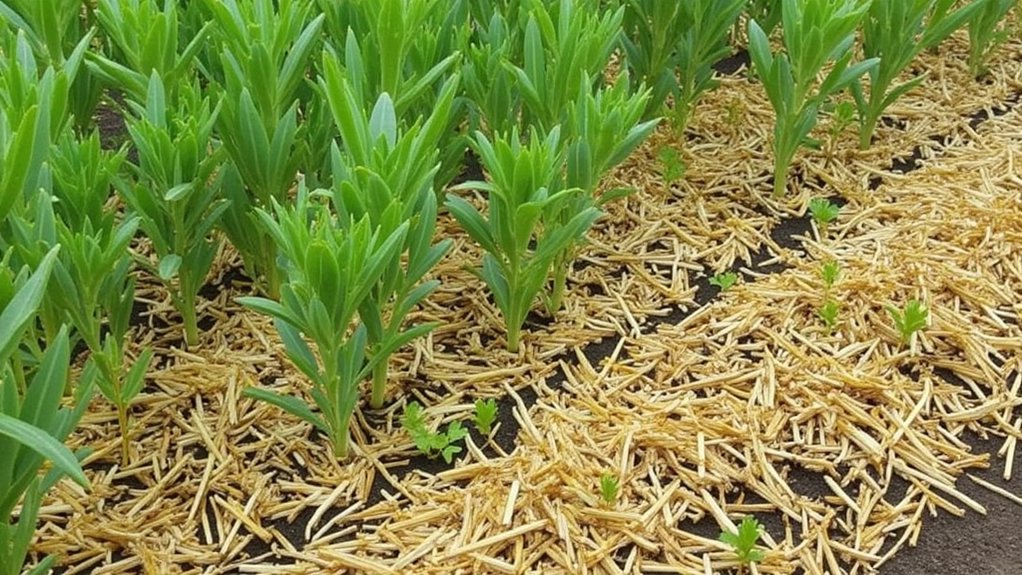
Let’s shift gears and talk about straw mulch layering, another solid option for safeguarding your garden against weather quirks. You’ve gotta try this if sudden frosts or heatwaves worry you. It’s affordable and super effective.
Start by grabbing clean, dry straw—avoid hay, as it’s full of seeds that’ll sprout weeds. Spread a 3- to 5-inch layer over your soil, especially around tender plants. Do this after watering, ideally in early morning, to lock in moisture.
Keep the straw about 2 inches away from plant stems to prevent rot. Check it weekly, fluffing it up if it compacts after rain. Replace any moldy bits promptly. With this, you’re giving your garden a cozy blanket against weather surprises.
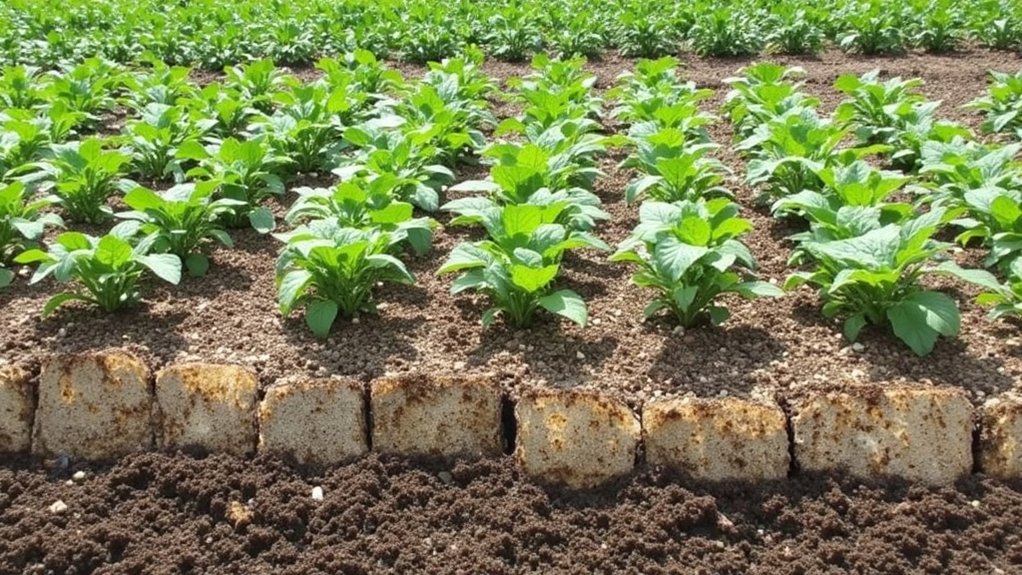
Gravel Mulch Application
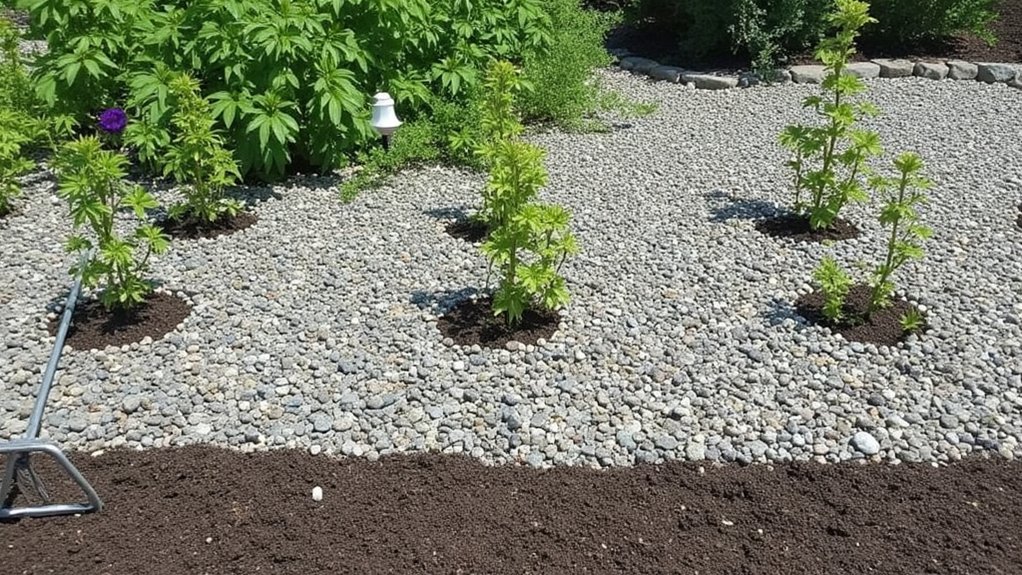
Three key benefits make gravel mulch a fantastic choice for weatherproofing your garden. First, it’s great at regulating soil temperature, keeping roots steady during sudden freezes or heatwaves. Second, it prevents erosion by holding soil in place against heavy rains. Third, it’s low-maintenance, so you won’t fuss over replacements often.
Now, let’s get to applying it right. Grab pea gravel, about 1-2 inches in diameter, and spread a 2-inch layer around your plants, leaving a 3-inch gap near stems to avoid rot. Use a rake to even it out, ensuring no bare spots.
Check it every few months, topping off thin areas. It’s a simple fix, and trust me, your garden’ll handle wild weather way better with this trick.
Plastic Sheet Covering
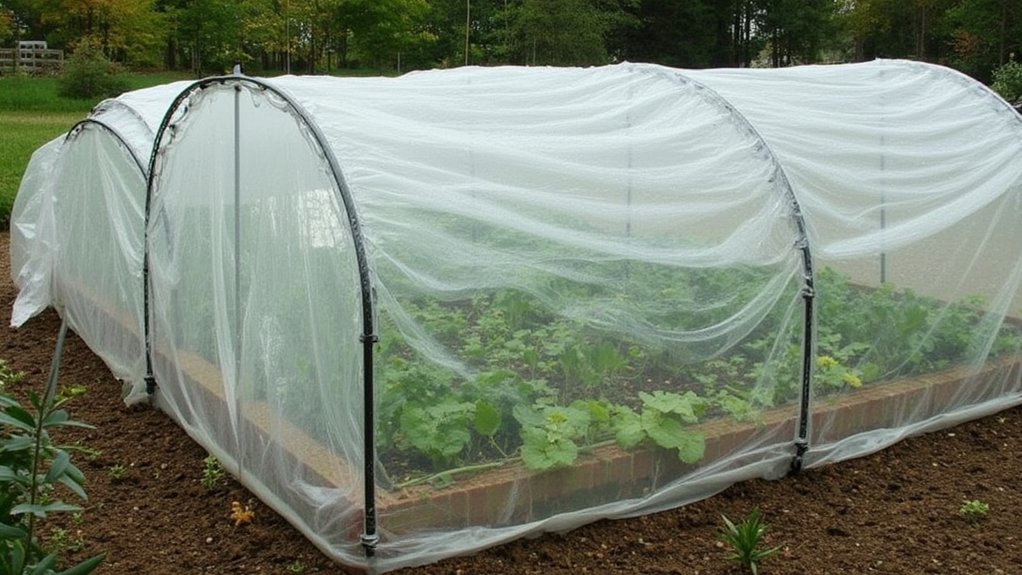
While gravel mulch offers solid protection, don’t overlook the power of plastic sheet covering for extreme weather shifts. It’s a quick, affordable way to shield your plants from sudden frosts or heavy rain. You’ve gotta act fast when bad weather looms, so keep supplies handy.
Grab heavy-duty plastic sheeting, at least 6 mil thick, from your local hardware store. Cut pieces to cover your garden beds, leaving 12 inches of overlap on all sides for security. Secure the edges with heavy rocks or garden stakes, ensuring no gaps let in cold air or water. Check after 24 hours; lift the plastic briefly to prevent overheating if temps rise.
This method’s a lifesaver, trust me. It’s simple but works wonders in a pinch.
Reflective Fabric Shielding
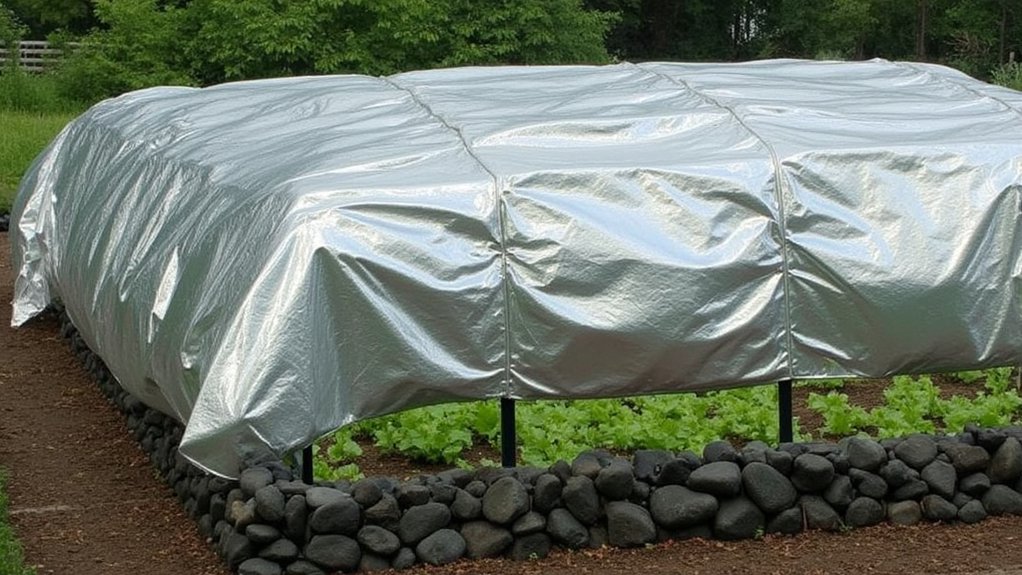
Ever thought about using reflective fabric shielding for your garden? It’s a smart, simple way to protect your plants from harsh weather. This material bounces back sunlight, keeping soil cooler during scorching days.
Grab a roll of reflective fabric, often silver or white, from a garden store. Cut it to fit over your beds, leaving about 6 inches of overlap on each side for security. Secure it with rocks or stakes, ensuring it won’t blow away in sudden gusts. Check it weekly for tears, replacing sections as needed.
You’ll notice less heat stress on your plants, especially during unexpected heatwaves. Install it before extreme weather hits, ideally 2-3 days in advance. It’s a quick fix that works wonders for temperature control!
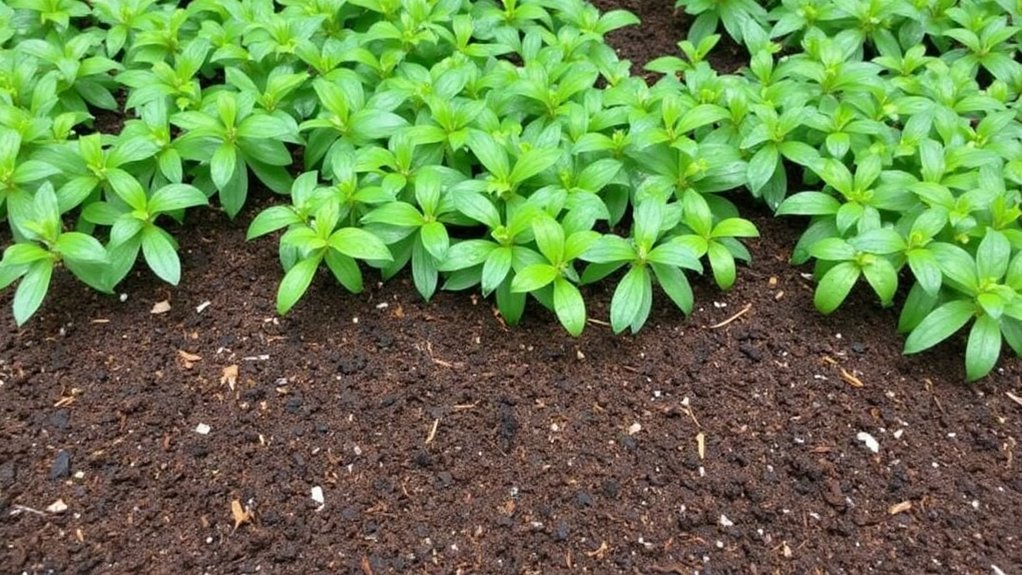
Biodegradable Paper Mulch
Have you considered biodegradable paper mulch for your garden? It’s a fantastic way to protect your plants from sudden weather shifts. This eco-friendly option, often made from recycled materials, acts as a barrier against temperature swings.
Lay it down in sheets, about 1-2 inches thick, over your soil after planting. Secure the edges with rocks or soil, ensuring it won’t blow away in strong winds. It’ll retain moisture and suppress weeds, saving you time.
Check it every 2-3 weeks for tears, and replace sections if needed, as it breaks down over 4-6 months. Water can penetrate it, so don’t worry about rain. You’re not just mulching; you’re building a resilient garden with minimal effort. Stick with this, and watch your plants thrive!
Coconut Fiber Mulching
Let’s plunge into coconut fiber mulching, a stellar choice for guarding your garden against weather quirks. You’ve gotta try this sustainable option, made from coconut husks. It’s tough, long-lasting, and holds up through wild temperature swings.
Start by buying coconut fiber mulch, often sold as coir, in compressed blocks or loose bags at garden centers. Soak a 5-pound block in water for 30 minutes; it’ll expand to cover about 2 square feet. Spread it 2-3 inches thick around your plants, keeping it 1 inch from stems to avoid rot.
This stuff retains moisture, so you’ll water less during heatwaves. Plus, it insulates roots against sudden frosts. Reapply every 6-12 months as it breaks down, enriching your soil naturally.
Pine Needle Mulching
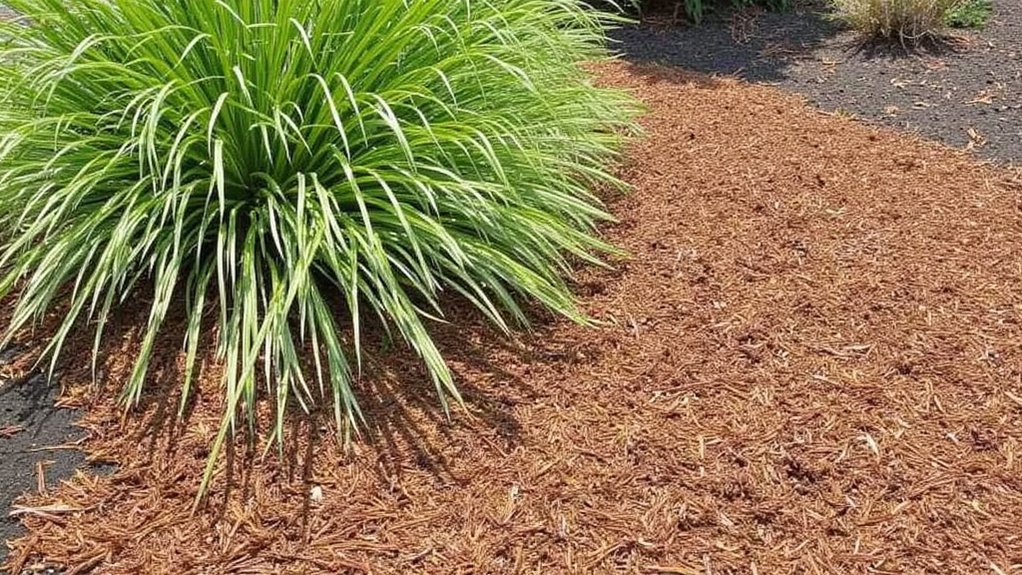
While exploring mulch options, consider pine needle mulching as a practical, natural choice for weather-proofing your garden. You’ll find pine needles, often called pine straw, in abundance if you’ve got pine trees nearby. They’re lightweight and easy to gather, so let’s get started.
First, collect dry pine needles from your yard or a local source, aiming for a 2- to 3-inch layer. Spread them evenly around your plants, especially near acid-loving ones like azaleas or blueberries, since pine needles slightly lower soil pH. Don’t pile them against stems, though; leave a 1-inch gap to prevent rot.
This mulch retains moisture, insulates roots during sudden temperature swings, and decomposes slowly. Check it monthly, adding more if it thins below 2 inches. Simple, right?
Rubber Tire Mulching

Several gardeners swear by rubber tire mulching as a durable, low-maintenance option for weather-proofing their plots. You can use recycled tires, cut into strips or chips, to create a tough barrier. It’s great for insulating soil against sudden temperature swings.
Start by sourcing old tires from local garages or recycling centers, ensuring they’re clean. Cut them into 2-inch wide strips using a heavy-duty utility knife, or opt for pre-shredded rubber mulch from stores. Spread a 3-inch layer around your plants, keeping it 4 inches from stems to avoid rot.
This mulch lasts years, so you won’t need frequent replacements. Check it monthly for wear, and add more if it thins out. You’ve got a resilient garden shield now!