Like aerial dancers suspended in the rainforest canopy, some orchids have evolved to thrive without the earthly confines of pots and soil. You’ll discover that these remarkable plants use specialized root systems covered in velamen, a spongy tissue that acts like a natural raincoat. If you’ve ever wondered how these botanical acrobats manage to flourish while clinging to tree bark, you’re about to reveal the fascinating secrets of their survival strategy.
Understanding Epiphytic Orchids in Nature
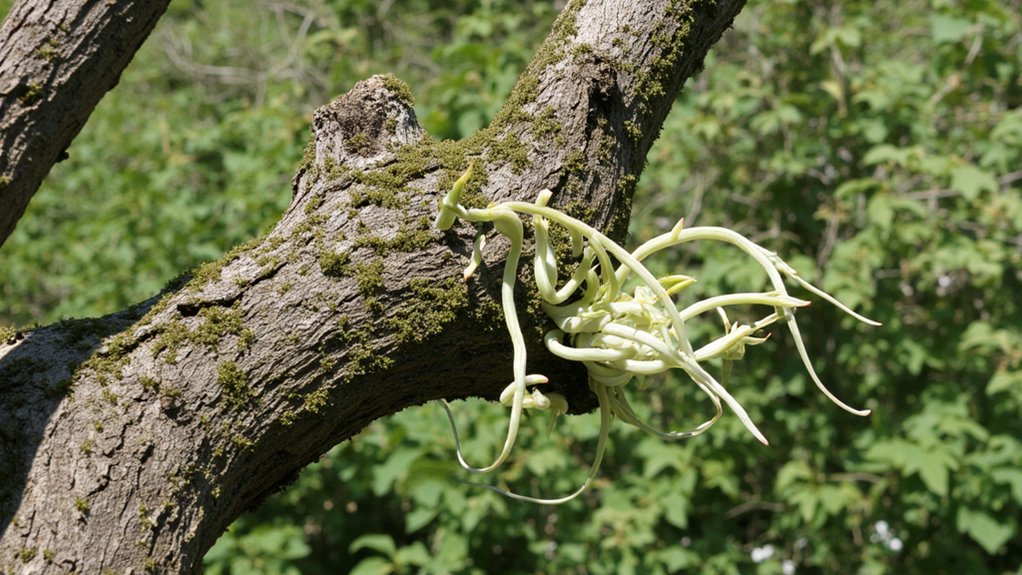
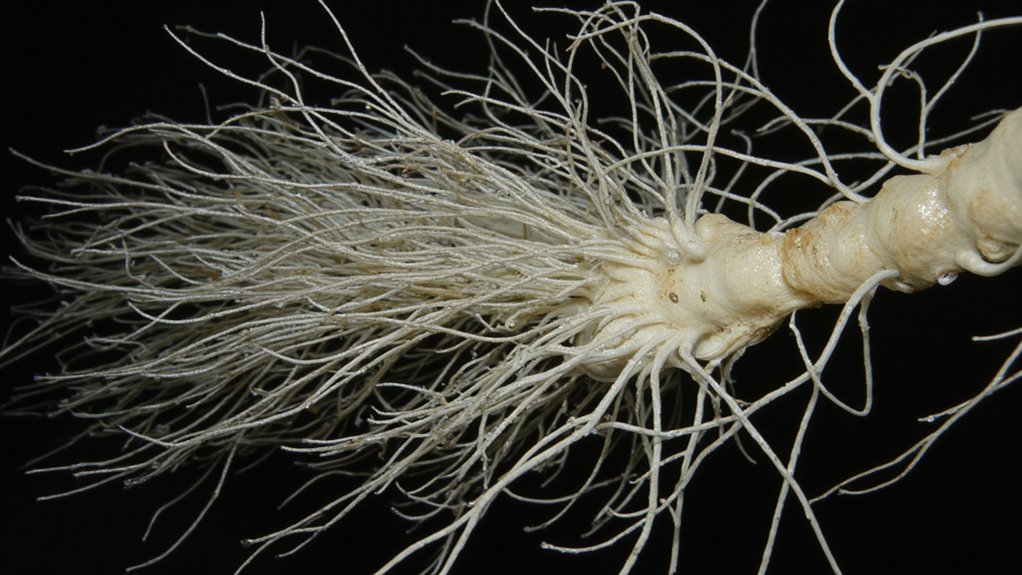
While most plants rely on soil-based roots, epiphytic orchids have evolved a fascinating aerial root system that allows them to thrive high up in trees. You’ll notice their thick, silvery-white roots dangling freely in the air, covered in a specialized tissue called velamen that absorbs moisture and nutrients from rainfall and organic debris.
In their natural habitat, you’ll find these orchids anchored to tree bark at heights of 20-60 feet, where their roots serve multiple functions. They’re not just drinking straws – they’re also photosynthetic organs that can produce food, and they act as sturdy anchors that keep your orchid securely attached during storms.
The Remarkable Structure of Velamen Tissue
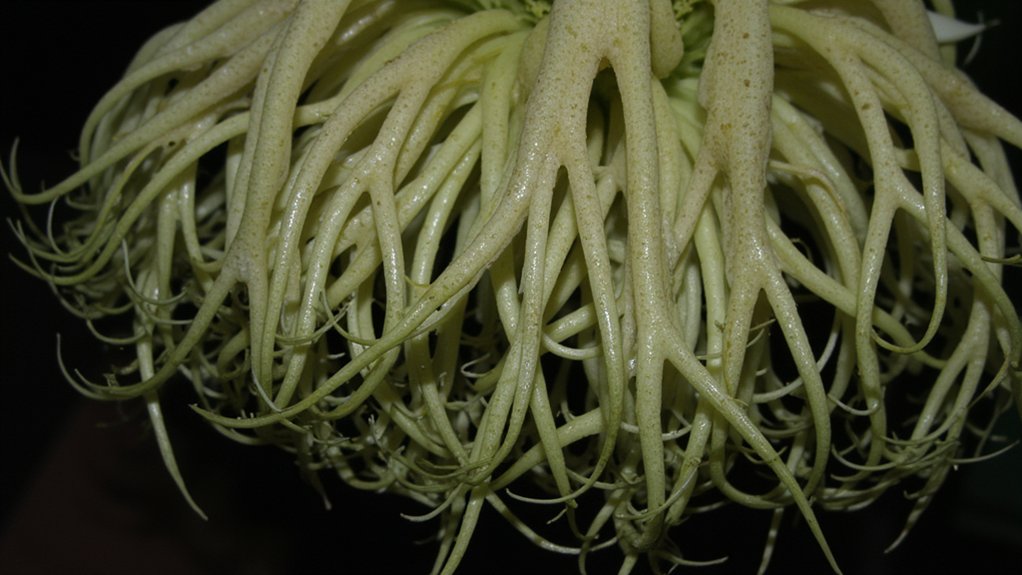
The remarkable velamen tissue that covers orchid roots is truly a marvel of natural engineering. You’ll find this specialized layer of dead cells wrapped around the root’s core like a protective sponge, absorbing water and nutrients with incredible efficiency.
When you examine velamen under a microscope, you’ll see its honeycomb-like structure of hollow cells, typically 3-5 layers thick. These cells can rapidly fill with water within seconds of exposure to moisture, while tiny spiral thickenings in the cell walls prevent collapse during dry periods.
This tissue also reflects light to protect inner root tissues and helps anchor epiphytic orchids to tree bark.
How Orchid Roots Absorb Water From Air
Since orchid roots excel at aerial moisture absorption, they’ve developed a fascinating process for extracting water directly from humid air. You’ll notice their roots undergo rapid pressure changes, creating a vacuum effect that pulls water molecules through the velamen tissue.
When humidity rises above 80%, the velamen’s specialized cells expand and contract rhythmically. This movement draws moisture through microscopic pores, each just 10-20 microns wide. You can actually see this process in action when the roots transform from silvery-white to green after absorbing water.
The absorbed water then moves through passage cells into the root’s core, where it’s stored for later use.
Mounting Methods for Soil-Free Growing
Growing orchids without soil requires strategic mounting techniques that mimic their natural epiphytic habitat. You’ll need a sturdy mount like cork bark, tree fern, or hardwood slabs measuring at least 6×8 inches.
First, soak your mounting material in water for 30 minutes. Then, position your orchid’s roots against the mount, ensuring they’re spread evenly. Secure the plant with fishing line or thin wire, wrapping in a crisscross pattern without crushing the roots.
Add a 1-inch layer of sphagnum moss around the roots to retain moisture. You’ll want to mist your mounted orchid daily until it’s established, typically 3-4 months.
Essential Care Tips for Mounted Orchids
While mounted orchids offer stunning natural displays, they’ll need specialized care to thrive in your home environment. You’ll need to water these plants daily during summer, misting thoroughly until water drips from the roots, and every 2-3 days in winter.
Maintain 50-70% humidity by placing your mounted orchids near a humidifier or humidity tray. Position them 12-18 inches from an east-facing window for ideal light exposure, protecting them from direct afternoon sun.
Apply a balanced 20-20-20 fertilizer at quarter strength every two weeks during the growing season, reducing to monthly applications in winter.
Common Species That Excel Without Soil
Several orchid species naturally thrive without traditional potting media, making them perfect candidates for mounting or basket culture. You’ll find Vanda, Cattleya, and Dendrobium orchids particularly well-suited for soil-free growing.
Phalaenopsis equestris, a compact species with aerial roots, adapts beautifully to mounted culture, while Brassavola nodosa’s thick, white roots easily attach to cork or tree fern mounts. Both species prefer 70-80% humidity.
For beginners, try Epidendrum radicans, which produces thick, sturdy roots that quickly grip mounting surfaces. Its clusters of orange-red flowers bloom year-round, and it’s remarkably forgiving of varying moisture levels.
Signs of Healthy Root Development
To spot a healthy orchid root system, you’ll need to recognize some key visual indicators. Plump, firm roots with a silvery-green color signal peak health, while the tips should appear bright green and slightly pointed.
When you mist the roots, they’ll transform from silver to a vibrant emerald green within seconds. Healthy aerial roots measure between 1/4 to 1/2 inch in diameter and maintain their firmness when gently squeezed.
Look for a velamen layer, the white protective coating that appears paper-like when dry. If you’re seeing black, mushy, or shriveled sections, trim them immediately with sterilized scissors to prevent rot from spreading.
Troubleshooting Root Problems
How can you identify and address common orchid root issues before they become serious problems? You’ll need to inspect your roots weekly, looking for three key warning signs: brown mushy sections, black spots, or withered gray areas. If you spot these issues, take immediate action.
For mushy roots, trim away affected areas with sterilized scissors and reduce watering by 50%. When you see black spots, isolate the plant and treat with fungicide. If roots appear withered and gray, increase humidity to 60-70% and mist twice daily until new root tips emerge.
To prevent future problems, guarantee proper airflow and maintain temperatures between 65-80°F.
Advanced Mounting Techniques and Materials
While traditional potting works well for most orchids, mounting these elegant plants on natural materials can create stunning displays that mimic their native habitat. You’ll need cork bark, tree fern panels, or cedar slabs at least 6 inches wide, along with fishing line or coated wire for securing.
Begin by soaking your mounting material for 24 hours. Position your orchid’s roots flat against the mount, securing them with clear fishing line in a crisscross pattern. Don’t wrap too tightly—roots need room to expand. Add a thin layer of sphagnum moss between roots and mount to retain moisture.
You’ll need to mist mounted orchids daily during the first month while they establish.