Rose gardening intimidates many beginners, but it’s surprisingly straightforward once you understand the fundamentals. Most gardeners make critical mistakes with timing, soil preparation, and variety selection that doom their roses before they even establish roots. The difference between thriving rose bushes and struggling plants often comes down to three specific decisions made in the first 30 days after planting. These choices determine whether you’ll enjoy abundant blooms or face constant disappointment, and most people get at least one wrong.
Contents
- 1 Choosing the Right Rose Variety for Your Garden
- 2 Essential Planting Techniques and Timing
- 3 Understanding Rose Anatomy and Growth Patterns
- 4 Optimal Light and Location Requirements
- 5 Proper Watering Methods and Soil Preparation
- 6 Strategic Fertilization Throughout the Growing Season
- 7 Pruning Techniques for Healthy Growth and Shape
- 8 Propagation Methods Using Cuttings
- 9 Harvesting and Deadheading for Continuous Blooms
- 10 Managing Common Pests and Diseases
Choosing the Right Rose Variety for Your Garden
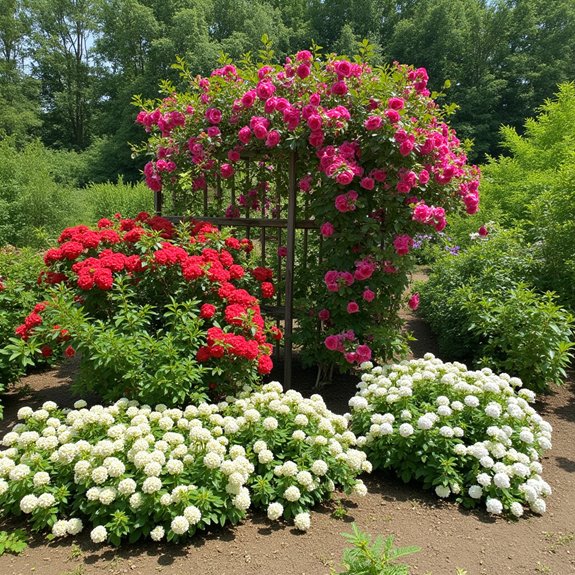
When choosing roses for your garden, you’ll face an impressive selection of 150 species and over 30,000 varieties, each offering unique characteristics in color, form, and size. Consider your specific needs first—do you want continuous blooms or intense spring fragrance?
Old Garden Roses deliver exceptional fragrance selection but bloom once yearly, while Modern Roses like Hybrid Teas offer extensive rose color options with repeat flowering. Floribundas provide compact, abundant blooms, and Grandifloras combine the best features of both.
For low-maintenance gardens, Landscape Roses like Knockout varieties resist disease naturally and bloom vigorously all season.
Essential Planting Techniques and Timing
Once you’ve selected your perfect rose varieties, proper planting techniques determine whether they’ll thrive or struggle in your garden. Seasonal timing matters most—plant during early spring or autumn when temperatures hover between 40-60°F. Dig holes 6-8 inches deeper and wider than containers, making them slightly irregular in shape. Planting depth is essential: bury the bud union completely to prevent wind-rock and unwanted sucker canes. Mix equal parts organic compost with existing soil for backfilling. Water thoroughly after planting, then apply mulch around the base. This foundation guarantees your roses establish strong root systems before facing seasonal challenges.
Understanding Rose Anatomy and Growth Patterns
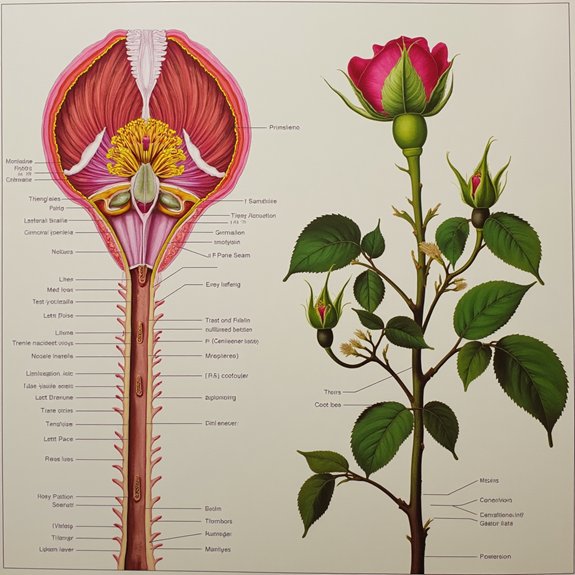
Success in rose care depends heavily on recognizing the essential parts that make these plants function. Understanding rose structure starts with the root ball, which collects nutrients from soil. The bud union sits where canes flare from the main stem, while canes themselves are the primary branches growing from the base.
Leaflets perform photosynthesis through their compound leaf structure. Small bud eyes on canes mark where new growth emerges during active growth cycles. These anatomical features work together as roses progress through seasonal patterns, from spring awakening through summer blooming phases to fall dormancy preparation.
Optimal Light and Location Requirements
Knowing rose anatomy helps gardeners choose the right spot for their plants to thrive. Most roses demand 6-8 hours of direct sunlight daily for vigorous growth and abundant blooms. Shade-tolerant varieties can survive with just 4 hours, but they won’t perform their best.
Optimal placement considers morning sun and afternoon shade, especially in warmer zones. This protects delicate petals from scorching heat while ensuring adequate sunlight exposure for photosynthesis. Direct sunlight remains essential for bloom production, so avoid heavily shaded areas.
Choose locations with good air circulation to prevent fungal diseases and moisture buildup around leaves.
Proper Watering Methods and Soil Preparation
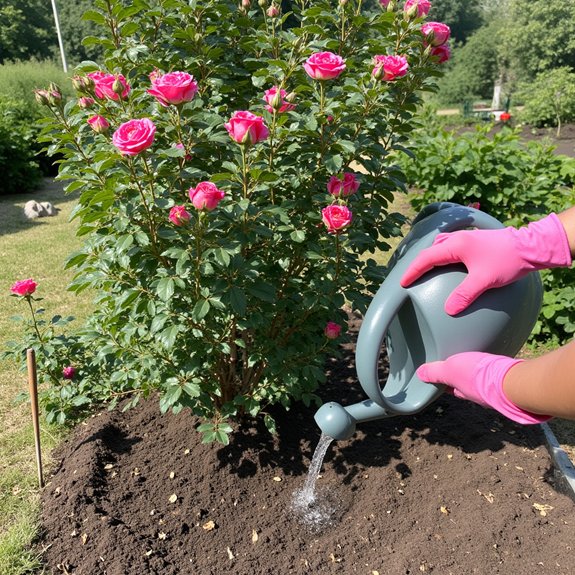
When roses receive proper hydration and grow in well-prepared soil, they’ll reward gardeners with spectacular blooms throughout the growing season. Deep watering once or twice weekly works best, delivering 2-3 gallons per session. Newly planted roses need increased watering frequency—three to four times weekly until established.
Soil drainage proves critical for healthy root development. Well-drained, loamy soil with a pH between 6-7 creates ideal growing conditions. Allow soil to dry between watering sessions to prevent root rot. Consider installing drip irrigation for larger gardens, and always water deeply rather than frequently for stronger root systems.
Strategic Fertilization Throughout the Growing Season
Although proper watering establishes the foundation for healthy roses, strategic fertilization provides the essential nutrients that fuel abundant blooms and vigorous growth. Effective timing strategies involve three key applications: early spring for new growth, after first blooms fade, and midsummer for continued flowering. Different fertilizer types serve specific purposes, with organic slow-release granular options providing sustained nutrition throughout the season. Apply fertilizer when soil’s moist but not waterlogged. Stop feeding six to eight weeks before your area’s first expected frost to prevent tender new growth that winter damage could easily destroy.
Pruning Techniques for Healthy Growth and Shape
Three fundamental cuts form the backbone of proper rose pruning: removing dead wood, eliminating weak growth, and shaping for ideal airflow. Seasonal pruning starts in early spring when forsythia blooms, signaling it’s time to act. Dead, diseased, or damaged canes get cut first, followed by spindly growth thinner than a pencil. Rose shaping requires creating that classic vase formation—remove canes crossing through the center, keeping five to seven strong stems. Cut at a forty-five-degree angle, one-quarter inch above outward-facing buds. This encourages growth away from the plant’s center, improving air circulation and reducing disease pressure considerably.
Propagation Methods Using Cuttings
Beyond maintaining healthy plants through proper pruning, gardeners can multiply their rose collection through simple cutting propagation. Successful cutting techniques start with selecting a healthy green cane, then cutting 6-8 inches below a leaf node during active growing season.
Prepare saturated potting soil before taking cuttings. Create small wounds on the stem’s bottom to encourage root development, then dip in rooting hormone powder for better success rates. Plant immediately in prepared soil.
Cover each cutting with a cut plastic bottle to maintain humidity levels. This mini-greenhouse effect dramatically improves rooting success, typically producing new plants within 6-8 weeks.
Harvesting and Deadheading for Continuous Blooms
When roses reach their peak bloom, proper harvesting techniques guarantee maximum flower quality while encouraging continued production throughout the season. Cut roses on cool mornings using sharp pruners, selecting buds just beginning to open for longest vase life. Make cuts just above a five-leaflet set, immediately placing stems in water buckets.
Bloom maintenance requires consistent deadheading throughout the growing season. Remove spent flowers by cutting back to the first strong five-leaflet leaf, which stimulates new growth and additional blooms. This simple practice dramatically increases overall flower production while keeping bushes looking tidy and healthy.
Managing Common Pests and Diseases
Healthy roses can quickly become stressed when pests and diseases take hold, but identifying problems early makes treatment much more effective. Pest identification starts with regular inspection, checking for Japanese beetles on blooms, tiny thrips causing brown spots, and sawfly larvae on leaves. Disease prevention focuses on proper spacing for airflow, watering at soil level, and removing fallen debris.
Black spot appears as purple-brown leaf spots, while powdery mildew creates white coating on foliage. Hand-pick Japanese beetles into soapy water, remove affected plant material immediately, and apply organic neem oil for thrips control when needed.