You’ve probably walked past stunning container roses and wondered how they achieve such vibrant blooms in cramped quarters. The secret isn’t magic, it’s understanding that roses can thrive in pots when you match the right variety to proper containers and care techniques. Most gardeners make critical mistakes in the first few weeks that doom their roses to struggle, but there’s a specific sequence of decisions that separates thriving container roses from disappointing failures.
Contents
- 1 Selecting the Perfect Rose Varieties for Containers
- 2 Choosing the Right Container Size and Material
- 3 Creating the Ideal Soil Mix and Fertilization Strategy
- 4 Mastering Watering Techniques for Container Roses
- 5 Optimizing Sunlight and Positioning Requirements
- 6 Proper Planting Methods for Container Success
- 7 Essential Pruning and Maintenance Practices
- 8 Managing Pests and Diseases in Container Gardens
- 9 Seasonal Care and Winter Protection Strategies
- 10 Repotting and Soil Refreshing Guidelines
Selecting the Perfect Rose Varieties for Containers
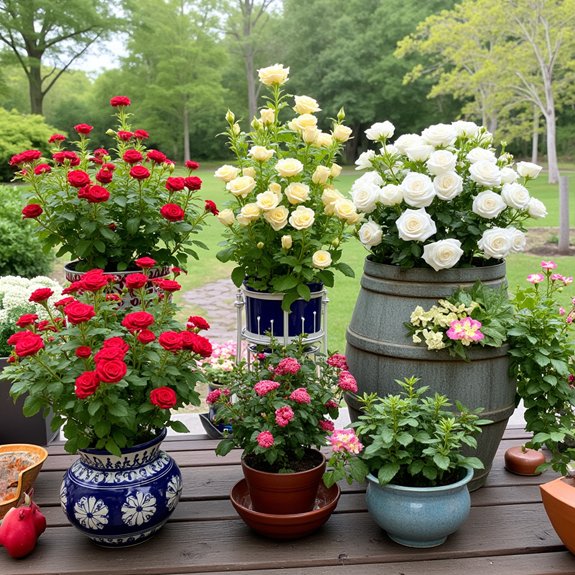
Three key factors determine whether your rose will thrive in a container: size, hardiness, and growth habit. Choose varieties that max out at 5 feet tall, avoiding vigorous climbers that’ll outgrow their space quickly.
Miniature roses like ‘Pretty Polly Lavender’ fill pots fast with colorful blooms. Hybrid teas such as ‘Julia Child’ offer classic rose fragrance preferences and long-lasting flowers. Groundcover varieties spill beautifully over container edges, while compact shrubs add bushy charm.
Consider your rose color selection early, matching varieties to your space and climate zone. Winter-hardy types survive harsh conditions better than tender varieties.
Choosing the Right Container Size and Material
Your container choice directly impacts your rose’s health and longevity, making size the most critical factor to evaluate. Start with 5-gallon pots minimum, upgrading larger varieties to 10-gallon containers. Bigger pots retain moisture longer, reducing daily watering stress.
Material selection affects durability and plant performance. Terracotta cracks in freezing temperatures, while plastic and fiberglass withstand harsh weather. However, don’t sacrifice container drainage for pot aesthetics—drainage holes prevent deadly root rot.
Consider your climate when choosing materials. Heavy ceramic pots stay put during storms but become difficult to move. Lightweight options offer mobility for seasonal positioning.
Creating the Ideal Soil Mix and Fertilization Strategy
While container selection sets the foundation, soil quality determines whether your roses will thrive or merely survive. Use high-quality potting mix designed specifically for roses, never garden soil. Mix in compost for sustained nutrient release and improved drainage.
Monitor soil pH between 6.0-6.8 for ideal growth. Test monthly during growing season. Feed roses every 4-6 weeks with balanced fertilizer, adjusting based on bloom performance. Slow-release granules provide consistent nutrient balance without frequent applications.
Refresh top two inches of soil quarterly with fresh compost. Watch for nutrient deficiencies like yellowing leaves, indicating nitrogen shortage, or poor blooms suggesting phosphorus needs.
Mastering Watering Techniques for Container Roses
Because container roses can’t send roots deep into the ground for moisture, you’ll need to master a completely different watering approach than garden-planted roses. Check soil moisture daily by sticking your finger two inches deep into the potting mix. When it feels dry, water thoroughly until liquid flows from drainage holes.
Your watering frequency will increase during hot weather, possibly requiring daily attention. Self-watering pots improve moisture retention considerably. Always water at the base to keep foliage dry, preventing fungal issues. Deep, less frequent watering encourages stronger root development than shallow, frequent sprinkles.
Optimizing Sunlight and Positioning Requirements
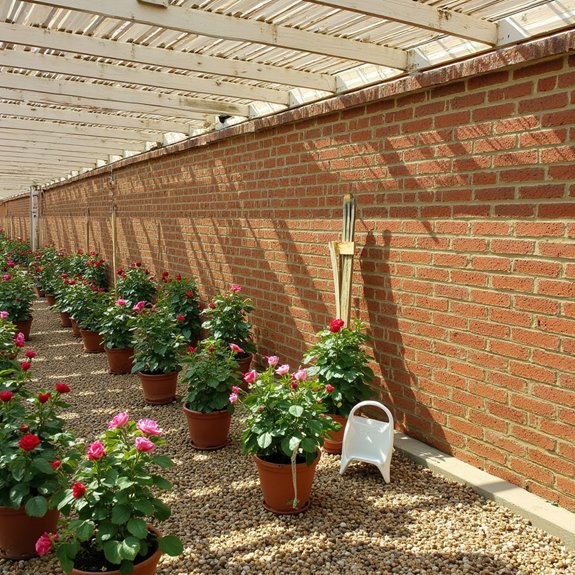
Container roses thrive on six to eight hours of direct sunlight daily, making placement one of your most important decisions. Position your pots where morning sun reaches them first, as this helps dry dew and prevents fungal issues.
You’ll need to monitor sunlight exposure patterns throughout the day. Move containers if shadows from buildings or trees block ideal positioning. In extremely hot climates, provide afternoon shade protection to prevent stress.
The beauty of container gardening lies in flexibility—you can rotate pots weekly for even light distribution. Watch your roses’ response; leggy growth indicates insufficient light, while scorched leaves suggest too much intensity.
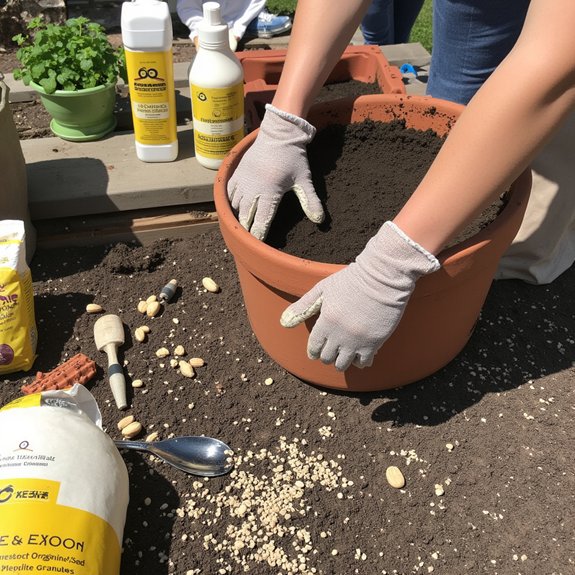
Proper Planting Methods for Container Success
Success with container roses begins the moment you remove them from their nursery pots, but proper preparation makes all the difference. Start by soaking bare-root roses for at least two hours, while potted varieties need thorough watering beforehand. Check root health carefully, gently teasing apart any circled or compacted roots.
Planting depth matters greatly—position your rose so the bud union sits level with the soil surface. Fill around roots with quality potting mix, then water deeply until moisture drains freely. Mound extra soil around the crown initially, protecting against temperature fluctuations while your rose establishes itself.
Essential Pruning and Maintenance Practices
While your newly planted container roses settle into their homes, they’ll need strategic pruning to maintain healthy growth and abundant blooms. Container roses typically require less pruning than ground-planted varieties, but regular maintenance schedules keep them thriving.
Start your pruning techniques in early spring during new growth. Remove any discolored, diseased, or dead foliage immediately using clean bypass shears. Cut inward-growing canes to encourage proper airflow through the center of your plant.
Focus on removing weak, spindly growth that won’t produce quality blooms. This approach directs the plant’s energy toward stronger, more productive canes that’ll reward you with beautiful flowers throughout the growing season.
Managing Pests and Diseases in Container Gardens
Since container roses concentrate foliage in smaller spaces, they’re particularly vulnerable to pest infestations and fungal diseases that spread quickly in humid conditions. You’ll need sharp pest identification skills to spot aphids, spider mites, and thrips early. Check your roses weekly, focusing on leaf undersides where trouble starts.
Disease prevention begins with proper spacing and air circulation. Water at soil level, never on leaves, and remove any yellowing foliage immediately. Apply fungicide during humid weather before problems develop. Encourage beneficial insects like ladybugs by planting companion herbs nearby. Quick action prevents small issues from becoming garden disasters.
Seasonal Care and Winter Protection Strategies
As temperatures drop and growing seasons shift, your container roses need strategic protection to survive harsh winters and thrive through seasonal changes. Proper winter care starts with adding insulation around pots using burlap, bubble wrap, or mulch. Move containers to sheltered locations like garages or against warm walls. In harsh climates, bury pots in garden beds for extra protection.
Monitor roses during extreme temperatures, watching for stress signs. Reduce watering frequency but don’t let soil completely dry out. Prune lightly in fall, saving major cuts for early spring. Refresh soil and nutrients each season to maintain healthy growth patterns.
Repotting and Soil Refreshing Guidelines
Every two to three years, your container roses will send you clear signals that they’ve outgrown their current home and need fresh accommodations. Watch for roots poking through drainage holes, soil that dries out within hours of watering, or stunted growth despite proper care.
Spring offers the ideal repotting frequency window, just before new growth begins. Choose a container one size larger, typically adding 2-4 inches in diameter. Remove the rose carefully, gently tease apart circled roots, then add fresh potting mix as your primary soil amendment. This refresh provides essential nutrients and improved drainage for continued blooming success.