You’ll discover that growing turmeric requires patience, demands precision, and rewards dedication with golden rhizomes that’ll transform your kitchen and medicine cabinet. This vibrant spice, once reserved for tropical climates, can thrive in your backyard or containers with the right techniques. Most gardeners make three critical mistakes that doom their turmeric from the start, but there’s a simple way to avoid them completely.
Contents
- 1 Understanding Turmeric: Origins, Benefits, and Uses
- 2 Optimal Growing Conditions for Healthy Turmeric Plants
- 3 Propagation Methods and Planting Techniques
- 4 Essential Care and Maintenance Practices
- 5 Fertilization Strategies and Pest Management
- 6 Harvesting Your Turmeric Crop
- 7 Creative Applications: From Kitchen to Natural Dyeing
Understanding Turmeric: Origins, Benefits, and Uses

That golden-orange spice sitting in your kitchen cabinet carries a legacy spanning over 4,000 years, originating from India where ancient civilizations first discovered its remarkable properties. Turmeric history reveals it’s been cultivated as both spice and medicine, spreading from India to warmer regions worldwide. You’ll find curcumin gives turmeric its vibrant color and powerful medicinal properties, including antioxidant and anti-inflammatory benefits. Fresh turmeric delivers superior flavor and health advantages compared to dried forms. You can use it for cooking, fabric dyeing, or making golden milk, while research links it to reduced cancer and inflammatory disorder risks.
Optimal Growing Conditions for Healthy Turmeric Plants
Growing your own turmeric successfully depends on creating the right environment for this tropical beauty. You’ll need temperatures between 68°F and 86°F, making it perfect for warm climates or heated greenhouses. Sunlight requirements aren’t demanding – partial sun works best, protecting those broad leaves from scorching.
Humidity levels should stay high, especially for container plants. Well-draining soil prevents root rot, while consistent watering keeps plants happy without waterlogging. You can plant outdoors in garden beds or containers, but containers need at least twelve inches depth and width for proper root development.
Propagation Methods and Planting Techniques
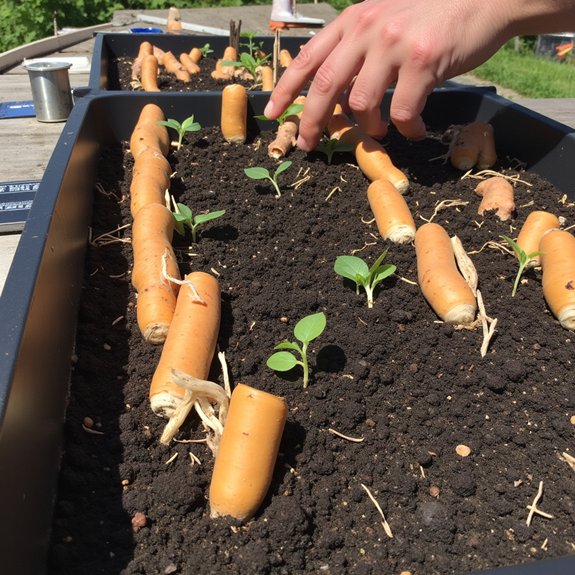
Once you’ve got your growing conditions sorted, starting new turmeric plants becomes surprisingly straightforward. Your best bet for propagation involves using leftover rhizomes from cooking or previous harvests. Focus on rhizome selection by choosing fresh-looking pieces with visible buds or eyes. Cut larger rhizomes into sections, ensuring each piece has at least one bud. When planting, maintain proper planting depth by placing rhizomes three inches deep with buds facing upward. Space plants ten inches apart in garden beds, or use containers at least twelve inches deep and wide for adequate root development.
Essential Care and Maintenance Practices
After your turmeric rhizomes are settled in their new homes, consistent watering becomes your primary responsibility throughout the growing season. Your watering techniques should maintain soil moisture without creating waterlogged conditions that lead to root rot. Check soil regularly, keeping it damp but never soggy.
Container growers need extra attention to humidity control, as indoor environments often lack the moisture turmeric craves. Place humidity trays near your plants, or group containers together for better moisture retention.
Don’t forget regular weeding, which prevents nutrient competition that stunts growth and reduces your eventual harvest quality.
Fertilization Strategies and Pest Management
While proper watering keeps your turmeric plants alive, strategic fertilization transforms them into vigorous producers with robust rhizomes. Start with balanced fertilizer at planting, then switch to nitrogen-rich options for leafy growth. Come fall, potassium-rich fertilizer strengthens root development.
Container plants need monthly liquid fertilizer doses throughout the growing season. Different fertilization types support each growth phase effectively.
For pest prevention, monitor regularly for spider mites, aphids, and mealybugs. Slugs and snails particularly love tender turmeric leaves. Maintain proper watering practices to prevent root rot, leaf spot, and leaf blotch diseases.
Harvesting Your Turmeric Crop
When turmeric leaves begin wilting and turning yellow-brown, your underground treasure is ready for harvest. This typically occurs 6-9 months after planting, from late September through November. Use a garden fork to carefully dig around plants, avoiding damage to delicate rhizomes.
Proper harvesting techniques involve cutting stems first, then gently lifting root clusters. Wash thoroughly under cool water, removing all soil particles. For post harvest processing, separate rhizomes by size—keep larger ones for cooking, smaller pieces for next season’s planting.
Store cooking rhizomes in your refrigerator, while planting stock should go in a cool, dark, dry location until spring.
Creative Applications: From Kitchen to Natural Dyeing
Your freshly harvested turmeric rhizomes offer far more possibilities than basic cooking applications. Beyond traditional curries, explore culinary creativity by making golden milk lattes, vibrant smoothies, or homemade turmeric powder for seasoning blends.
Transform your surplus into natural fabric dye using proven dyeing techniques. Grate ¾ cup fresh turmeric, mix with 12 cups water, add vinegar for brightness, then boil the mixture. Cool completely before immersing your fabric for one hour.
This creates stunning golden-yellow colors on cotton, silk, or wool. Rinse thoroughly until water runs clear, then air-dry your beautifully dyed materials.