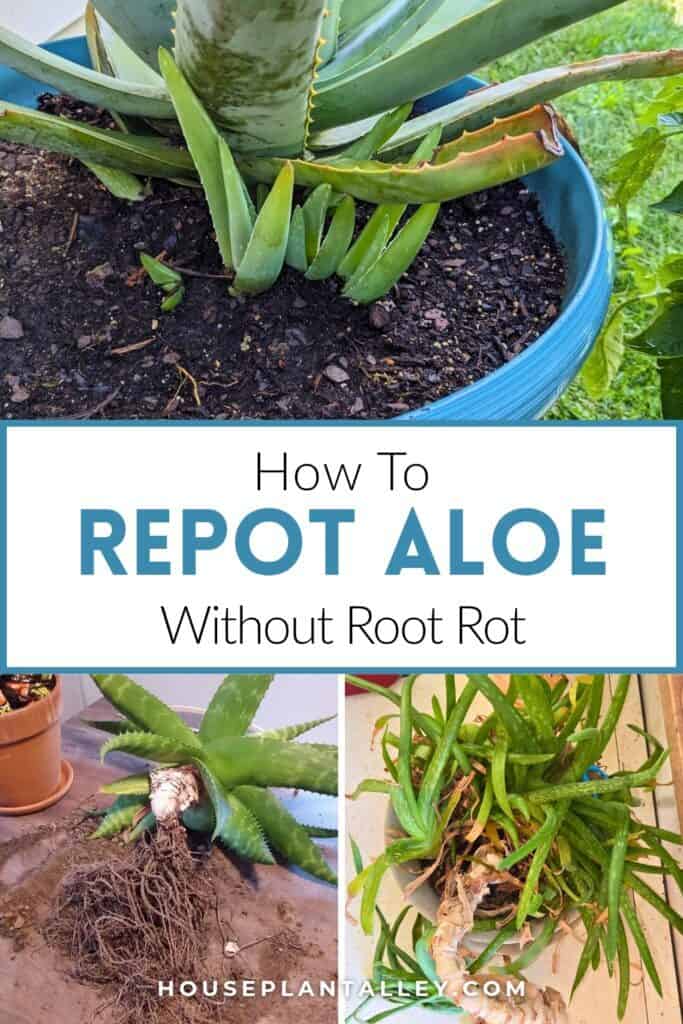
Think your aloe is happy in its pot? Think again. Beneath the surface, its roots might be tangled in a tight mess—struggling for space, water, and air.
If you’ve noticed roots sneaking out of drainage holes, water refusing to soak in, or growth that’s mysteriously stalled despite your best care, your plant is waving a big leafy flag for help.
Repotting isn’t just a chore—it’s a rescue mission. But timing is everything. Catch the signs early and your aloe will bounce back beautifully. Wait too long, and you could set it back for months.
Want to make sure your aloe thrives, not just survives? Let’s dig into the signs, tools, and steps that make repotting a success.
Contents
When Your Aloe Needs a New Home
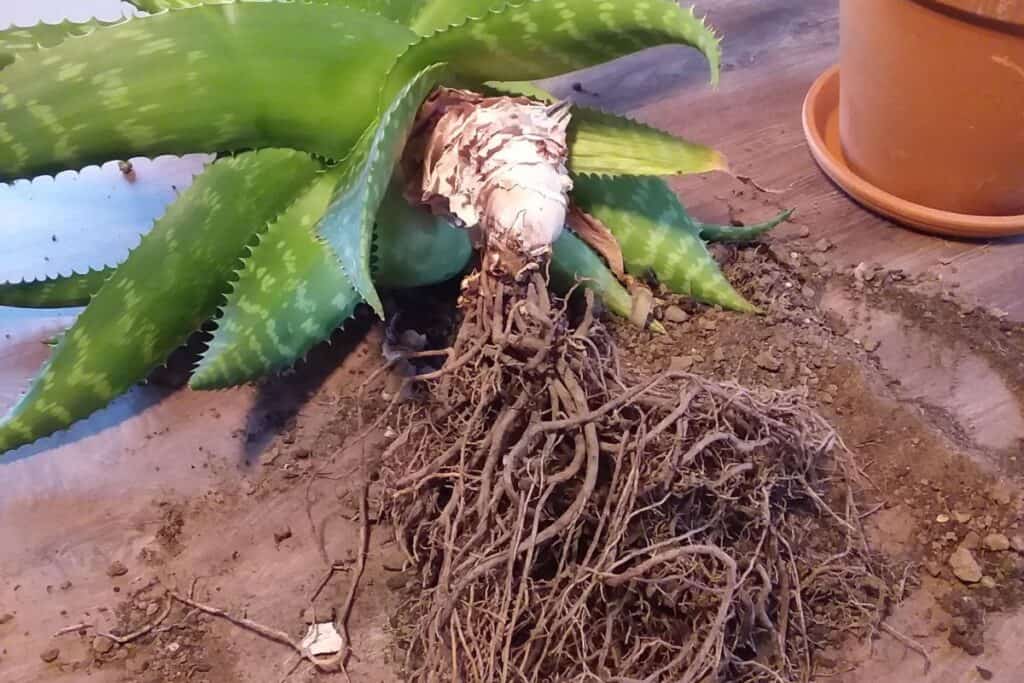
Aloe plants can live in tight spaces for years, but eventually they’ll show signs that it’s time for a bigger pot.
Look for these clues:
- Roots poking through the drainage holes
- A top-heavy plant that tips over easily, especially in plastic pots
- Stunted growth caused by crowded roots
- Yellow lower leaves, which may mean the soil is breaking down
If you notice these signs—especially if there’s no new growth—it’s time to repot.
For best results, repot your aloe every 2–3 years to keep it healthy.
Essential Supplies for Successful Transplanting
Getting ready before you start makes repotting easier and better for your plant.
Here’s what you’ll need:
- A new pot that’s about two sizes bigger, with good drainage holes
- Terra cotta or fabric pots (they help prevent moisture buildup)
- Cactus and succulent potting mix (or mix regular potting soil with sand and perlite)
- Pruning shears for trimming long roots or separating pups
Having everything ready before you begin makes the process smoother and less stressful for your aloe.
Step-by-Step Repotting Technique
Once you’ve gathered your supplies, gently remove your aloe from its old pot. Tip the pot sideways and support the base while loosening the root ball. It’s okay if some soil falls off.
Next:
- Add a thin layer of succulent mix to the bottom of the new pot
- Place the aloe in the center so it sits at the same depth as before
- Make sure there’s about two inches between the roots and the sides of the pot
- Spread the roots out to help them grow better
- Fill in the gaps with soil
- Press gently around the base to hold the plant in place without packing the soil too tightly
Post-Repotting Care and Maintenance
After repotting, don’t water your aloe right away unless the roots look very dry. Give the plant about a week to settle in before watering.
During this time:
- Make sure it gets plenty of bright, direct sunlight
- Keep it in the same spot to avoid stress
- Watch for signs of recovery like new growth or firmer leaves
Be careful not to overwater while the roots are getting established—too much moisture can lead to rot. With a little patience, your aloe will thrive in its new, roomier home.