Like a butterfly emerging from its cocoon, your Monstera deserves a fresh start when it outgrows its current container. You’ll know it’s time for repotting when roots peek through drainage holes or leaves begin to yellow unexpectedly. “A properly timed repotting can extend your Monstera’s lifespan by several years,” notes botanist Dr. Sarah Chen. Let’s explore the essential tools and techniques you’ll need to give your plant the upgrade it deserves.
Contents
Understanding When Your Monstera Needs a New Home
How can you tell when your Monstera’s ready for a bigger pot? Your plant will show clear signs that it’s time for an upgrade.
Keep an eye out for these key indicators:
- Roots emerging from drainage holes
- Stunted or halted growth
- Yellowing leaves despite proper care
- Water draining too quickly through soil
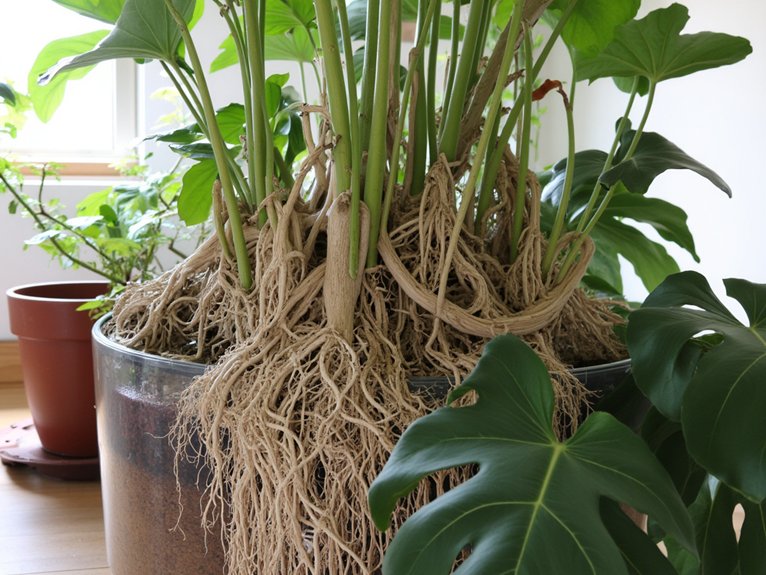
Your Monstera’s root growth directly impacts its plant health, so don’t wait until these signs become severe. Check the roots every few months by gently lifting the plant from its current pot. If you see a dense network of roots with little soil visible, it’s time to repot.
Essential Tools and Materials for Success
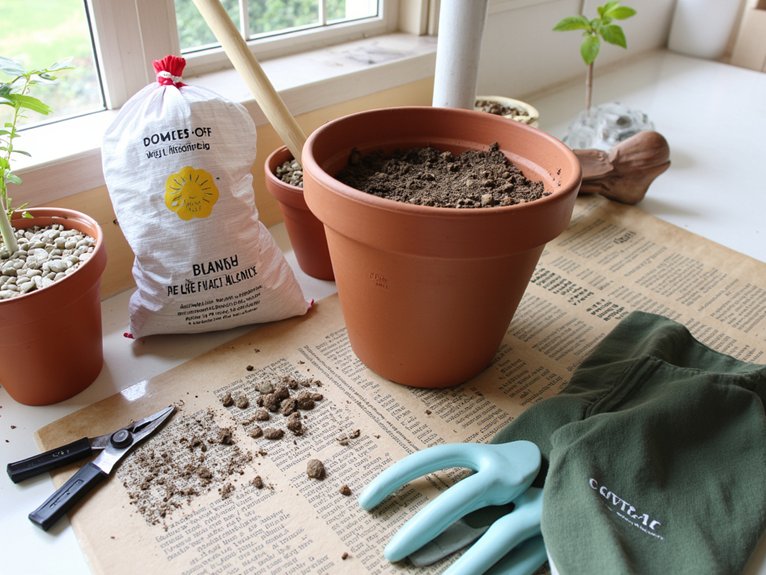
Before you begin repotting your Monstera, gathering the right tools and materials will make the process smooth and successful. Here’s your essential tools checklist:
- Well-draining potting mix or soil blended for houseplants
- New container with drainage holes (1-2 sizes larger than current pot)
- Clean, sharp scissors or pruners
- Garden trowel or spade
- Watering can
- Support stake or moss pole
- Clean newspaper or drop cloth
“Quality soil types are vital for Monstera health,” says botanist Dr. Sarah Chen. “Choose a mix that retains moisture while allowing excess water to drain freely.”
Preparing Your Space and New Container
Successful Monstera repotting starts with a clean, organized workspace and proper container preparation. Before you begin, clear a table or floor space and lay down newspaper to catch soil spills.
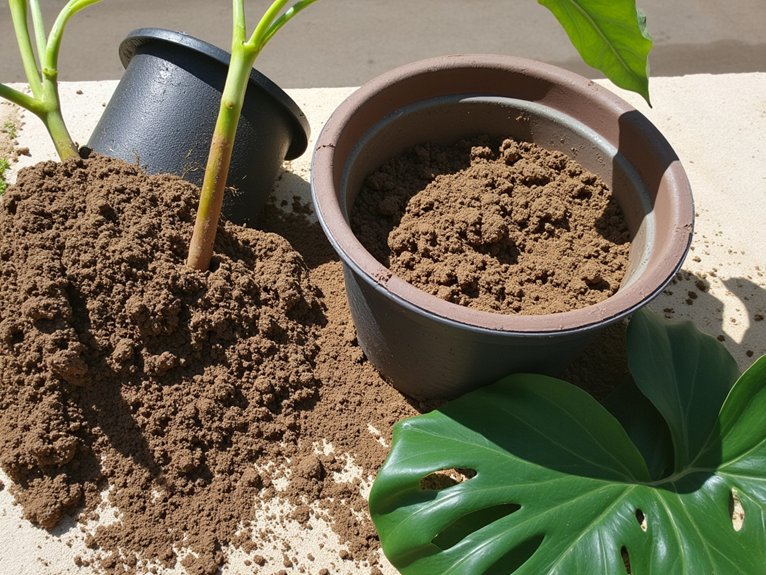
When choosing containers, select one that’s 2-3 inches larger in diameter than your current pot. Verify it has drainage holes and clean it thoroughly with soap and water if it’s previously been used.
- Add a layer of fresh potting mix to the bottom
- Place a mesh screen or coffee filter over drainage holes
- Fill container about 1/3 full with soil
- Test pot depth by placing current plant inside temporarily
Step-by-Step Root Care and Plant Removal
With your workspace prepped and container ready, it’s time to focus on carefully removing your Monstera from its current home. Gently turn the pot on its side and squeeze the container’s edges to loosen the root ball.
- Hold the plant at its base (never the stems) and slowly wiggle it free
- Shake off excess soil to expose the roots
- Check root health, looking for firm, white roots
- Remove any brown, mushy, or damaged roots with clean scissors
“Root maintenance now prevents issues later,” says botanist Dr. Sarah Chen. “Take time to spread out compacted roots before replanting.”
Proper Positioning and Planting Techniques
Placing your Monstera at the proper height and position in its new container makes all the difference in its future growth. When positioning your plant, maintain the same soil depth as the previous pot to prevent stem rot and guarantee healthy root development.
Follow these steps for ideal plant alignment:
- Center your Monstera in the container
- Fill sides with fresh potting mix, leaving 1-2 inches at the top
- Gently press soil around the base to stabilize
- Check that the plant stands straight
- Water thoroughly until it drains from bottom holes
“Proper positioning prevents future growth issues and guarantees even moisture distribution,” notes botanist Dr. Sarah Chen.
Aftercare Tips for a Thriving Monstera
Now that you’ve properly positioned your Monstera, the days following repotting require specific care to help your plant adjust to its new home. Keep these essential aftercare steps in mind:
- Water thoroughly but avoid overwatering; check soil moisture with your finger
- Maintain humidity levels at 60-65% using a humidifier or pebble tray
- Wait 4-6 weeks before resuming your regular fertilizer schedule
- Place in bright, indirect light away from drafts
- Monitor leaf color and soil moisture daily for the first week
- Support any leaning stems with bamboo stakes
- Remove any yellowing leaves that develop
“The first month post-repotting is vital for root establishment,” explains botanist Dr. Sarah Chen.