You’ll discover that spider plant propagation isn’t as complex as you might think, especially when you understand the key techniques. According to botanist Dr. Sarah Chen, “The secret lies in timing and ideal growing conditions.” Whether you choose water propagation, soil methods, or plant division, your success depends on starting with healthy plantlets and maintaining the right environment. Let’s explore the proven approaches that guarantee thriving spider plant babies.
Getting Started: Best Times and Conditions for Success
While spider plants can technically be propagated year-round, you’ll have the most success during the warm spring and summer months when growth is strongest. These seasons provide ideal growth conditions with temperatures between 65-80°F and increased daylight hours that stimulate root development.
For best results, consider these seasonal factors:
- Spring/Summer: Fast root development, vigorous growth
- Fall/Winter: Slower rooting, may need grow lights
- Year-round indoor propagation: Maintain warm temperatures
- Dividing plants: Schedule for spring when growth resumes
Choose your timing based on your plant’s current health and available growing conditions.
The Water Method: Step-by-Step Guide
The water method offers three key advantages for propagating spider plants: it’s simple, allows you to monitor root development, and requires minimal supplies.
To begin water rooting:
- Select a glass container and fill it with distilled or rainwater
- Clean your shears with rubbing alcohol
- Cut a healthy pup close to its base
- Place the pup’s bottom in water, ensuring constant contact
- Position the container in bright, indirect light
Watch for root growth within 1-2 weeks. Once roots reach 1-2 inches, transfer your pup to a small pot with drainage holes, using a mix of coconut coir and perlite.
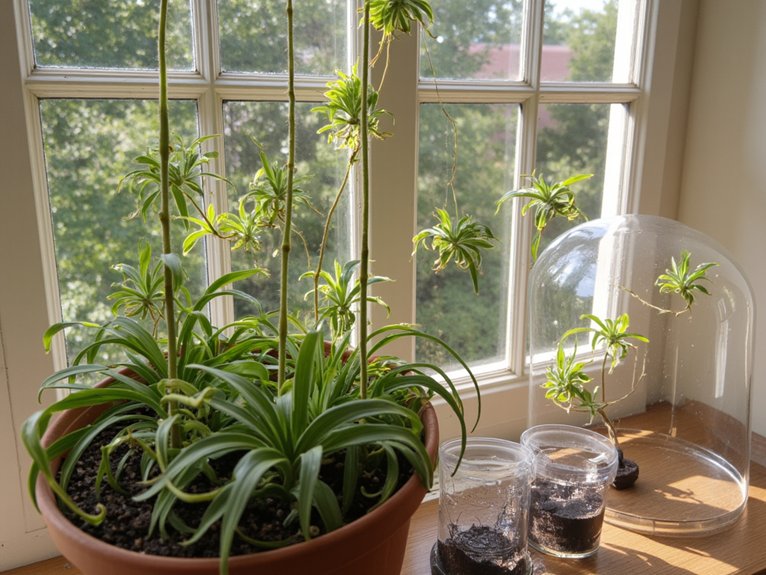
Soil Propagation: Essential Tips and Techniques
Soil propagation offers a direct path to growing new spider plants without the intermediate water-rooting step. Here’s how to guarantee success:
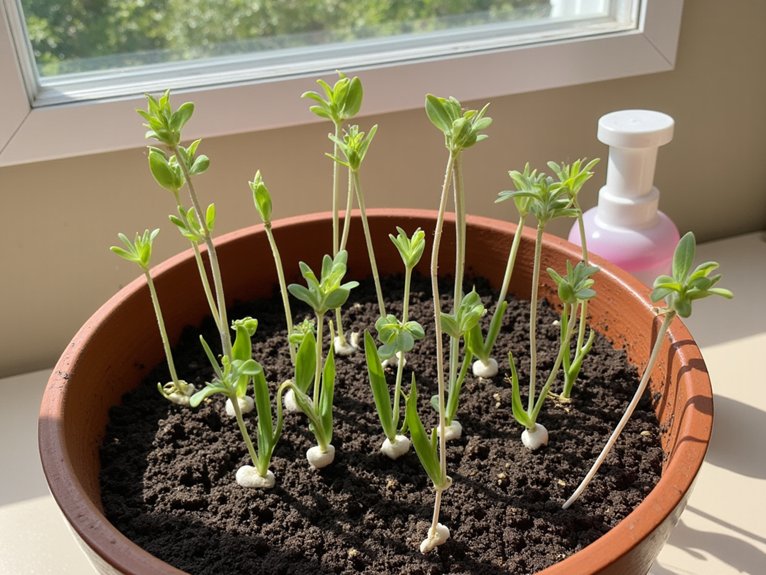
- Select a pot with drainage holes and fill it with equal parts peat moss and perlite
- Create a small indent in the soil for your plantlet
- Place the pup’s base into the soil, keeping leaves above ground
- Secure the stem gently to maintain soil contact
- Maintain consistent soil moisture without overwatering
“Proper soil contact is essential for root health during the first few weeks,” notes botanist Dr. Sarah Chen. Monitor your plantlet’s progress and adjust watering as needed – slight resistance when tugged indicates successful rooting.
Dividing Spider Plants: When and How to Split
When mature spider plants become overcrowded or develop multiple root clusters, dividing offers an effective propagation method. Here’s how to divide your spider plant successfully:
- Remove the plant from its pot and gently shake off excess soil
- Examine the root system to identify natural separation points
- Use clean, sharp shears to separate the root ball into sections
- Verify each division has healthy roots and at least 2-3 leaves
- Replant divisions in fresh potting soil at original depth
“Proper dividing techniques maintain root health and encourage vigorous growth in each new plant,” says botanist Dr. Sarah Chen. Water thoroughly after replanting and place in bright, indirect light.