The Spider Plant (Chlorophytum comosum) is a beloved staple in many households, known for its easy-going nature and vibrant green and white foliage. One of the most exciting aspects of owning a spider plant is the ability to propagate it, allowing you to expand your indoor garden effortlessly. In this blog post, we’ll delve into the fascinating world of spider plant propagation, providing you with comprehensive steps and tips to grow your very own green family.

Contents
Understanding Spider Plant Propagation
Spider plants are renowned for their ability to produce “pups” or “plantlets,” which dangle from the mother plant like spiders on a web—hence the name. These plantlets can be easily propagated to create new, thriving plants.
Methods of Propagation
There are several methods to propagate spider plants, each with its own set of advantages. Let’s explore the most popular techniques:
1. Propagation by Division
One of the simplest methods is to divide the mother plant. Here’s how:
- Remove the Plant from Its Pot: Gently take the spider plant out of its pot, being careful not to damage the roots.
- Separate the Root Clump: Using your hands or a clean knife, carefully divide the root clump into smaller sections. Each section should have a healthy amount of roots and foliage.
- Repot the Divisions: Place each division into its own pot filled with well-draining soil. Water thoroughly and place in a bright, indirect light location.
2. Propagation by Plantlets
Another popular method is to propagate spider plants through their plantlets. Follow these steps:
- Identify Healthy Plantlets: Look for small spiderettes with well-formed roots hanging from the mother plant.
- Detach the Plantlets: Using clean scissors, carefully cut the plantlets from the runner.
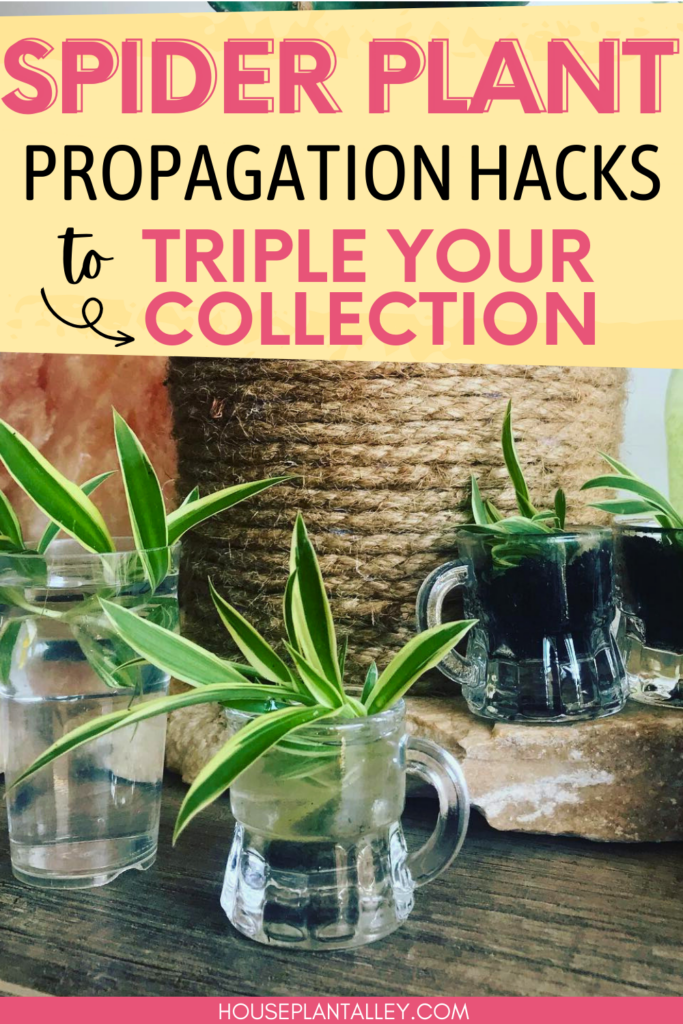
- Root the Plantlets: Place the plantlets in a glass of water or directly into soil. If using water, wait until the roots are a few inches long before transferring to soil.
- Plant and Care: Once the plantlets have rooted, plant them in well-draining soil and provide indirect light and consistent moisture.

Caring for New Plants
After successfully propagating your spider plants, it’s important to provide the right care to ensure they thrive:
- Lighting: Spider plants prefer bright, indirect light. Avoid direct sunlight, which can scorch the leaves.
- Watering: Keep the soil consistently moist but not waterlogged. Spider plants are relatively drought-tolerant but thrive with regular watering.
- Humidity: These plants appreciate moderate humidity. Consider misting the leaves or placing a humidifier nearby.
- Feeding: During the growing season (spring and summer), feed your spider plants with a balanced liquid fertilizer every 2-4 weeks.
Troubleshooting Common Issues
Even the most seasoned gardeners may encounter a few hiccups. Here are some common issues and how to address them:
- Brown Tips: Often caused by low humidity or fluoride in tap water. Use distilled water and increase humidity.
- Root Rot: Caused by overwatering or poor drainage. Ensure your pot has drainage holes and avoid waterlogged soil.
- Pests: Spider plants can attract pests like spider mites and aphids. Treat with insecticidal soap or neem oil.
Conclusion
Propagating spider plants is a rewarding and straightforward process that allows you to grow your indoor garden with ease. Whether you’re a seasoned plant enthusiast or a beginner, these propagation methods will help you create a thriving collection of spider plants. Embrace the joy of nurturing new life and watch your green family flourish!
