Spider plants (Chlorophytum comosum) are a favorite among houseplant enthusiasts due to their striking foliage and low-maintenance nature. However, even the hardiest of houseplants need some TLC now and then. One crucial aspect of spider plant care is repotting. This guide will walk you through the process of repotting your spider plants to ensure they thrive and continue to beautify your home.
Contents
Signs It’s Time to Repot
Before you begin, it’s important to recognize when your spider plant needs a new home. Here are some telltale signs:
- Roots growing out of the drainage holes: This indicates that your plant has outgrown its current pot.
- Water drains too quickly: When the soil can no longer retain moisture, it’s time for a change.
- Crowded plantlets: Spider plants produce baby plants, or “spiderettes,” which can overcrowd the pot.
Choosing the Right Pot and Soil
Selecting the right pot and soil is essential for your spider plant’s health.
- Pot Size: Choose a pot that is one size larger than the current one, typically 2-3 inches wider in diameter.
- Drainage: Ensure the new pot has adequate drainage holes to prevent waterlogging.
- Soil: Use a well-draining potting mix. A mixture of peat, pine bark, and perlite or sand works well.
The Repotting Process
Here’s a step-by-step guide to repotting your spider plant:
Step 1: Prepare Your Work Area
Gather all necessary materials, including the new pot, fresh potting soil, and gardening tools. Lay down a tarp or newspapers to keep the area clean.
Step 2: Remove the Plant from Its Current Pot
Gently turn the pot on its side and carefully slide the plant out, supporting the base of the foliage with one hand. If the plant is stuck, tap the sides of the pot to loosen it.
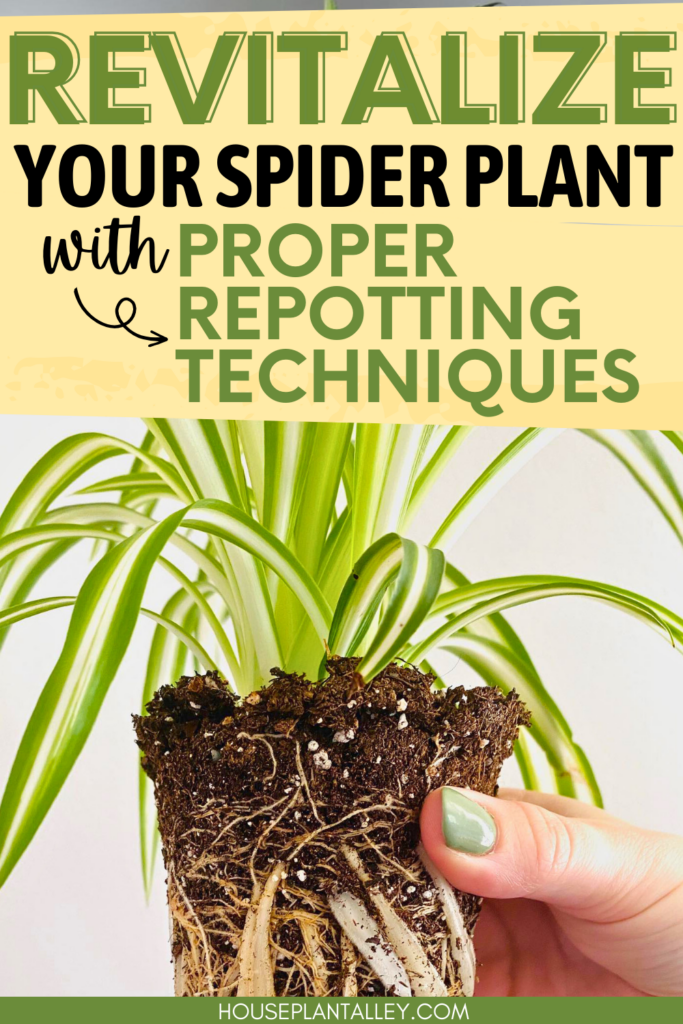
Step 3: Inspect and Trim the Roots
Examine the roots for any signs of rot or disease. Healthy roots should be white and firm. Trim any damaged or excessively long roots with clean scissors.
Step 4: Add Soil to the New Pot
Fill the bottom of the new pot with fresh potting soil, creating a small mound in the center. This will help the plant sit at the correct height.
Step 5: Position and Plant
Place the spider plant in the new pot, ensuring the base of the plant is about an inch below the rim of the pot. Fill in around the roots with more potting soil, gently pressing down to remove air pockets.
Step 6: Water Thoroughly
Water the plant well until the excess drains out of the bottom. This helps settle the soil around the roots and ensures good contact between the roots and the new soil.
Post-Repotting Care
After repotting, give your spider plant a little extra care to help it adjust:
- Watering: Keep the soil consistently moist but not waterlogged for the first few weeks.
- Light: Place the plant in a bright, indirect light location to reduce transplant shock.
- Humidity: Spider plants enjoy higher humidity, so consider misting the leaves or using a humidifier.
Troubleshooting Common Issues
Even with the best care, repotting can sometimes lead to issues. Here are some common problems and solutions:
- Wilting or yellowing leaves: Ensure the plant is not overwatered and that it receives adequate light.
- Slow growth: This can be normal after repotting as the plant adjusts. Be patient and provide consistent care.
By following these steps, your spider plant will not only survive but thrive in its new pot. Happy gardening!