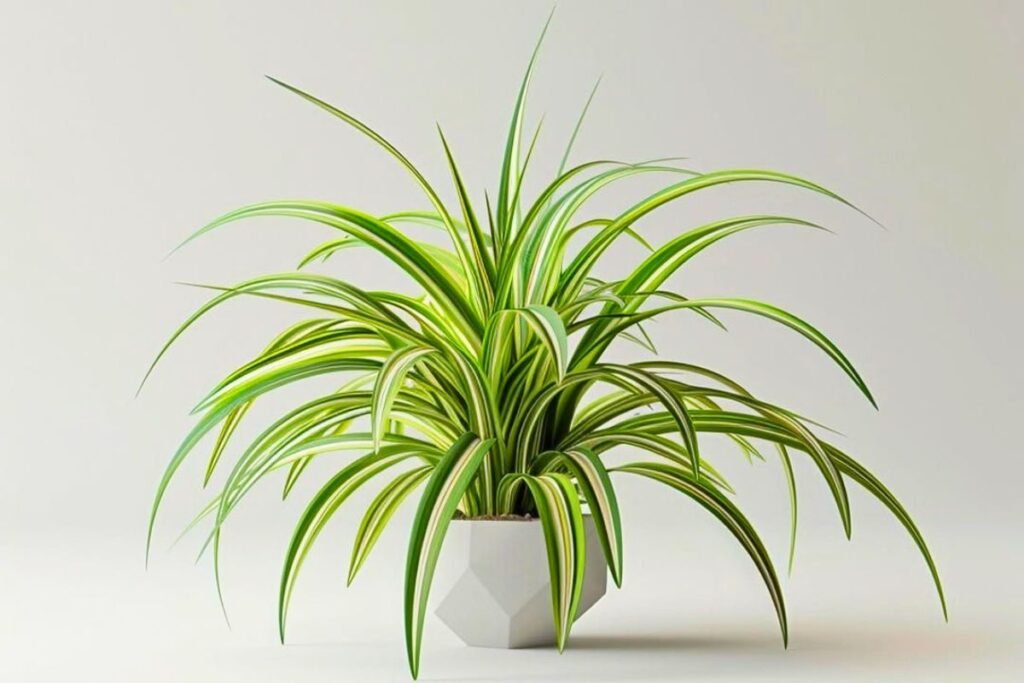
Spider plants, with their cascading foliage and air-purifying qualities, are a favorite among indoor gardening enthusiasts. Not only are they relatively easy to care for, but they also offer a versatile canvas for creative styling. In this post, we’ll delve into the techniques for pruning and shaping your spider plants to keep them looking their best.

Contents
Understanding Spider Plant Growth
Before diving into pruning and shaping, it’s important to understand how spider plants grow. These plants, known scientifically as Chlorophytum comosum, produce long, arching leaves and small white flowers that give way to baby plantlets, or “spiderettes.” These spiderettes can eventually grow into new plants, creating a lush, cascading effect.
Pruning for Health and Aesthetics
Pruning is essential for maintaining the health and appearance of your spider plant. It involves removing dead, yellowing, or damaged leaves, as well as controlling the growth of spiderettes.
Step-by-Step Pruning Guide
- Inspect Your Plant: Regularly check your spider plant for any leaves that are yellowing, browning, or damaged. These should be removed to promote healthy growth.
- Use Clean Tools: Always use clean, sharp scissors or pruning shears to avoid spreading diseases. Sterilize your tools with rubbing alcohol before and after each use.
- Trim Dead Leaves: Cut off any dead or yellowing leaves at the base, close to the soil. Be gentle to avoid damaging healthy leaves.
- Manage Spiderettes: If your plant is producing too many spiderettes, trim them back to the base of the mother plant. You can also propagate these spiderettes to grow new plants.
Shaping Your Spider Plant
Shaping involves guiding the growth of your spider plant to achieve a desired look. This can include training the leaves to cascade in a certain direction or creating a more compact appearance.
Shaping Techniques
- Support and Direction: Use stakes or plant supports to guide the growth of your spider plant’s leaves and spiderettes. Gently tie the leaves to the supports with soft plant ties or twine.
- Rotate Regularly: Ensure even growth by rotating your plant regularly. This helps all sides receive equal light and prevents the plant from leaning towards one direction.
- Control Growth: To create a more compact appearance, trim the tips of long leaves. This encourages the plant to grow bushier rather than longer.
Seasonal Care and Styling Tips
Spider plants have different needs depending on the season. Here are some tips to keep in mind:
Spring and Summer
- Increase Watering: As your spider plant grows more actively, it will need more water. Ensure the soil stays consistently moist but not waterlogged.
- Fertilize: Use a balanced houseplant fertilizer every 4-6 weeks to support healthy growth.
- Repot if Necessary: If your spider plant has outgrown its pot, spring is the perfect time to repot it into a slightly larger container.
Fall and Winter
- Reduce Watering: Spider plants need less water during the colder months. Allow the top inch of soil to dry out between waterings.
- Avoid Cold Drafts: Keep your spider plant away from cold drafts and ensure it stays in a warm, well-lit spot.
- Minimal Pruning: Limit pruning during this period as the plant’s growth slows down.
Conclusion
Styling spider plants through pruning and shaping not only keeps them healthy but also enhances their natural beauty. With the right techniques, you can create a stunning, cascading display that adds a touch of greenery to any indoor space. So grab your pruning shears and start styling your spider plant today!
Remember, gardening is as much an art as it is a science. Enjoy the process and let your creativity flourish!
