Just like a drowning victim needs immediate rescue, your overwatered rubber plant requires swift intervention to survive. If you’ve noticed yellowing leaves, soggy soil, or a concerning droop in your plant’s appearance, you’re likely facing a critical case of root rot. While this situation might seem dire, you’ve got a solid chance of saving your leafy friend – as long as you’re ready to roll up your sleeves and tackle the problem head-on with some precise plant surgery.
Signs of an Overwatered Rubber Plant
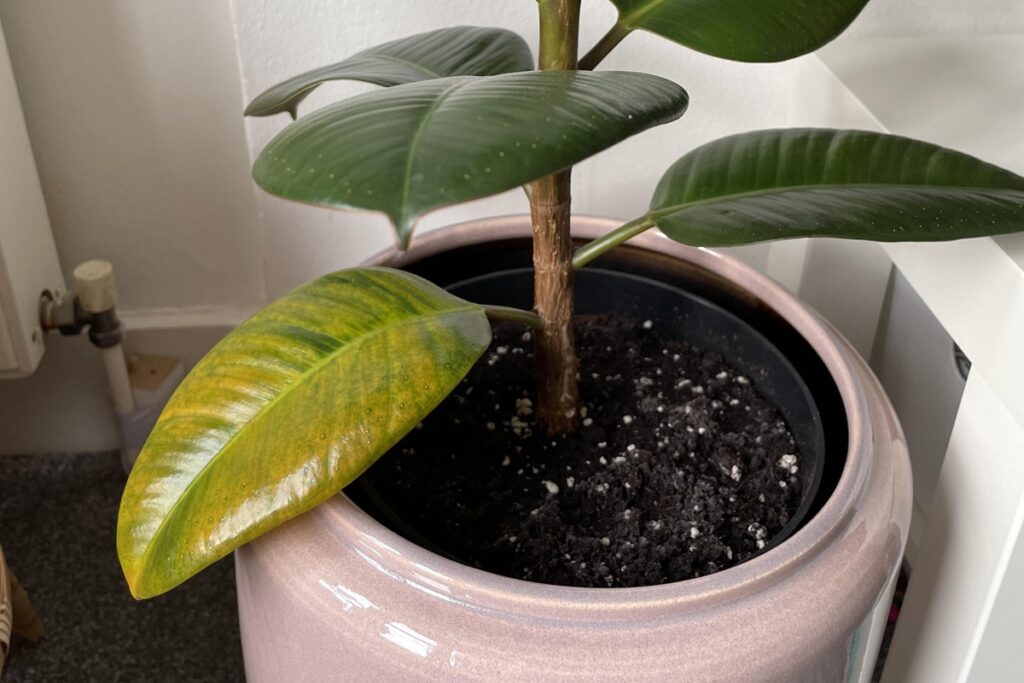
Overwatered rubber plants display several distinctive symptoms that indicate water stress. The most common signs include yellowing leaves, particularly on the lower portions of the plant, and soft, mushy stems near the base. Leaves may develop brown spots or edges, and some might begin dropping from the plant, especially older leaves. The soil will feel consistently wet to the touch and may emit a musty, unpleasant odor indicative of root rot.
Root rot is a serious condition that develops in overwatered rubber plants, characterized by dark brown or black roots that are soft and easily break apart when touched. Above the soil, the plant may appear wilted despite wet soil conditions, and new growth might be stunted or deformed. If you notice these symptoms, especially in combination, it’s essential to address the overwatering issue promptly to prevent permanent damage to the plant.
Assessing Root Health and Damage
Root health assessment of an overwatered rubber plant begins by gently removing the plant from its pot and examining the root system. Healthy roots should be firm and white or light tan in color, while damaged roots from overwatering will appear brown or black, mushy, and may have a foul odor. The roots may also easily break apart or slip out of their outer covering when touched.
To properly evaluate the extent of damage, carefully clean away excess soil from the roots using your fingers or running water. Look for signs of root rot, which typically starts at the root tips and works its way up. Count the percentage of affected roots versus healthy ones to determine the severity of the problem – if more than 50% of the roots are rotted, the plant’s survival chances are greatly reduced.
Emergency Care Steps for Water-Logged Plants
Remove the rubber plant from its pot immediately and gently shake off excess wet soil from the root system. Inspect the roots carefully, trimming away any black, mushy, or rotting roots with clean, sharp scissors or pruning shears. Healthy roots should be firm and white or light tan in color.
Allow the plant and its remaining healthy roots to air dry for several hours in a warm, well-ventilated area, but keep them out of direct sunlight. During this time, prepare a new pot with fresh, well-draining potting mix or sterilize the original pot and use new soil. Ascertain the pot has adequate drainage holes to prevent future waterlogging issues.
Proper Soil and Drainage Solutions
Well-draining soil is essential for preventing and remedying overwatered rubber plants. A suitable potting mix consists of regular potting soil combined with perlite, orchid bark, or coarse sand to improve drainage. The ideal ratio is approximately 2 parts potting soil to 1 part drainage material, ensuring that water can move freely through the soil without becoming stagnant.
The pot itself must have adequate drainage holes at the bottom to allow excess water to escape. Using a pot that’s slightly larger than the root ball, with multiple drainage holes, prevents water from pooling at the bottom. Adding a layer of gravel or broken pottery pieces at the base of the pot before adding soil can further enhance drainage and prevent the holes from becoming clogged with soil particles.
Recovery Tips and Maintenance Guidelines
After addressing immediate overwatering issues, place the rubber plant in bright, indirect light and maintain room temperatures between 60-75°F (15-24°C). Reduce watering frequency and only water when the top 1-2 inches of soil feels dry. Remove any remaining yellow or brown leaves to help the plant focus energy on healthy growth.
Moving forward, establish a proper watering schedule based on seasonal needs, reducing water during winter months and increasing slightly during active growing seasons. Use well-draining soil, guarantee the pot has adequate drainage holes, and never let the plant sit in standing water. Monitor humidity levels and consider using a pebble tray or humidifier to maintain favorable conditions without risking overwatering. Regular inspection for signs of stress or disease will help prevent future overwatering incidents.
Prevention Strategies for Future Care
Maintaining proper watering habits is vital to prevent future overwatering issues with rubber plants. Water only when the top 1-2 inches of soil feels dry to the touch, and always verify the pot has adequate drainage holes. Establish a consistent watering schedule based on seasonal needs, reducing water during winter months when the plant’s growth naturally slows down.
Using the right potting mix and container size also plays an important role in prevention. Choose a well-draining potting soil specifically designed for indoor plants, and consider mixing in perlite or orchid bark to improve drainage. Select a pot that’s appropriately sized for the plant – too large a container can hold excess moisture and lead to overwatering problems. Additionally, empty the drainage tray promptly after watering to prevent the plant from sitting in standing water.