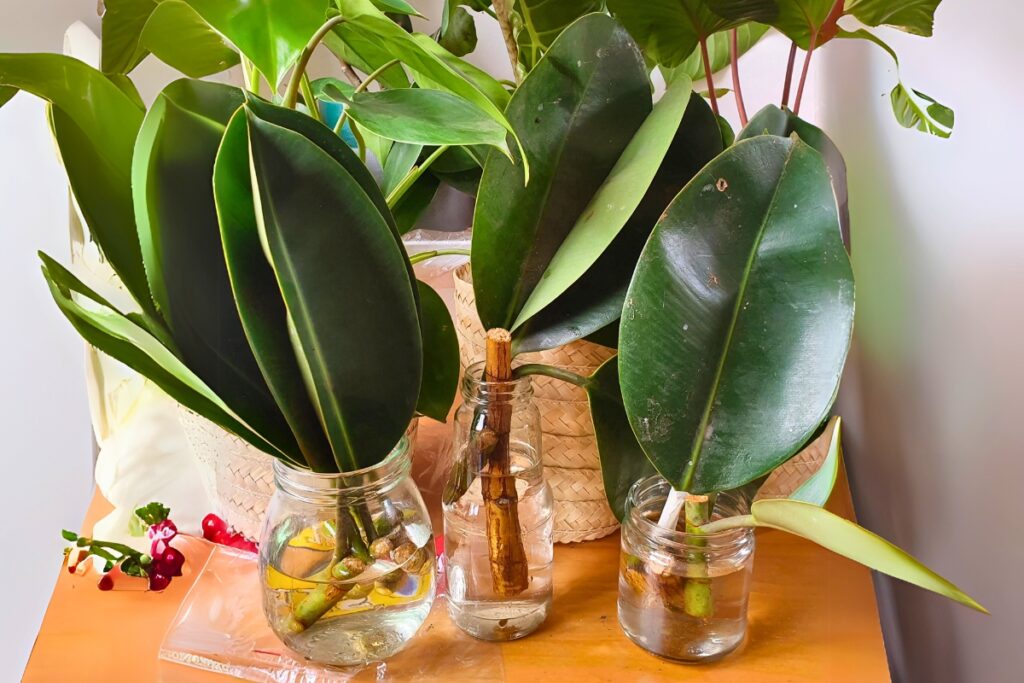
Like a skilled surgeon performing a precise operation, propagating a rubber plant requires the right tools, timing, and technique. If you’ve ever dreamed of multiplying your beloved Ficus elastica without spending a dime at the nursery, you’re in luck. You’ll find that creating new rubber plants from your existing one isn’t just rewarding—it’s surprisingly straightforward when you know the essential steps. Let’s explore the two most effective methods that’ll help your plant family grow.

Contents
Essential Tools and Materials for Rubber Plant Propagation
Basic propagation supplies needed for rubber plant propagation include sharp, clean pruning shears or scissors, well-draining potting soil, rooting hormone powder, clear glass containers or small pots, plastic bags or clear domes for humidity, and clean water. The cutting tools must be sterilized to prevent disease transmission, while the containers should be thoroughly cleaned and have drainage holes if using pots.
Additional helpful materials include sphagnum moss or perlite for the rooting medium, a heat mat to provide bottom warmth, and garden gloves to protect from the plant’s milky sap. For air layering propagation method, you’ll also need plastic wrap, twist ties or plant tape, and moistened moss. A spray bottle is useful for maintaining humidity levels during the rooting process.
When to Propagate Your Rubber Plant
The best time to propagate a rubber plant is during the spring and summer months when the plant is in its active growing phase. During these warmer seasons, the plant has higher energy levels and stronger growth hormones, which greatly increase the chances of successful propagation and root development.
Avoid propagating rubber plants during fall and winter, as the reduced daylight hours and cooler temperatures can slow down or inhibit root growth. Additionally, the plant’s growth naturally slows during these dormant periods, making it less likely for cuttings to establish themselves successfully. If indoor conditions are consistently warm and humid year-round, propagation can be attempted outside the ideal seasons, though success rates may be lower.
Step-by-Step Stem Cutting Method
Select a healthy stem that’s at least 6 inches long with 2-3 leaves, making a clean diagonal cut just below a node using sterilized pruning shears. Remove the bottom leaves, leaving only 1-2 at the top, and dip the cut end in rooting hormone powder. Plant the cutting in a well-draining potting mix, with the node buried about 2 inches deep.
Create a humid environment by covering the cutting with a clear plastic bag, ensuring it doesn’t touch the leaves. Place the container in bright, indirect light and maintain soil moisture without waterlogging. After 4-6 weeks, gently tug the cutting to check for resistance, indicating root development. Once roots have established, remove the plastic covering and care for it as a regular rubber plant.
Air Layering Technique for Rubber Plants
Air layering is a reliable propagation method for rubber plants that allows you to create a new plant while the cutting remains attached to the parent plant. The technique involves creating a wound on a healthy stem, encouraging root development at that point, and wrapping the area in moist growing medium until roots form.
To air layer a rubber plant, select a healthy stem and make a diagonal cut about one-third through the stem below a node. Insert a toothpick or small stick to keep the wound open, then wrap the area with damp sphagnum moss. Cover the moss with plastic wrap, securing it tightly above and below to create a humid environment. After 4-8 weeks, roots will develop from the wound site, and once substantial root growth appears, the new plant can be cut below the roots and potted separately.
Caring for Your Newly Propagated Plants
After successfully propagating your rubber plant, proper care is essential for the first few weeks to guarantee healthy growth. Keep the newly propagated plants in bright, indirect light and maintain consistent soil moisture without overwatering. The growing environment should be warm, between 65-85°F (18-29°C), with moderate humidity levels maintained through regular misting or using a humidity tray.
Monitor your new plants closely for signs of stress or growth issues, adjusting care as needed. Wait at least 4-6 weeks before applying any fertilizer, as the young plants need time to establish their root systems. Once roots have developed and new growth appears, you can gradually shift to normal rubber plant care routines, including regular fertilizing during the growing season and allowing the soil to dry slightly between waterings.
Troubleshooting Common Propagation Problems
Common issues during rubber plant propagation include rotting stems, failure to root, and leaf drop. Rotting typically occurs when the cutting is too wet or when the propagation medium doesn’t drain well enough. To prevent this, guarantee the potting medium is well-draining and avoid overwatering. If rot appears, remove the affected areas and start with a fresh cutting.
Failed root development often happens due to incorrect temperature, humidity levels, or cutting technique. Maintain temperatures between 65-85°F (18-29°C), use a humidity dome or plastic bag to increase moisture, and guarantee cuts are made just below a node with clean, sharp tools. Yellowing or dropping leaves during propagation usually indicates stress from environmental changes or improper care. While some leaf drop is normal, excessive loss can be minimized by maintaining consistent conditions and avoiding dramatic changes in light or temperature.
