If you’ve noticed your Oncidium orchid’s roots spilling over the pot’s edge or its potting medium breaking down, it’s time for a repotting intervention. You’ll need to handle this delicate operation with precision to avoid damaging your plant’s sensitive root system. While the process might seem intimidating at first, there’s a systematic approach that’ll help you transfer your orchid to its new home safely. Let’s walk through the essential steps that’ll guarantee your Oncidium thrives in its fresh quarters.
Contents
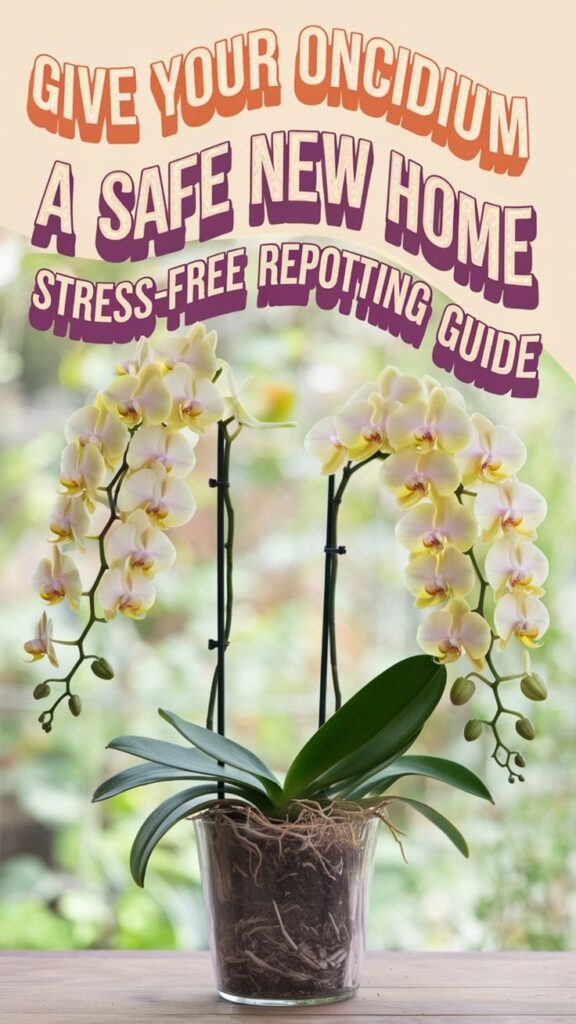
Signs Your Oncidium Needs Repotting
While Oncidium orchids don’t need frequent repotting, they’ll show clear signs when it’s time for a new home. You’ll notice roots growing over the pot’s edge, or they’ll start emerging from drainage holes, signaling the plant has outgrown its container.
Watch for deteriorating potting medium, which becomes dark and breaks down after 1-2 years. If your orchid’s taking longer to dry between waterings, or you’re seeing white salt deposits on the media’s surface, it’s time to repot.
Another telltale indicator is when your orchid’s pseudobulbs start growing over the pot’s rim, creating an unstable, top-heavy plant that’s prone to tipping.

Best Time of Year for Repotting
The ideal time to repot your Oncidium orchid is during its spring growth phase, when new roots are emerging and the plant’s energy levels are high. You’ll want to wait until your orchid has finished flowering, as repotting during blooming can stress the plant and cause the flowers to drop prematurely. For most Oncidiums, this spring repotting window typically falls between March and May, though you should always check for new root growth as your primary timing indicator.
Spring Growth Is Best
During spring, Oncidium orchids enter their natural growth cycle, making it the perfect time for repotting. You’ll notice fresh root tips emerging and new pseudobulbs beginning to form, indicating the plant’s readiness for transplant.
While you can technically repot during other seasons, spring repotting gives your orchid the best chance to establish itself in its new container. The increasing daylight hours and warming temperatures create ideal conditions for root development.
Watch for these key signs: bright green root tips, emerging flower spikes, and small pseudobulb growth. Once you spot at least two of these indicators, you’re ready to begin the repotting process.
After Flowering Season
Once your Oncidium orchid’s blooms have completely faded and fallen off, you’ll find yourself at the second-best opportunity for repotting. This post-flowering period, which typically occurs 2-3 weeks after the last bloom drops, allows your orchid to focus energy on root development rather than flower production.
You’ll notice your plant sending out new root shoots during this time, typically appearing as bright green tips emerging from the pseudobulbs. Don’t wait longer than 4 weeks after flowering, though, as your orchid will soon begin its next growth cycle and won’t respond well to root disturbance during that phase.
Essential Tools and Materials
Successful repotting of Oncidium orchids requires gathering several essential tools and materials before you begin. You’ll need sharp, sterilized pruning shears, a clean pot with drainage holes, fresh orchid potting mix, and rubbing alcohol for tool sanitization.
Don’t forget protective gloves, a spray bottle filled with water, and stakes for supporting new growth. You’ll also want newspaper to catch debris, plus a measuring tape to guarantee your new pot is just 1-2 inches larger than the old one.
For root treatment, keep hydrogen peroxide (3% solution) and ground cinnamon handy – they’ll help prevent infection and promote healing during the repotting process.
Preparing Your Orchid for Transfer
Now that you’ve gathered your supplies, proper preparation of your Oncidium orchid will make the repotting process smoother and safer for your plant.
Begin by watering your orchid thoroughly 24 hours before repotting, as moist roots are more flexible and less likely to break. Carefully remove any dead leaves, flower spikes, or damaged pseudobulbs, using sterilized scissors to make clean cuts.
Gently work your fingers around the pot’s edge to loosen the plant, and if it’s stubborn, soak the entire pot in lukewarm water for 15 minutes. Don’t force the orchid – letting it soften naturally will prevent root damage.
Step-by-Step Repotting Process
The actual repotting process involves six key steps that you’ll need to follow precisely. First, remove your orchid from its old pot by gently tipping it sideways and easing it out. Next, trim away dead roots with sterilized scissors, leaving healthy, firm roots intact.
Place fresh potting medium in the new container, creating a small mound in the center. Position your orchid so the base sits slightly below the pot’s rim, then carefully fill around the roots with additional medium.
Finally, stake the plant if needed, and water thoroughly until liquid drains from the bottom. Don’t fertilize for two weeks while your orchid adjusts to its new home.
Post-Repotting Care and Recovery
After repotting your Oncidium orchid, it’ll need careful attention during its recovery period. Place the plant in a shaded area with indirect light for two weeks, maintaining temperatures between 65-80°F. Don’t water immediately; wait 5-7 days to let any damaged roots heal.
When you resume watering, mist the plant daily and water thoroughly once the medium feels nearly dry. Keep humidity above 50% by using a humidity tray. Don’t fertilize for the first month, then start with a quarter-strength orchid fertilizer.
Watch for new root growth and leaf development, which typically begins within 4-6 weeks after repotting. These signs indicate successful recovery.
Common Repotting Mistakes to Avoid
While repotting Oncidium orchids isn’t rocket science, several critical mistakes can harm your plant’s health and growth. Don’t rush the process by yanking roots from old media, as this can damage the plant’s delicate root system.
Avoid using containers that are too large, as a pot more than 2 inches wider than the root ball will lead to waterlogged media and root rot. You’ll also want to steer clear of dense, non-aerated potting mixes that retain too much moisture.
Never repot during the blooming cycle or when new growth is less than 3 inches tall, and don’t bury the rhizome below the media surface.