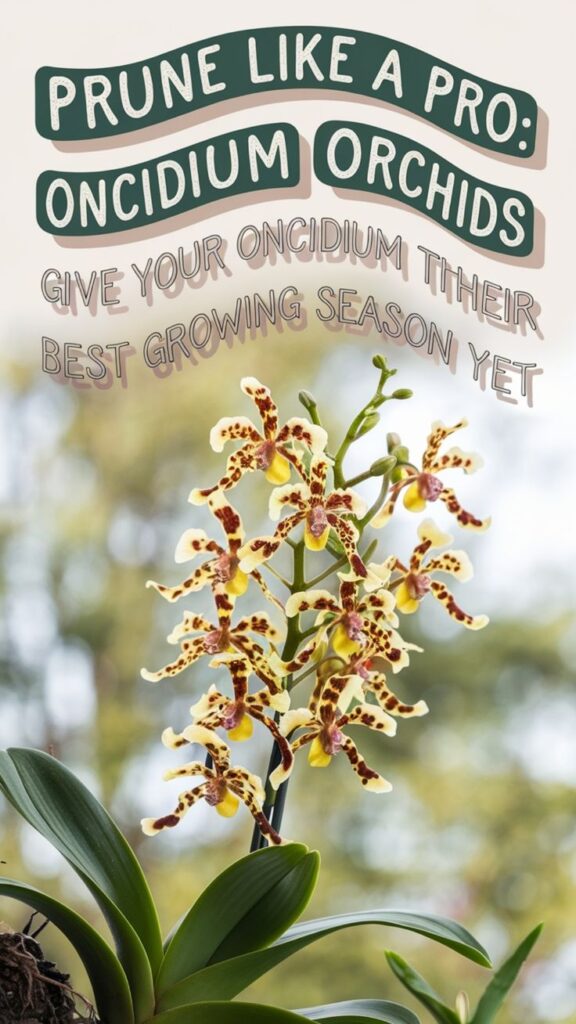
If you’ve noticed your Oncidium orchid looking a bit ragged, proper pruning might be just what it needs. You’ll want to tackle this task with precision and care, as incorrect cuts can lead to disease or stunted growth. While the process isn’t complicated, there’s more to it than simply snipping away dead parts. From selecting the right tools to knowing exactly where to make those essential cuts, let’s explore how you can transform your struggling orchid into a thriving specimen.

Contents
Essential Tools for Pruning Oncidium Orchids
Before you begin pruning your Oncidium orchids, you’ll need to gather the right tools to guarantee clean, precise cuts that won’t damage your plants. Start with sharp, sterilized pruning shears or scissors designed specifically for delicate plant work – these should have blades no longer than 2-3 inches.
You’ll also need rubbing alcohol (70% isopropyl), clean cotton swabs, and paper towels for sterilizing your tools between cuts. A small spray bottle filled with hydrogen peroxide (3% solution) will help prevent infection at cut sites. Don’t forget to wear thin nitrile gloves to protect both you and your orchids from harmful bacteria.
When to Prune: Identifying the Right Time
Now that you’ve assembled your pruning toolkit, timing your orchid maintenance becomes the next key factor. You’ll want to prune your Oncidium orchid when its blooms have completely faded and turned brown, typically 1-2 weeks after the last flower drops.
Watch for yellowing pseudobulbs and withered flower spikes, which signal it’s time to trim. The best season for pruning is early spring, just as new growth emerges, or late fall after the blooming cycle ends.
Don’t wait too long after flowers fade, as dead tissue can harbor diseases. If you spot any diseased areas during the growing season, remove them immediately, regardless of timing.
Step-by-Step Guide to Removing Dead Flower Spikes
Once you’ve identified a spent flower spike on your Oncidium orchid, you’ll need to follow a precise removal technique to avoid damaging the plant. Start by sterilizing your pruning shears with 70% rubbing alcohol, ensuring they’re completely clean and sharp.
Locate the base of the flower spike where it emerges from the pseudobulb, and make your cut at a 45-degree angle, about 1/4 inch above this point. Don’t cut too close to the pseudobulb, as this could invite disease.
After cutting, apply a light dusting of ground cinnamon to the cut surface – it’s a natural fungicide that’ll help prevent infection.
Proper Techniques for Trimming Damaged Leaves
Identifying damaged leaves on your Oncidium orchid requires careful inspection of discoloration, tears, and brown spots that might compromise the plant’s health. When you spot affected areas, don’t rush to remove entire leaves unless they’re completely yellow or brown.
Using sterile scissors or pruning shears, trim damaged portions at a 45-degree angle, leaving at least 2 inches of healthy tissue. If you’re cutting an entire leaf, make your cut 1/4 inch above where it connects to the pseudobulb. Always sterilize your tools with 70% isopropyl alcohol between cuts to prevent disease spread.
Apply cinnamon powder to cut surfaces as a natural fungicide to promote healing.
Aftercare and Disease Prevention Following Pruning
After pruning your Oncidium orchid, you’ll need to monitor the plant closely for signs of stress or infection during the first 72 hours. Watch for any darkening around cut edges, and apply a fungicidal paste if you notice discoloration.
Keep the pruned areas dry for 48 hours, and reduce watering to once every 5-7 days. You’ll want to maintain temperatures between 65-80°F while the plant recovers. Spray the leaves with a diluted copper-based fungicide (1:4 ratio) as a preventive measure.
Position your orchid in filtered light, away from direct sun or cold drafts. Don’t fertilize for two weeks post-pruning to avoid stressing the healing tissue.
