Imagine your home as a blank canvas, where a tiny mason jar terrarium becomes a vibrant stroke of green art. You can craft stunning, affordable terrariums with everyday items; let’s explore 10 DIY designs that fit any budget. Start with thrifted containers like jars (1-quart size) or teacups (6-8 oz), and layer them with pebbles (1-inch deep) for drainage. Curious about transforming a wine bottle or light bulb? Stick around for practical tips!
Contents
Mason Jar Mini Garden
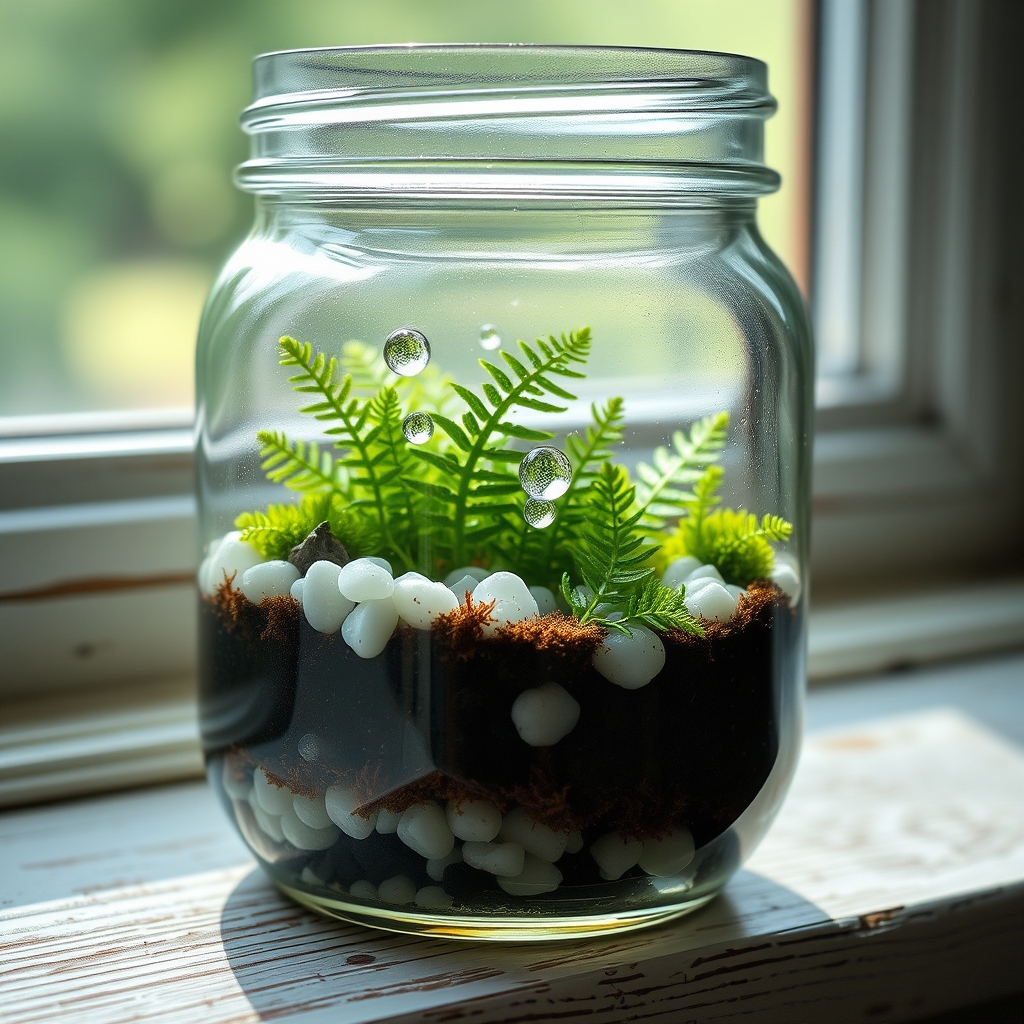
The Mason Jar Mini Garden is a charming and budget-friendly way for DIY enthusiasts to create a small-scale terrarium using everyday materials. All you need is a clean, empty mason jar with a lid, some small pebbles or gravel for drainage, activated charcoal to prevent mold, potting soil, and a selection of tiny plants like moss, air plants, or miniature ferns. This setup is perfect for those with limited space, as it can sit on a windowsill, desk, or shelf, bringing a touch of greenery to any corner of your home.
To assemble, start by layering the bottom of the jar with pebbles or gravel to guarantee proper drainage, followed by a thin layer of activated charcoal to keep the environment fresh. Add a layer of potting soil, then carefully plant your chosen greenery, arranging them to create a balanced and visually appealing mini landscape. Seal the jar with its lid to maintain humidity, though you can occasionally open it for ventilation if needed. With minimal maintenance, such as occasional watering with a spray bottle, this tiny ecosystem can thrive for months, offering a low-cost and creative outlet for plant lovers.
Recycled Glass Bottle Display
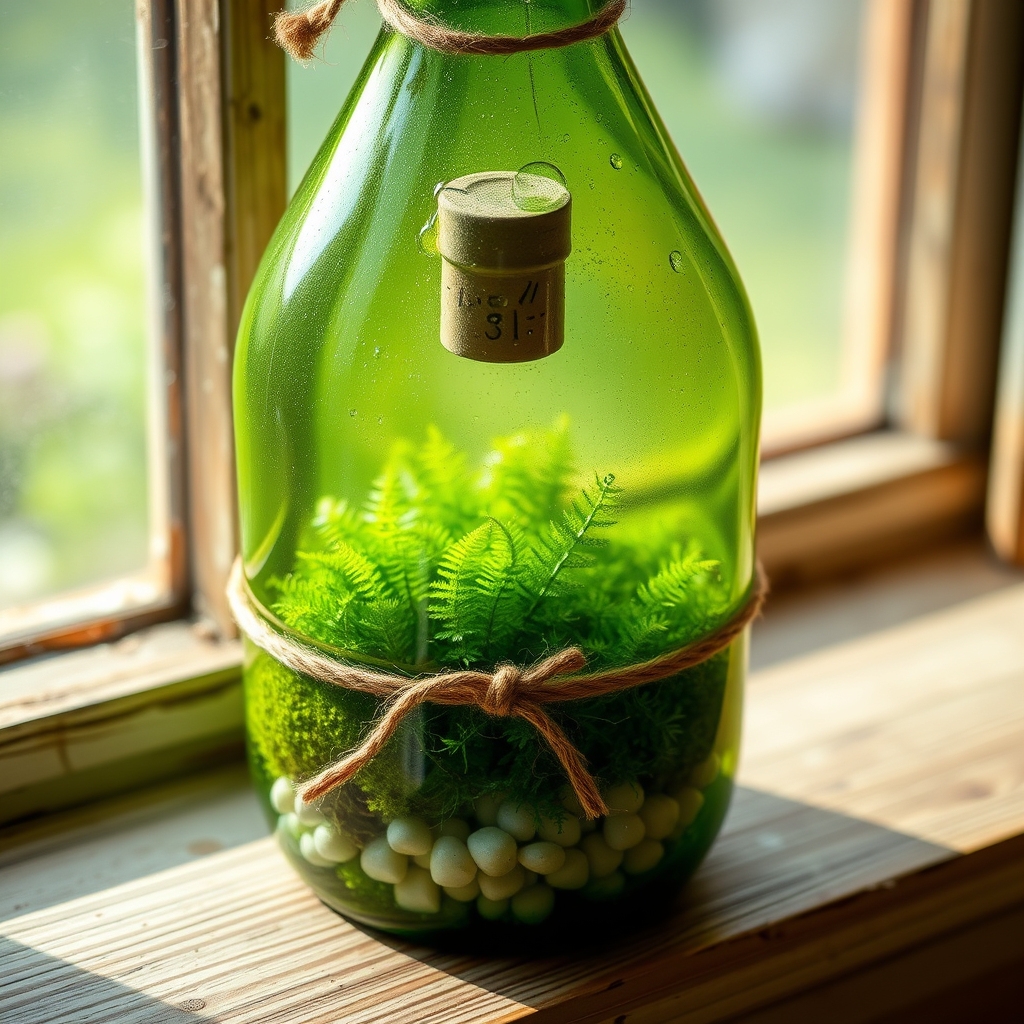
The Recycled Glass Bottle Display is a creative and eco-friendly way to craft a miniature terrarium using items you likely already have at home. By repurposing old glass bottles, such as wine or soda bottles, you can create a unique, enclosed environment for small plants like moss, air plants, or tiny ferns. This design not only reduces waste but also adds a rustic, charming aesthetic to your space with minimal cost.
To create this terrarium, start by thoroughly cleaning and drying the glass bottle to guarantee a healthy environment for your plants. Add a layer of small pebbles or gravel at the bottom for drainage, followed by a thin layer of activated charcoal to prevent mold and odors. Then, add a layer of potting soil or sphagnum moss, and carefully plant your chosen greenery using a spoon or small tool to maneuver inside the narrow neck of the bottle. Seal the bottle with a cork or leave it open, depending on the humidity needs of your plants.
This design is perfect for DIY enthusiasts who enjoy upcycling and want a low-maintenance, space-saving terrarium. It can be placed on a windowsill, shelf, or desk, bringing a touch of nature indoors. With endless customization options, such as decorating the bottle with twine or paint, the Recycled Glass Bottle Display is both an affordable and personal project.
Thrifted Teacup Planter
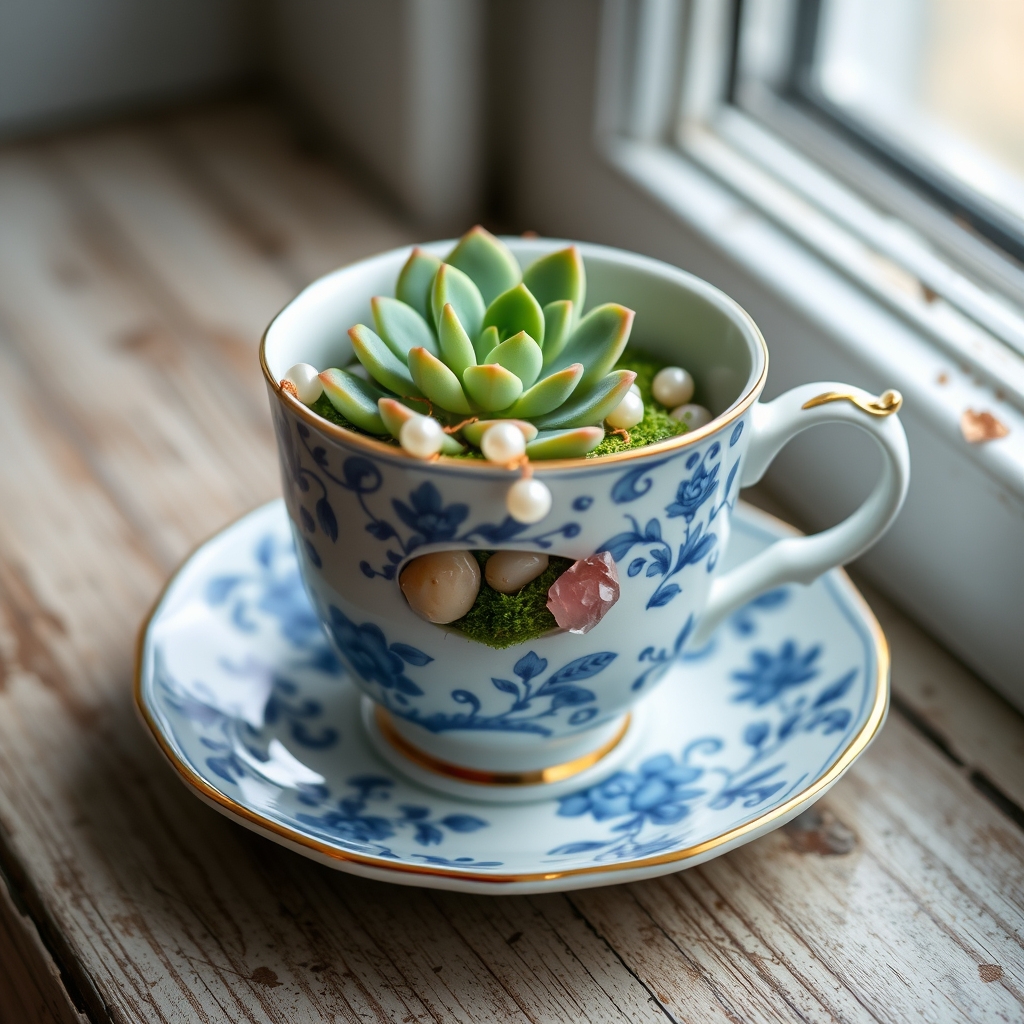
The thrifted teacup planter is a charming and budget-friendly option for DIY enthusiasts looking to create a unique terrarium. By scouring thrift stores or garage sales, you can find vintage or quirky teacups and saucers for just a few dollars. These small vessels are perfect for housing tiny succulents, moss, or air plants, transforming them into miniature green havens that add a touch of whimsy to any space.
To create a thrifted teacup planter, start by ensuring the cup is clean and dry before adding a layer of small pebbles or gravel at the bottom for drainage. Next, add a thin layer of activated charcoal to keep the environment fresh, followed by a suitable potting mix for your chosen plants. Carefully plant your small greenery, arrange decorative elements like tiny figurines or stones, and place the teacup in a spot with indirect sunlight to maintain its delicate ecosystem.
This project not only repurposes forgotten items but also allows for endless creativity, as each teacup’s design and pattern can inspire a different theme or story for your terrarium. It’s an ideal way to experiment with small-scale gardening while keeping costs low and sustainability high.
Upcycled Light Bulb Habitat
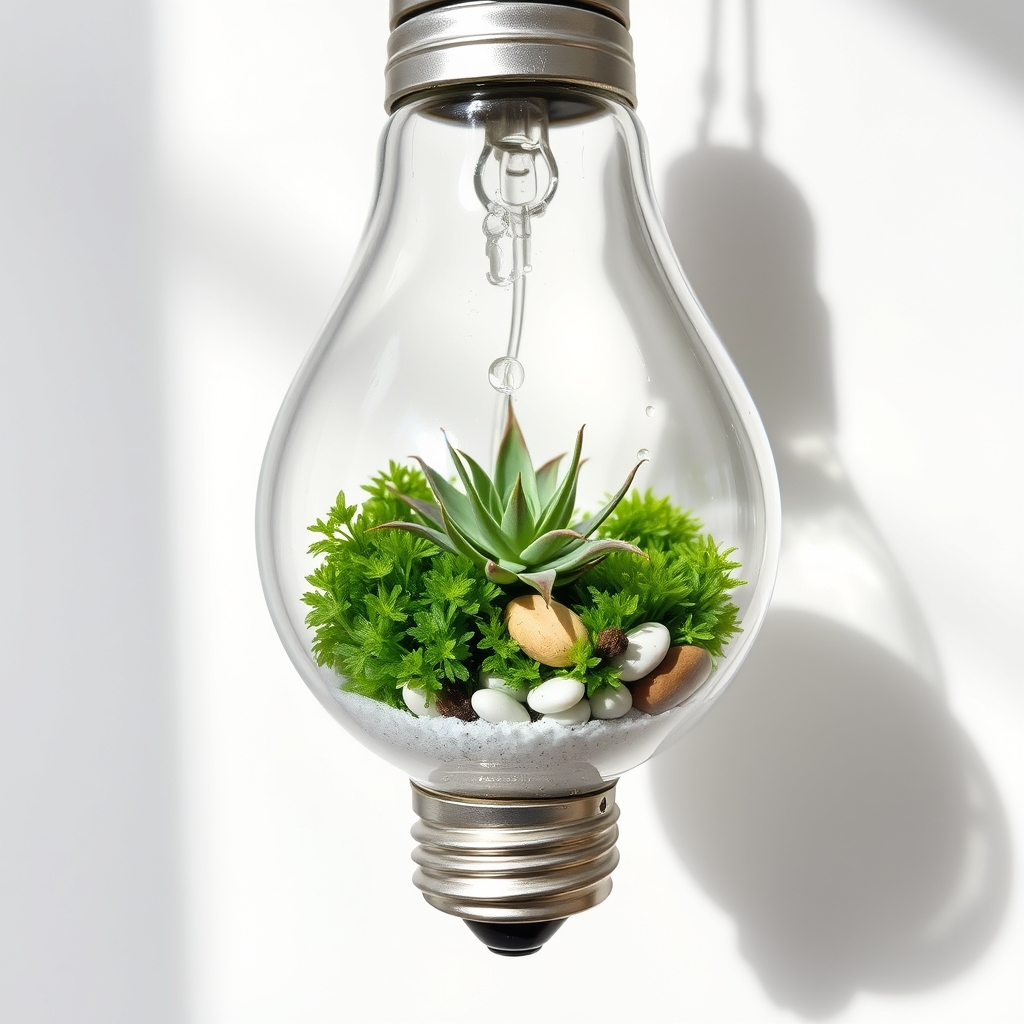
The Upcycled Light Bulb Habitat is a creative and budget-friendly terrarium design that repurposes old or burnt-out light bulbs into miniature ecosystems. This DIY project is perfect for enthusiasts who enjoy upcycling household items into unique decor pieces. By carefully hollowing out a light bulb, you can create a tiny glass enclosure ideal for small plants like moss, air plants, or even miniature ferns, adding a whimsical touch to your space.
To make this terrarium, start by safely removing the internal components of the light bulb using pliers and a screwdriver, ensuring you wear protective gloves and eyewear to avoid injury from broken glass. Once the bulb is hollowed out, clean the inside thoroughly and add a layer of small pebbles or sand for drainage, followed by a bit of soil or moss as the base for your plants. Secure the bulb in a small stand or hang it with wire for display, creating a striking conversation piece that showcases your creativity and commitment to sustainable crafting.
Budget-Friendly Fish Bowl Setup
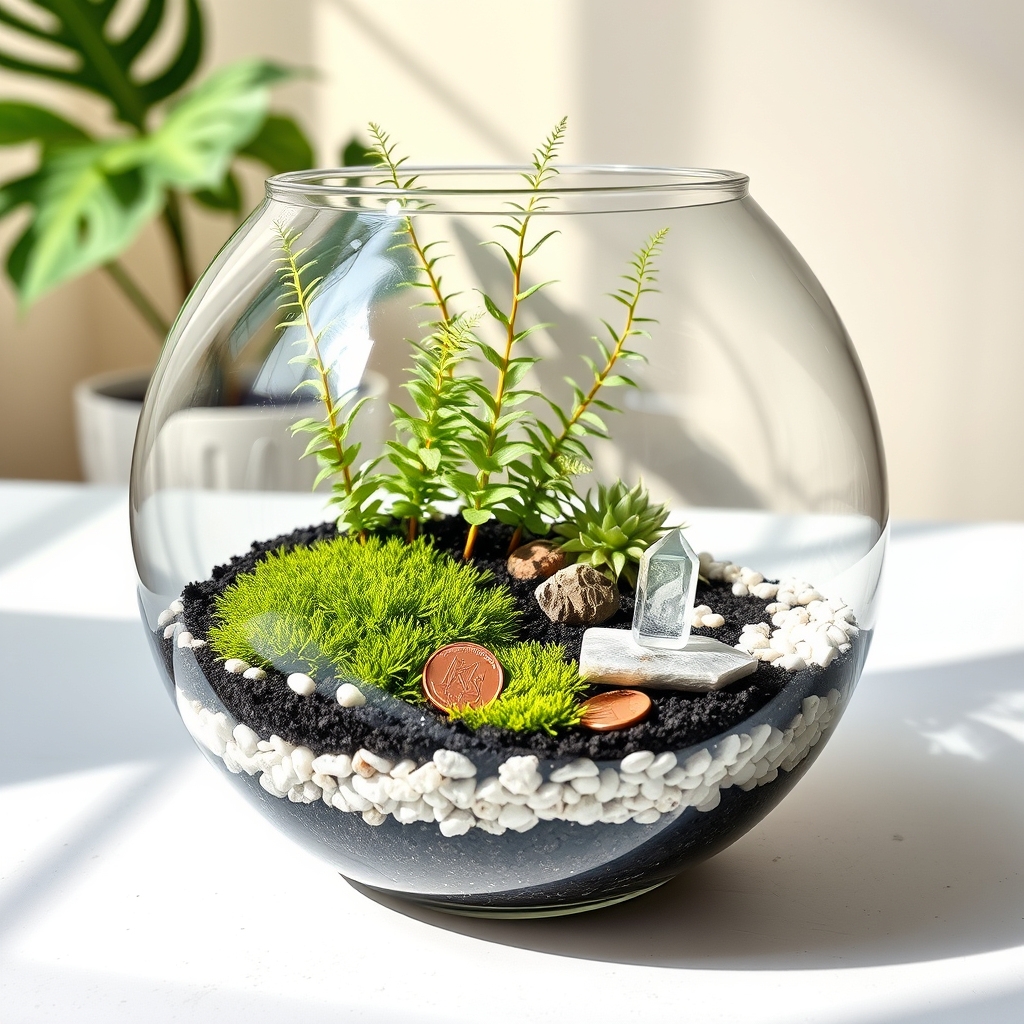
Creating a budget-friendly fish bowl terrarium is an excellent way for DIY enthusiasts to bring a piece of nature indoors without breaking the bank. A fish bowl, often available at thrift stores or discount shops for just a few dollars, serves as an ideal container for a small-scale terrarium. Its rounded shape not only provides a unique aesthetic but also allows for ample light penetration, which is essential for plant growth.
To set up your fish bowl terrarium, start with a layer of pebbles or gravel at the bottom for drainage, which can be sourced inexpensively from a local garden center or even collected from nature. Add a thin layer of activated charcoal to keep the environment fresh by preventing mold and odors, followed by a layer of potting soil. Choose low-cost, low-maintenance plants like moss, small ferns, or air plants that thrive in humid conditions and require minimal care. Finish the setup with decorative elements like small rocks or figurines, which can often be found at dollar stores or repurposed from around the home.
This simple project is not only cost-effective but also highly customizable, allowing you to experiment with different plant combinations and themes. With just a small investment of time and money, a fish bowl terrarium can become a charming focal point in any room, bringing greenery and tranquility to your space.
DIY Hanging Orb Creation
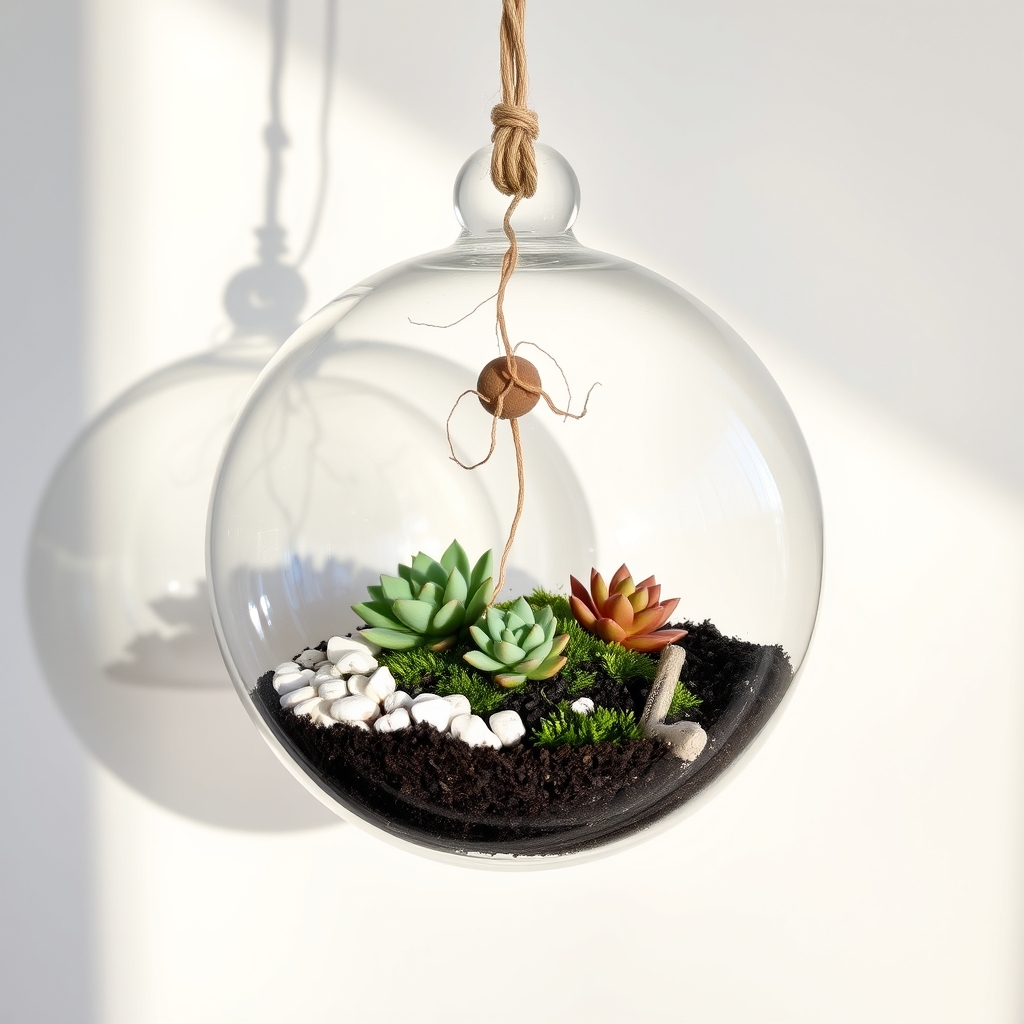
Creating a DIY hanging orb terrarium is a delightful and budget-friendly project for enthusiasts looking to add a touch of greenery to their space. This design involves crafting a spherical glass container that can be suspended from the ceiling or a stand, offering a unique visual appeal. The process begins with selecting an affordable glass orb, which can often be found at craft stores or online marketplaces, and gathering basic materials like small plants, moss, pebbles, and twine or wire for hanging.
To assemble the hanging orb, start by carefully layering the bottom with pebbles for drainage, followed by a thin layer of moss to retain moisture and prevent soil from mixing with the drainage layer. Next, add a small amount of potting soil and plant tiny succulents, air plants, or ferns that thrive in confined spaces. Secure the orb with a lid or seal if it has an opening, and attach twine or wire through designated loops or around the orb to create a sturdy hanging mechanism. Hang the orb in a well-lit area, ensuring it receives indirect sunlight to maintain the health of the plants inside.
This project not only enhances home decor but also allows for personalization through the choice of plants and decorative elements like colored stones or miniature figurines. With minimal maintenance, such as occasional watering through a small opening or misting, a hanging orb terrarium can become an enchanting focal point in any room.
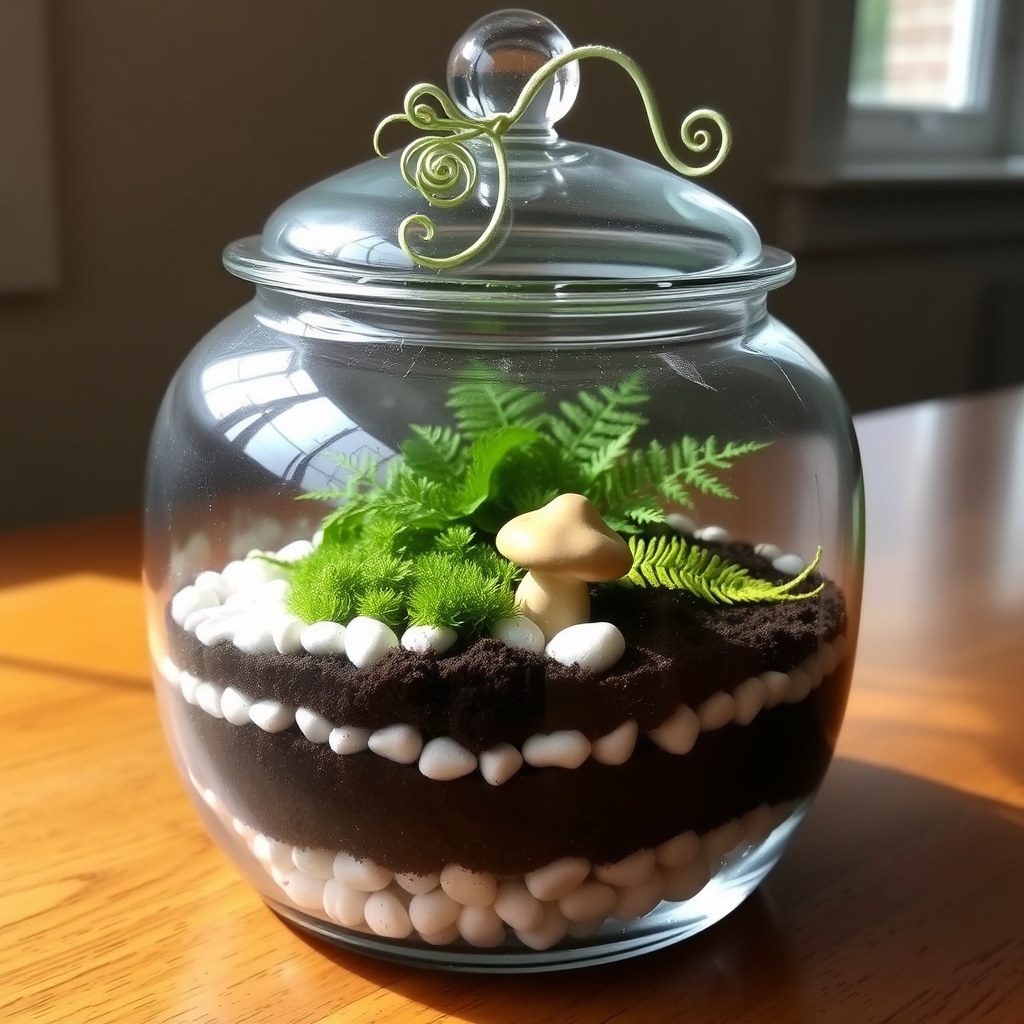
Creating a repurposed cookie jar landscape is a delightful and budget-friendly way to craft a unique terrarium. Start with an old cookie jar—those with wide mouths and clear glass work best for visibility and ease of access. Thoroughly clean and dry the jar to guarantee a healthy environment for your plants. This design not only recycles an item you might already have at home but also adds a whimsical, vintage charm to your terrarium display.
To build your cookie jar terrarium, layer the bottom with small pebbles or gravel for drainage, followed by a thin layer of activated charcoal to keep the environment fresh. Add a layer of potting soil suitable for the plants you’ve chosen, such as small ferns, moss, or air plants, which thrive in enclosed, humid spaces. Arrange your plants creatively, leaving room for growth, and consider adding tiny figurines or decorative stones for a personalized touch. Seal the jar with its lid to maintain humidity, and place it in indirect sunlight to avoid overheating.
This project is perfect for DIY enthusiasts looking for an affordable and sustainable way to bring greenery indoors. The cookie jar’s lid helps mimic a greenhouse effect, making it low-maintenance while still offering a striking visual appeal. It’s an ideal centerpiece for a kitchen counter or a thoughtful handmade gift for a friend.
Affordable Wine Glass Terrarium
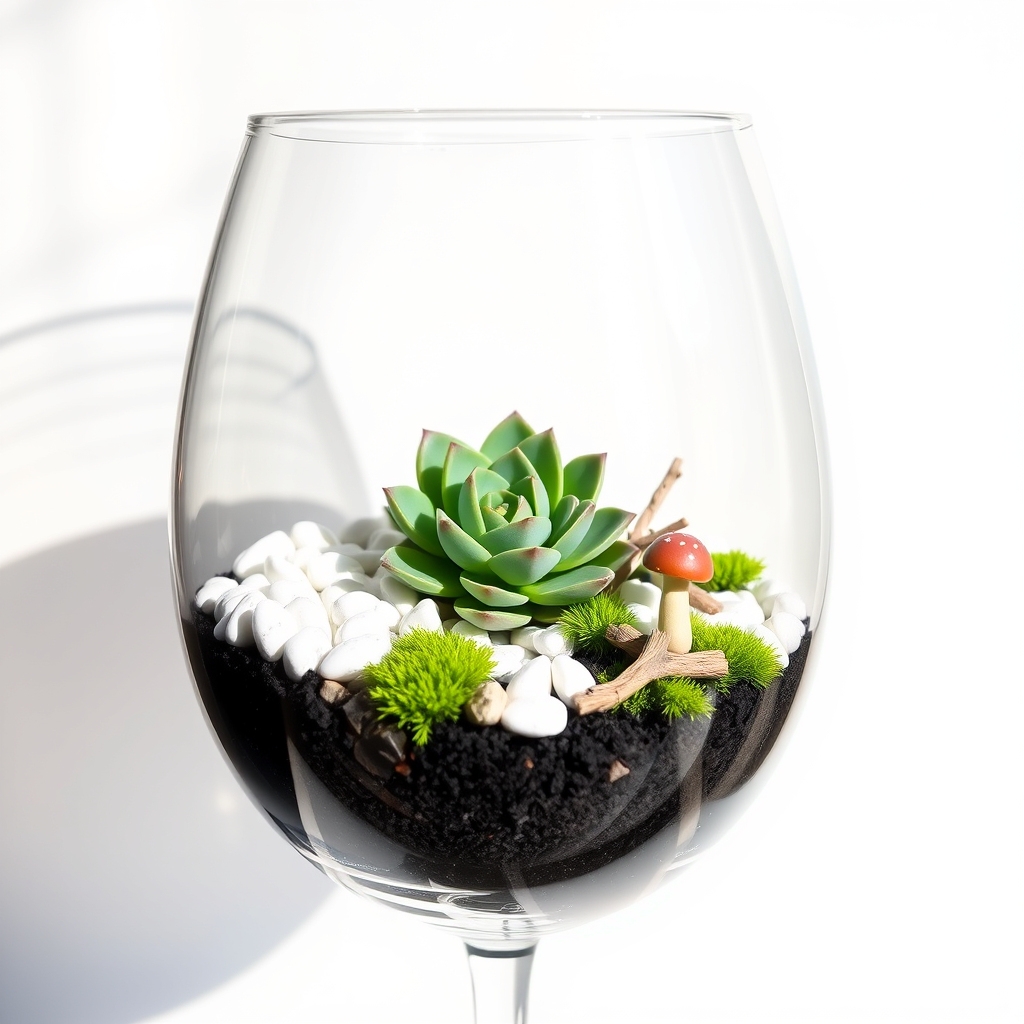
An affordable wine glass terrarium is a creative and budget-friendly way to bring a touch of greenery into your home. Using a simple wine glass, which can often be found at thrift stores or dollar stores for just a few dollars, you can create a miniature ecosystem that is both stylish and easy to maintain. This DIY project is perfect for small spaces, as it takes up minimal room while adding a unique decorative element to shelves, desks, or windowsills.
To make a wine glass terrarium, start by layering small pebbles or gravel at the bottom of the glass for drainage, followed by a thin layer of activated charcoal to keep the environment fresh. Add a layer of potting soil, then carefully plant small succulents, air plants, or moss, which are ideal for such confined spaces due to their low maintenance needs. Finish with decorative elements like tiny figurines, shells, or colored sand to personalize your terrarium, keeping costs low by using items you already have or can find inexpensively.
This project not only allows DIY enthusiasts to experiment with design but also serves as a great gift idea or a fun activity to do with friends and family. With minimal investment—often under $10 per terrarium—you can create a charming piece of living art that brightens any space.
Simple Plastic Container Design
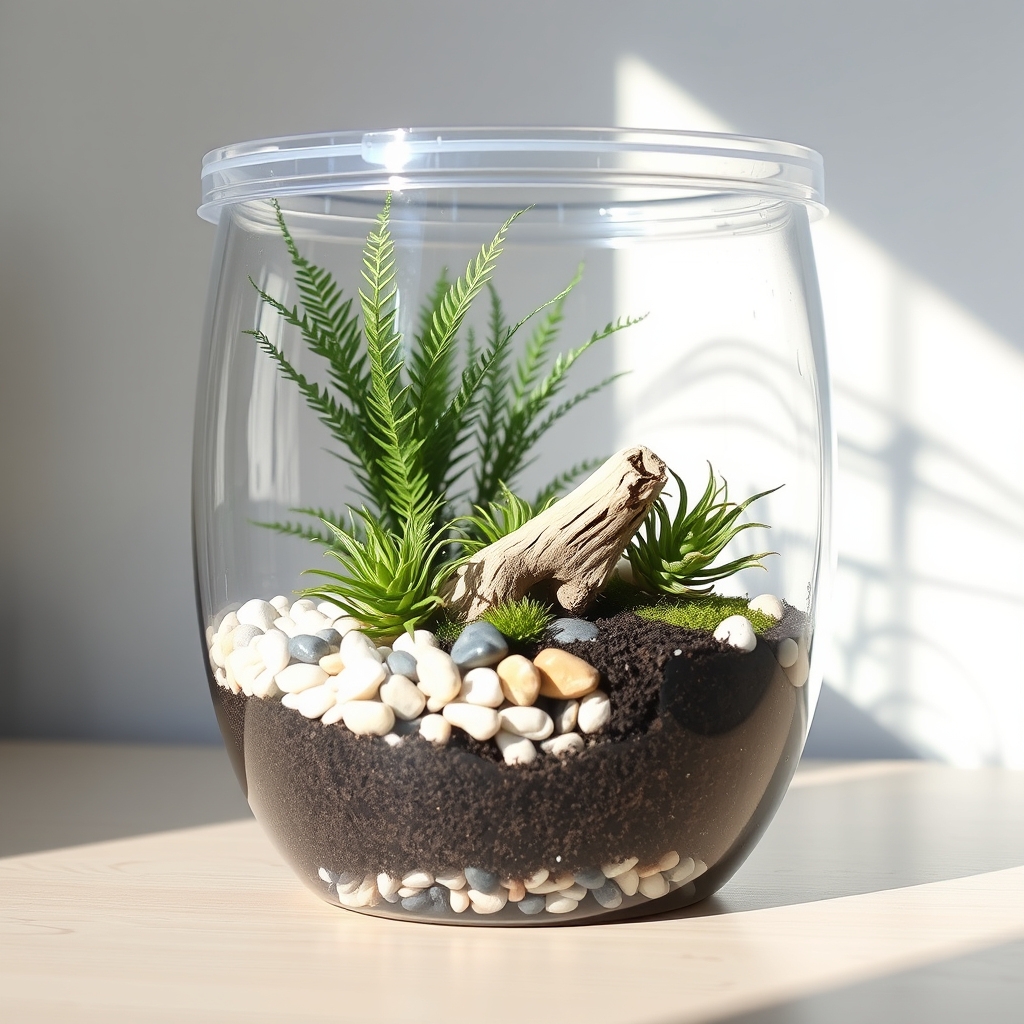
The Simple Plastic Container Design is an excellent starting point for DIY enthusiasts looking to create an affordable and easy-to-maintain terrarium. This design utilizes a clear plastic container, such as a storage bin or a large food container with a lid, which can be found at most dollar stores or repurposed from household items. The transparency of the plastic allows for ample light to reach the plants inside, while the lid helps retain moisture, creating a humid environment ideal for small tropical plants or mosses.
To assemble this terrarium, start by layering the bottom of the container with small pebbles or gravel for drainage, followed by a thin layer of activated charcoal to prevent mold and odors. Add a substrate like potting soil or sphagnum moss, then arrange small plants such as ferns, air plants, or miniature orchids. Decorative elements like rocks, driftwood, or tiny figurines can be added for a personalized touch. Since plastic containers are lightweight and portable, this design is perfect for small spaces like desks or windowsills.
This design is not only cost-effective but also highly customizable, allowing beginners to experiment with different plant combinations and layouts without a significant investment. Maintenance is minimal—simply mist the plants occasionally to maintain humidity and trim any overgrowth. With its simplicity and versatility, the Simple Plastic Container Design is an ideal project for anyone new to terrarium building.
Vintage Tin Box Ecosystem
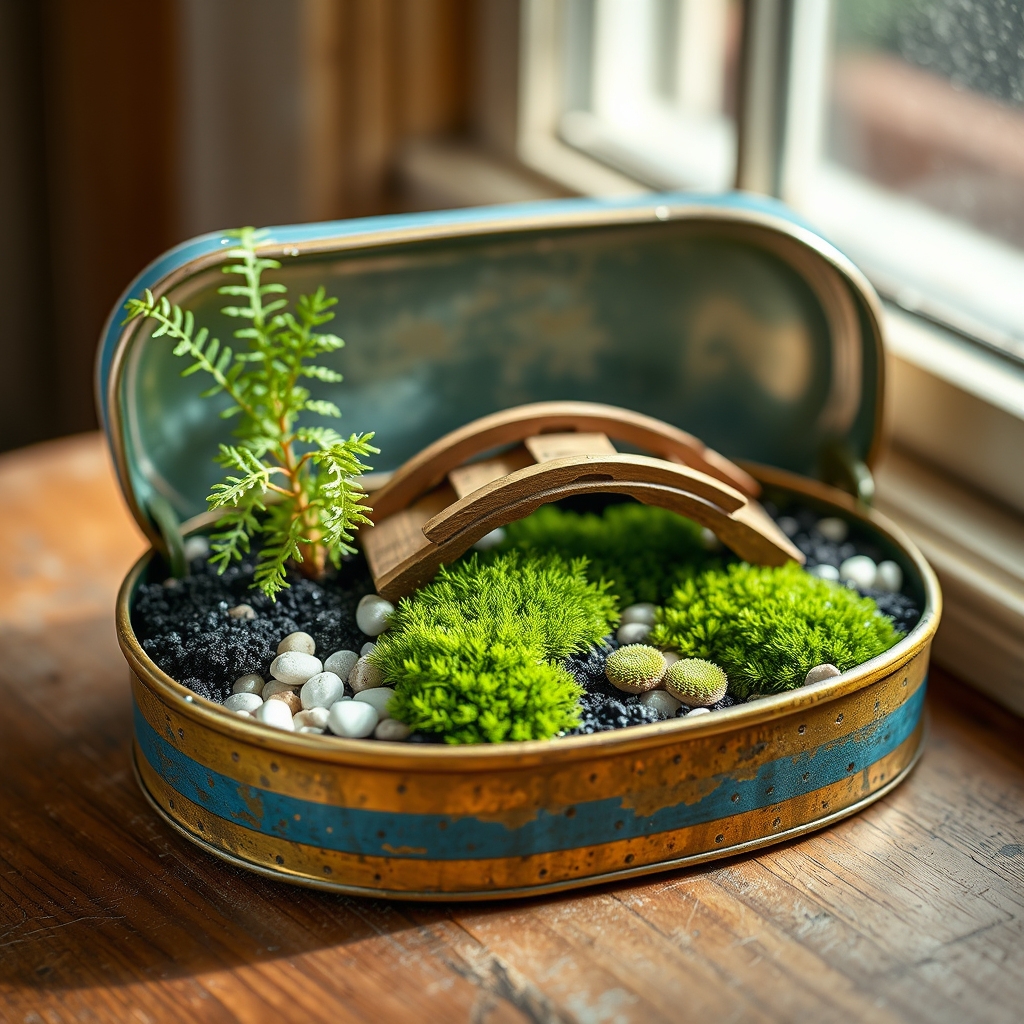
A vintage tin box ecosystem is a charming and affordable way to create a miniature terrarium using repurposed materials. Old tin boxes, often found at thrift stores or flea markets, provide a unique, rustic container for small plants like mosses, air plants, or tiny ferns. Their compact size and lid (if available) make them ideal for maintaining a humid environment, mimicking a natural ecosystem on a small scale.
To create this DIY terrarium, start by lining the bottom of the tin with small pebbles or gravel for drainage, followed by a layer of activated charcoal to prevent mold and odors. Add a thin layer of potting soil or sphagnum moss, then arrange your chosen plants, ensuring they have enough space to grow. Decorate with small figurines, rocks, or driftwood for a personalized touch, and lightly mist the plants to maintain moisture, especially if the tin has a lid to trap humidity.
This design is perfect for DIY enthusiasts looking for a budget-friendly project with a vintage aesthetic. It not only recycles old materials but also brings a bit of greenery into small spaces like desks or shelves, adding a nostalgic charm to any room.