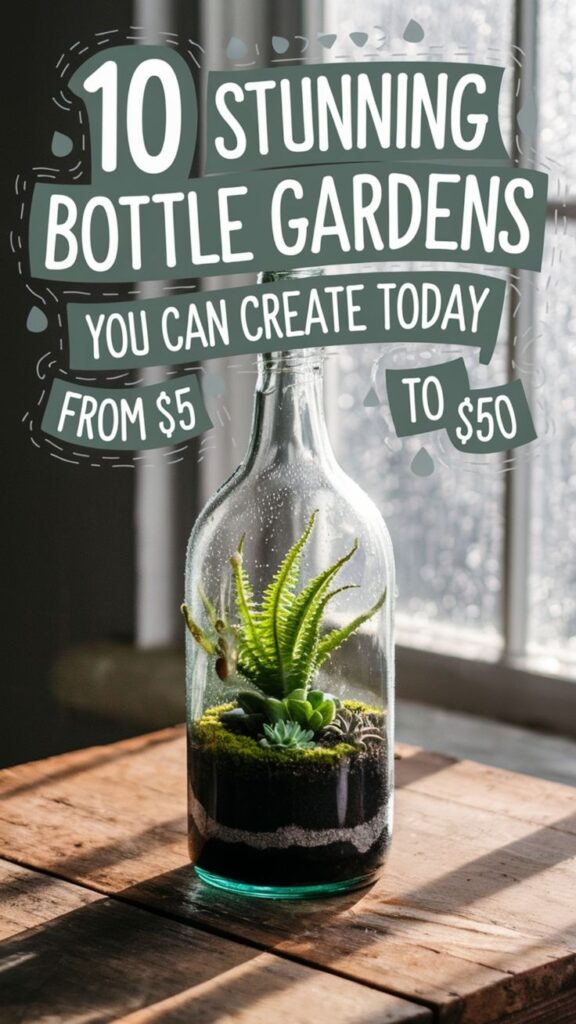
Ever dreamed of crafting a miniature Eden right at home? You can create stunning DIY bottle terrariums on any budget with just a few materials and creativity. Start with everyday containers like glass jars or plastic bottles, layering 1 inch of pebbles for drainage, ½ inch of activated charcoal to prevent mold, and 2 inches of soil for tiny plants. Curious about transforming a wine bottle or light bulb? Stick around for inspiring ideas!
Contents
- 1 Classic Glass Jar Terrarium
- 2 Upcycled Plastic Bottle Garden
- 3 Vintage Wine Bottle Landscape
- 4 Mason Jar Mini Forest
- 5 Recycled Soda Bottle Oasis
- 6 Small Spice Jar Ecosystem
- 7 Old Perfume Bottle Habitat
- 8 Repurposed Light Bulb Terrarium
- 9 Budget-Friendly Water Bottle World
- 10 Decorative Apothecary Jar Scene
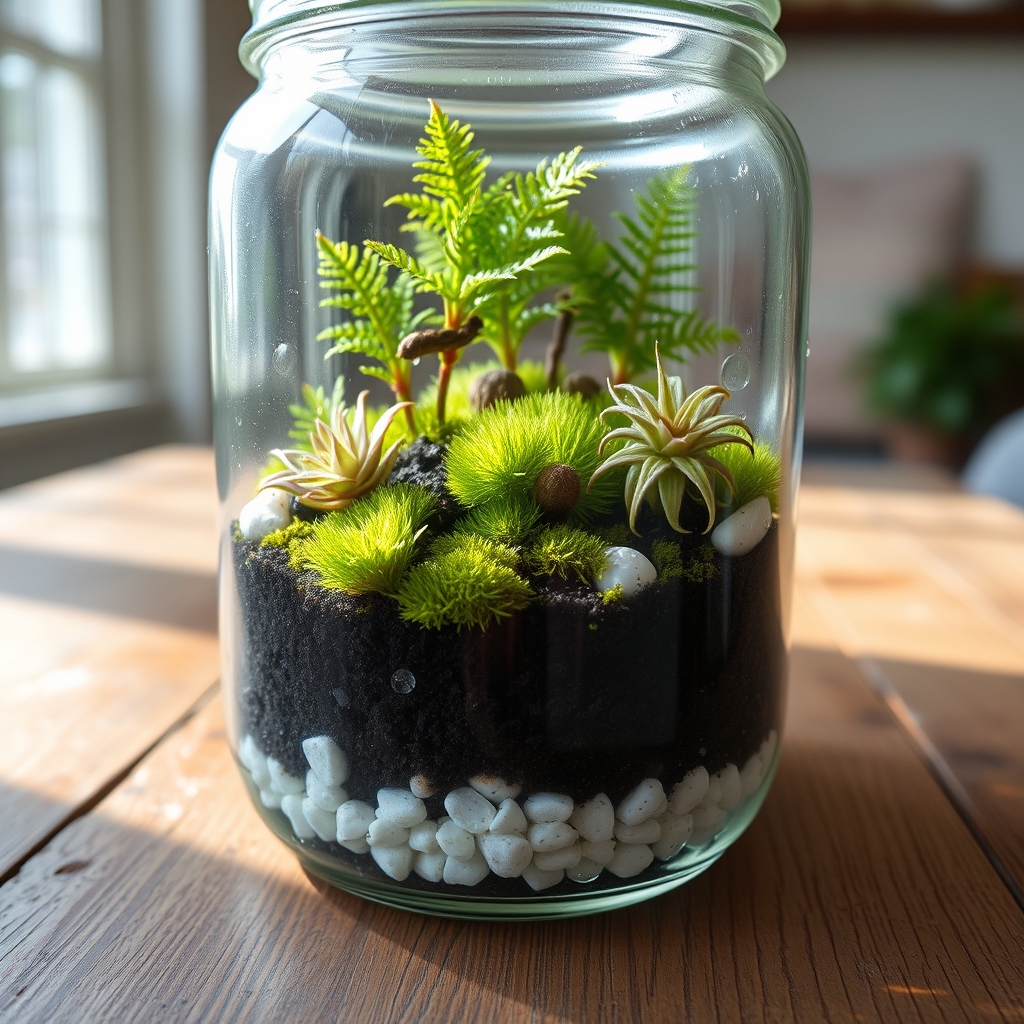
Classic Glass Jar Terrarium
A classic glass jar terrarium is a timeless and accessible way to create a miniature ecosystem in your home. Using a simple glass jar with a lid, such as a mason jar or a repurposed pickle jar, you can craft a small, self-sustaining garden that thrives with minimal care. This type of terrarium is perfect for beginners due to its straightforward setup and the availability of materials, making it an ideal project for anyone looking to bring a touch of greenery indoors.
To build a classic glass jar terrarium, start by layering the bottom with small pebbles or gravel for drainage, followed by a thin layer of activated charcoal to keep the environment fresh. Add a layer of potting soil, then carefully plant small, humidity-loving plants like moss, ferns, or air plants. Seal the jar with its lid to create a humid, enclosed environment, and place it in indirect sunlight. This setup mimics a tiny greenhouse, allowing the plants to recycle moisture and flourish with little intervention.
These terrariums are not only decorative but also educational, offering a glimpse into the water cycle and plant growth. They can be customized with tiny figurines or decorative stones to add a personal touch. Whether placed on a desk, shelf, or windowsill, a classic glass jar terrarium brings a serene, natural element to any space.
Upcycled Plastic Bottle Garden
Upcycled Plastic Bottle Gardens are a creative and eco-friendly way to repurpose plastic bottles into miniature green spaces. By transforming used plastic bottles into terrariums, you can create a small, self-sustaining ecosystem that requires minimal maintenance. This DIY project not only helps reduce plastic waste but also allows you to bring a touch of nature into your home or workspace with limited resources.
To create an upcycled plastic bottle garden, start by thoroughly cleaning and drying a used plastic bottle, then carefully cut it in half to form a base and a lid. Add layers of pebbles or small rocks for drainage, followed by a layer of activated charcoal to prevent mold, and then potting soil. Plant small, low-maintenance plants like moss, ferns, or succulents, and lightly water them before sealing the top half of the bottle back on. Place your terrarium in indirect sunlight and watch your tiny garden thrive.
This project is perfect for beginners and can be customized with decorative elements like small figurines or colorful stones to enhance its aesthetic appeal. Upcycled plastic bottle gardens are an excellent way to teach children about recycling and plant care while adding a unique, green element to any space.
Vintage Wine Bottle Landscape

Creating a vintage wine bottle landscape terrarium is a unique and stylish way to repurpose old wine bottles into miniature ecosystems. Start by selecting a clean, empty wine bottle with an interesting shape or label for added aesthetic appeal. Carefully cut the bottle in half using a glass cutter or have it professionally cut to guarantee safety and precision. The bottom half will serve as the base for your terrarium, while the top can be used as a lid or set aside for another project.
Inside the base, layer small pebbles or gravel for drainage, followed by a thin layer of activated charcoal to keep the environment fresh. Add a layer of potting soil suitable for the plants you’ve chosen, such as small ferns, moss, or air plants, which thrive in the humid conditions of a terrarium. Arrange the plants creatively, adding miniature figurines, rocks, or driftwood to craft a tiny landscape that evokes a vintage or rustic charm.
Seal the terrarium with the top half of the bottle if desired, or leave it open for easier maintenance. Place your vintage wine bottle landscape in indirect sunlight to avoid overheating, and water sparingly to maintain the delicate balance of moisture. This DIY project not only recycles old bottles but also brings a touch of greenery and nostalgia to your home decor.
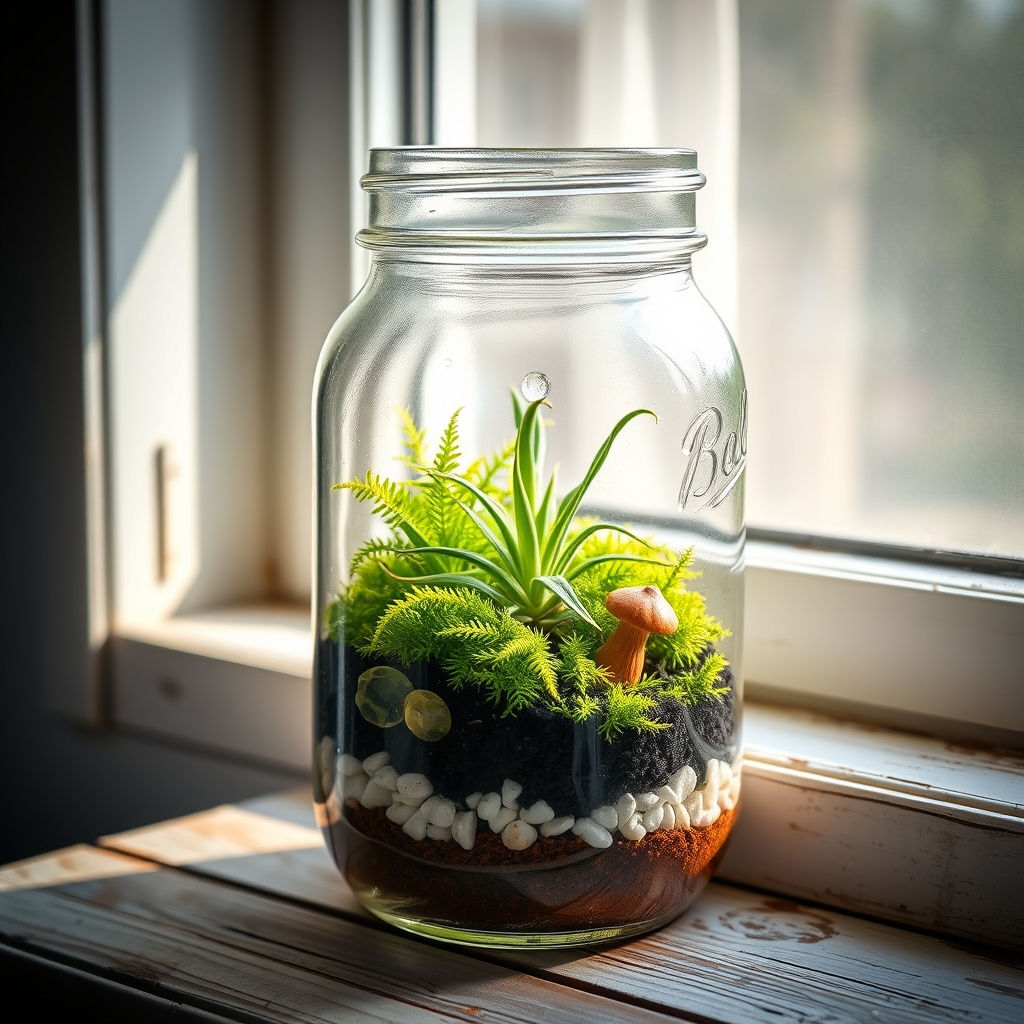
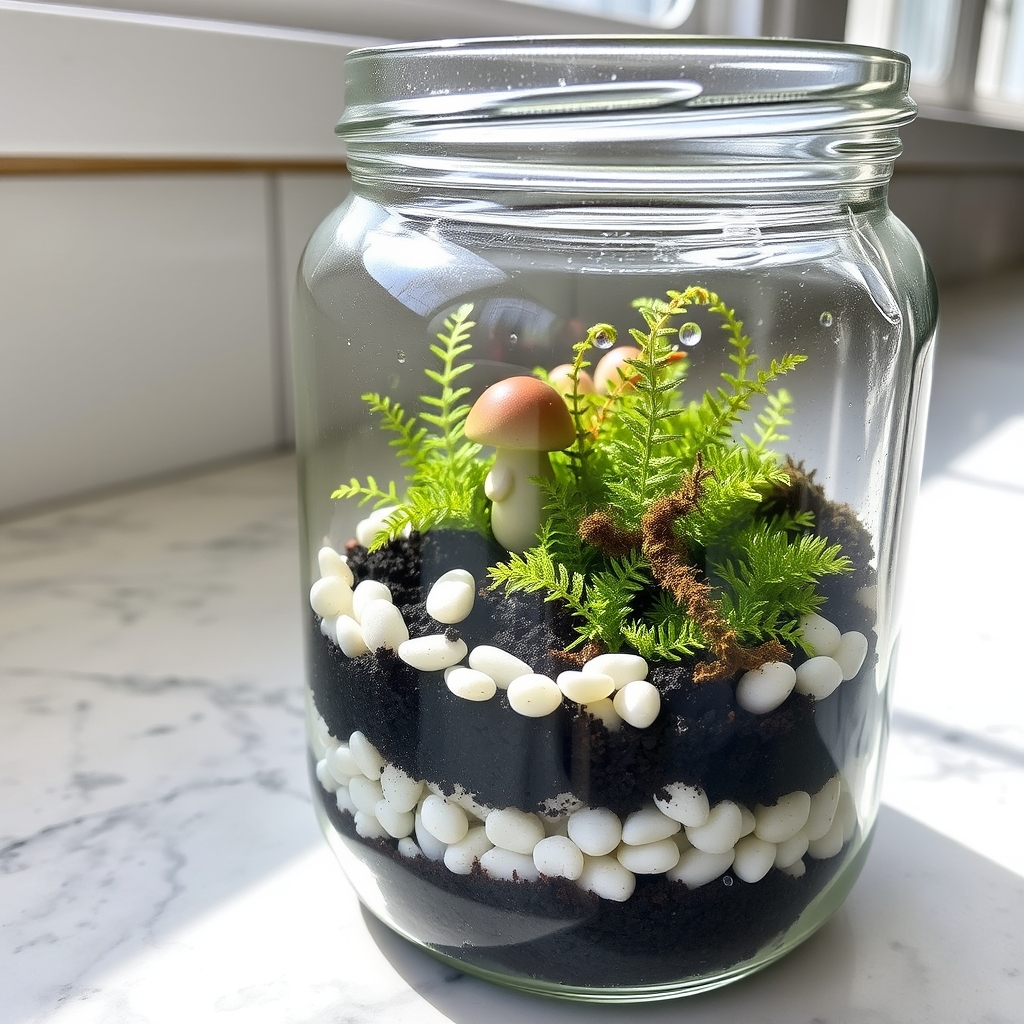
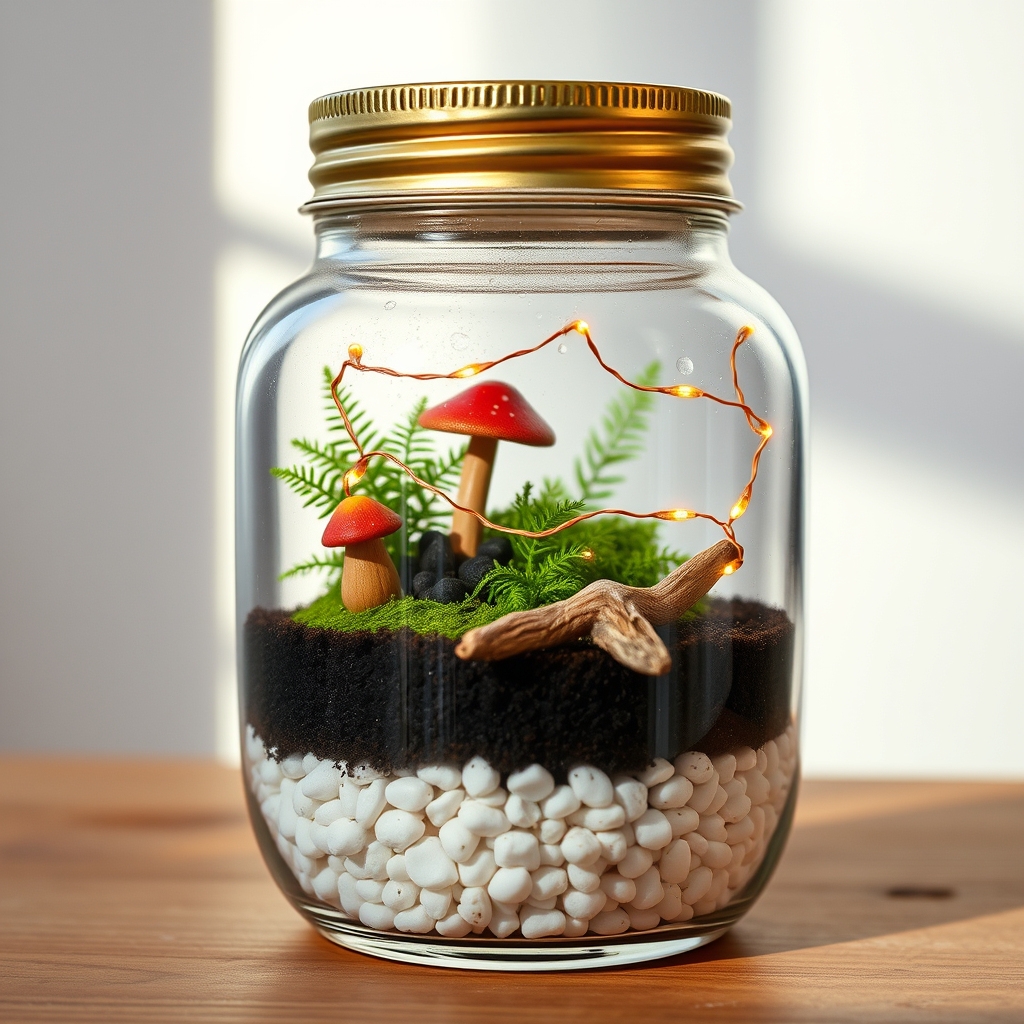
Mason Jar Mini Forest
Creating a mini forest inside a mason jar is a delightful and simple way to bring a piece of nature indoors. This DIY bottle terrarium idea transforms an ordinary glass jar into a lush, self-contained ecosystem that requires minimal maintenance. Using a mason jar with a lid, you can craft a small forest scene with moss, tiny plants, and decorative elements like pebbles or figurines to mimic a natural woodland environment.
To start, layer the bottom of the jar with small rocks or gravel for drainage, followed by a thin layer of activated charcoal to keep the environment fresh. Add a substrate of potting soil, then carefully plant small ferns, moss, or air plants that thrive in humid conditions. Seal the jar with its lid to create a closed terrarium, which helps maintain moisture and mimics a forest’s damp, sheltered atmosphere. Place your mini forest in indirect sunlight and watch as it becomes an enchanting green centerpiece for your home.
This project is perfect for beginners and can be customized with personal touches, such as tiny fairy garden accessories or natural elements like twigs and stones. Not only does a mason jar mini forest add a touch of greenery to small spaces, but it also serves as a calming reminder of nature’s beauty right at your fingertips.
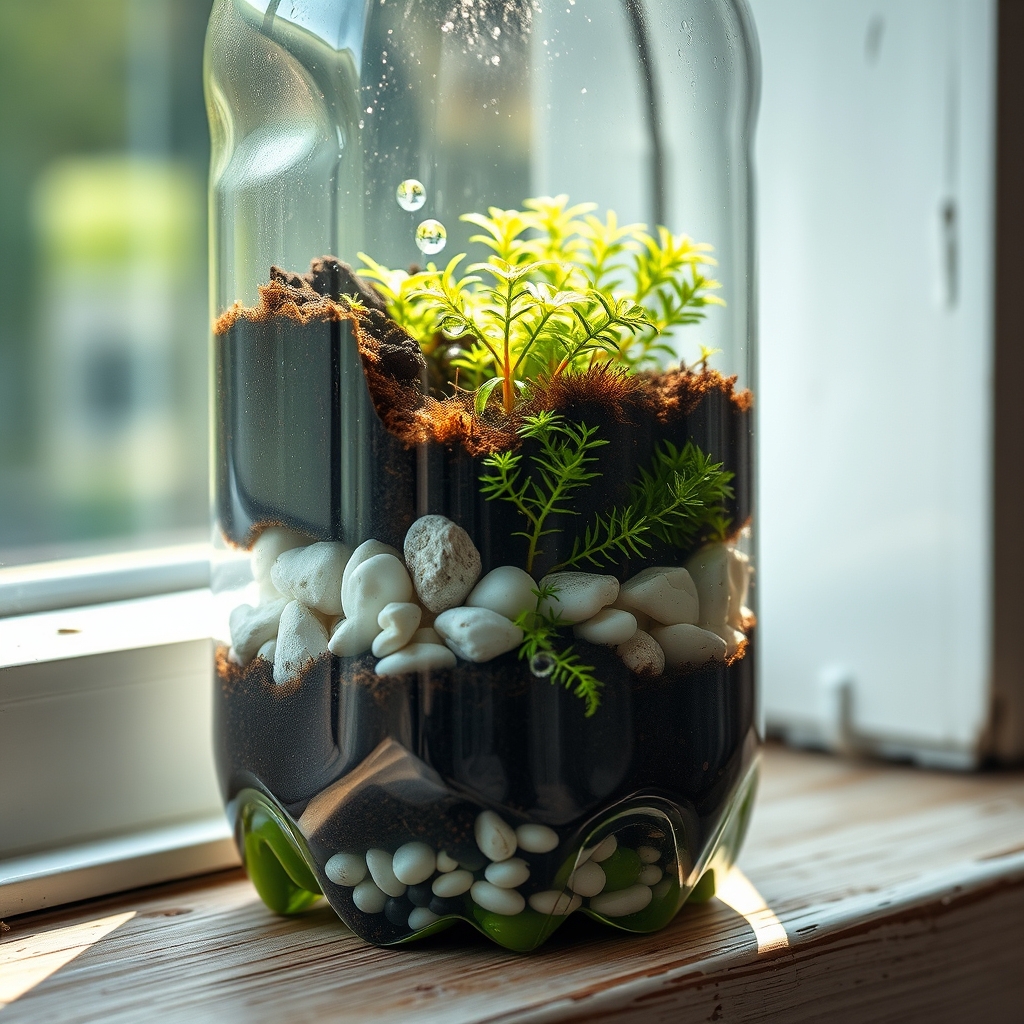
Recycled Soda Bottle Oasis
Creating a Recycled Soda Bottle Oasis is a fantastic way to repurpose used plastic soda bottles into a thriving mini ecosystem. Start by thoroughly cleaning a large, clear soda bottle and removing the label to guarantee maximum visibility of the terrarium inside. Cut the bottle in half, keeping the bottom part as the base for your plants and the top as a lid to maintain humidity. This simple project not only recycles materials but also provides a unique, enclosed environment for small plants or moss to grow.
To build your oasis, add a layer of small pebbles or gravel at the bottom for drainage, followed by a thin layer of activated charcoal to keep the environment fresh. Then, add a layer of potting soil suitable for the plants you’ve chosen, such as ferns, air plants, or small-leafed ivy. Plant your selections carefully, guaranteeing they have enough space to grow, and lightly water them. Place the top half of the bottle back on to create a greenhouse effect, trapping moisture and warmth inside.
This DIY terrarium is perfect for small spaces like windowsills or desks, bringing a touch of greenery to any area. It’s also an educational project for kids, teaching them about plant care and recycling. With minimal maintenance, your Recycled Soda Bottle Oasis can thrive for months, offering a sustainable and creative way to enjoy nature indoors.
Small Spice Jar Ecosystem
Creating a small spice jar ecosystem is a delightful and compact way to bring a piece of nature indoors using items you likely already have at home. Start with an empty, clean spice jar—its small size makes it perfect for a tiny terrarium that can sit on a desk, shelf, or windowsill. The clear glass allows for easy viewing of the miniature world inside, and the tight-fitting lid helps maintain the humidity needed for the plants to thrive.
To build your spice jar ecosystem, begin by adding a layer of small pebbles or gravel at the bottom for drainage, followed by a thin layer of activated charcoal to keep the environment fresh. Then, add a layer of potting soil suitable for the plants you choose, such as moss, small ferns, or air plants, which are ideal for confined spaces. Plant your selections carefully with a spoon or small tool, and add tiny decorations like figurines or rocks for a personal touch. Mist the inside lightly with water, secure the lid, and place the jar in indirect sunlight to create a self-sustaining ecosystem.
This mini terrarium requires minimal maintenance, as the sealed environment recycles moisture. Check occasionally to verify the plants are not overwatered or drying out, and open the lid briefly every few weeks to allow fresh air circulation. A spice jar ecosystem is not only a creative DIY project but also a charming way to experiment with gardening on a small scale.
Old Perfume Bottle Habitat
Creating a terrarium in an old perfume bottle is a unique and elegant way to repurpose a beautiful container into a miniature ecosystem. Perfume bottles often have intricate designs and shapes that add a touch of sophistication to your DIY project. To start, thoroughly clean the bottle to remove any residual fragrance, as strong scents can harm the delicate plants or moss you plan to include. Once cleaned and dried, you can begin building your tiny habitat.
Select small plants or moss that thrive in humid, enclosed environments, such as air plants, small ferns, or miniature orchids. Using a funnel or tweezers, carefully layer the bottom with small pebbles for drainage, followed by a thin layer of activated charcoal to prevent mold, and then a layer of potting soil or sphagnum moss. Place your chosen plants inside, arranging them to create a visually appealing scene. Since perfume bottles often have narrow openings, precision tools like chopsticks or long tweezers are essential for positioning everything just right.
Finally, lightly mist the inside with water to maintain humidity, and seal the bottle with its original cap or a cork if available. Place your perfume bottle terrarium in indirect sunlight to avoid overheating, as the glass can magnify heat and harm the plants. This charming mini garden not only recycles an old item but also serves as a stunning decorative piece for your home or office, showcasing your creativity and love for nature.
Repurposed Light Bulb Terrarium
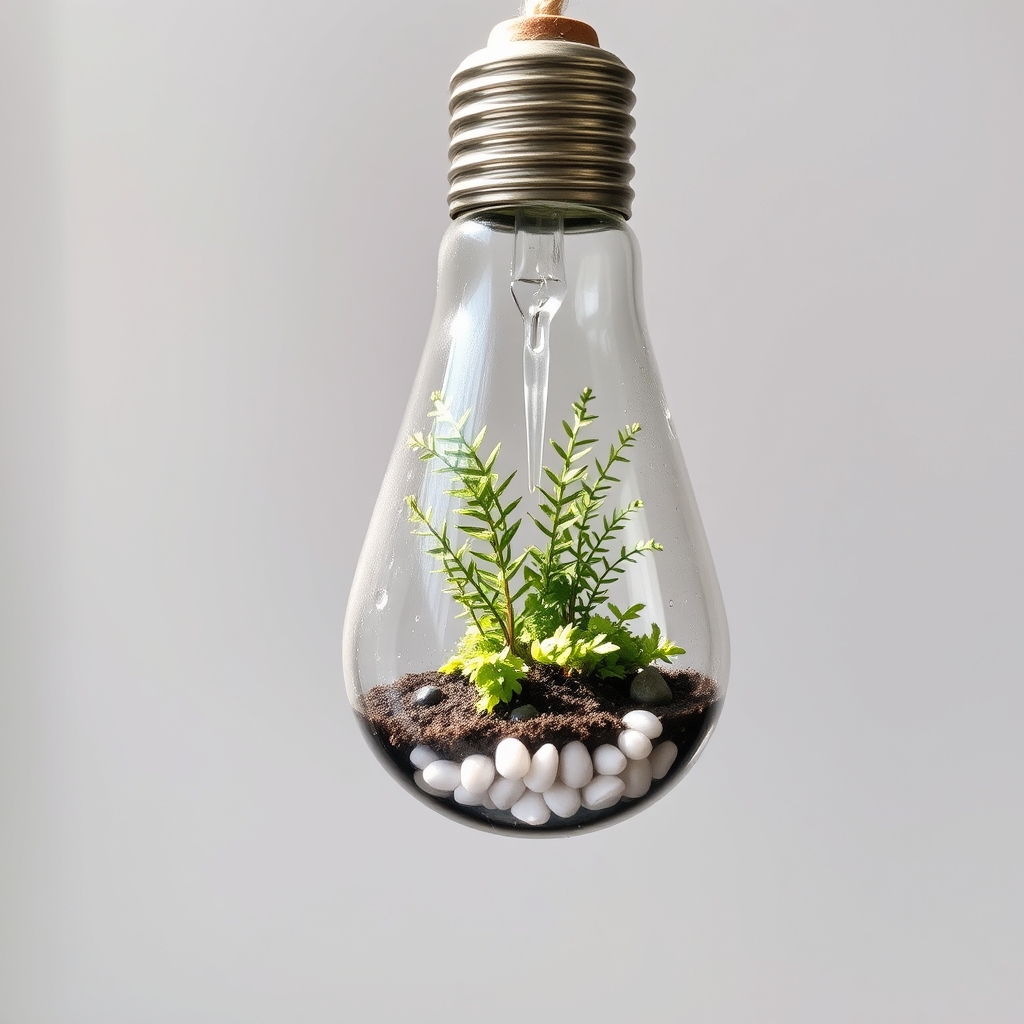
Creating a repurposed light bulb terrarium is a unique and creative way to bring a miniature ecosystem into your home. Start by carefully hollowing out an old, burnt-out incandescent light bulb, ensuring you wear protective gloves and eyewear during the process. Remove the filament and inner components through the base of the bulb, leaving a clear glass shell that will serve as the container for your tiny garden.
Once the bulb is prepared, add a layer of small pebbles or gravel at the bottom for drainage, followed by a thin layer of activated charcoal to keep the environment fresh. Then, add a layer of potting soil and carefully plant small, low-maintenance plants like moss, air plants, or tiny ferns using tweezers for precision. Seal the base with a small cork or silicone to hold everything in place, and hang or display your light bulb terrarium in a spot with indirect sunlight.
This DIY project not only recycles materials that would otherwise be discarded but also adds a whimsical, eco-friendly touch to your decor. It’s a perfect conversation starter and a delightful way to showcase your creativity while nurturing a small piece of nature.
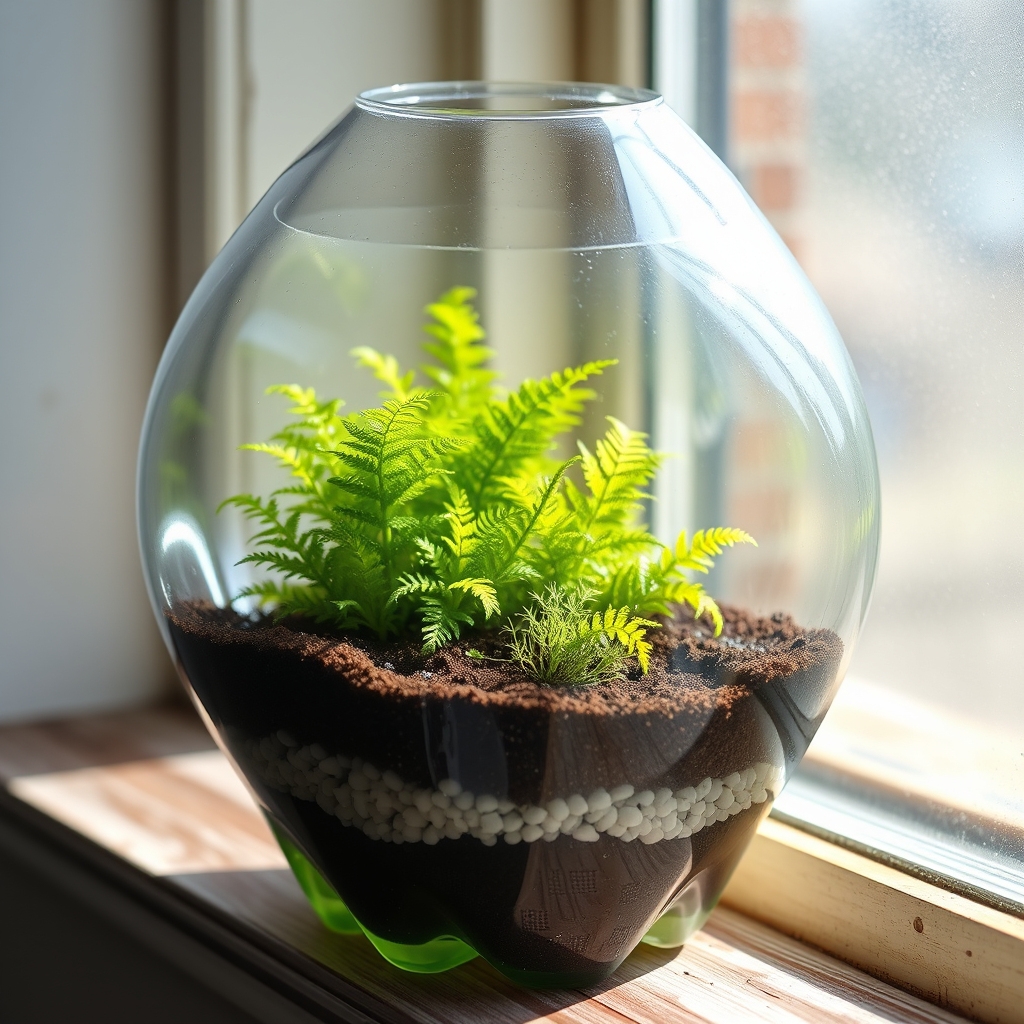
Budget-Friendly Water Bottle World
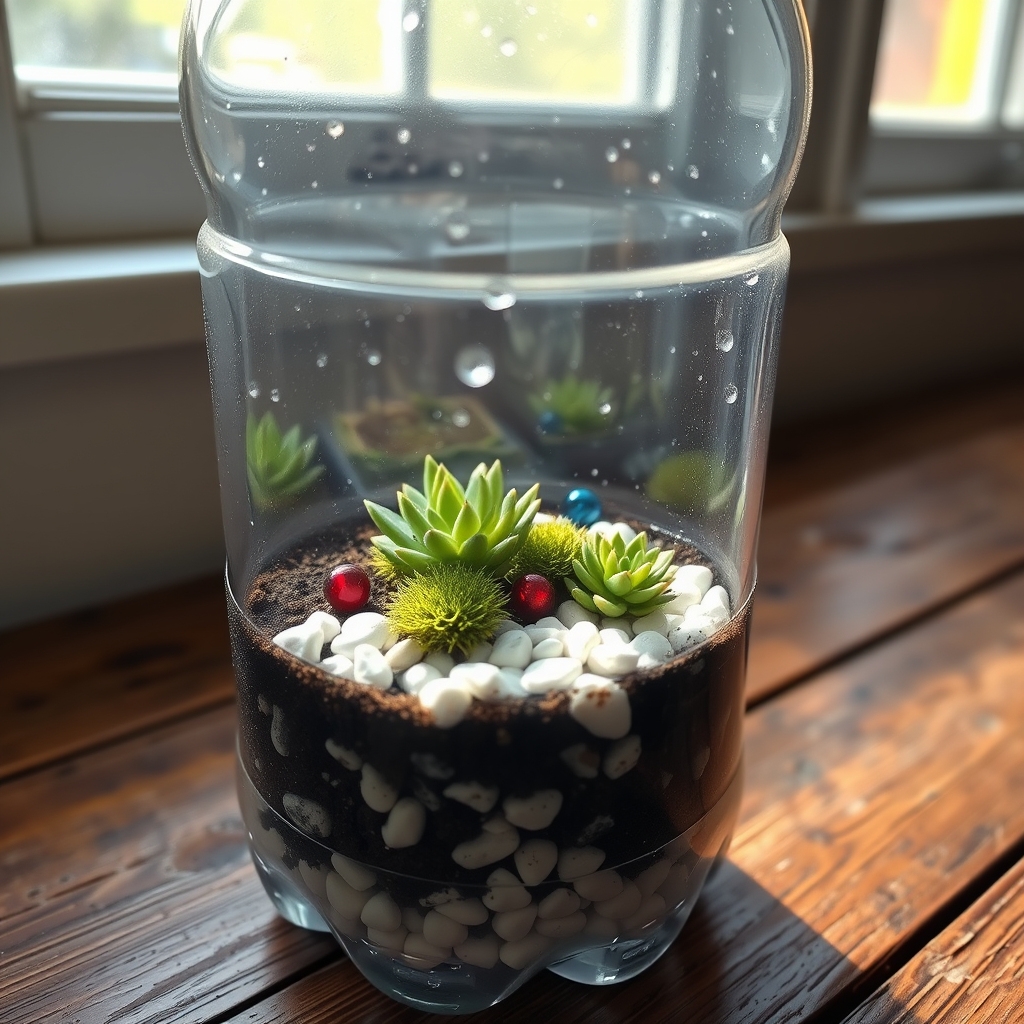
Creating a budget-friendly water bottle world is an excellent way to craft a miniature terrarium using materials you likely already have at home. All you need is an empty plastic water bottle, some small pebbles or gravel, potting soil, and tiny plants or moss. This DIY project is not only cost-effective but also a fun way to repurpose plastic bottles that would otherwise end up in the trash, turning them into a charming green display.
To start, thoroughly clean and dry the water bottle, then carefully cut it in half to create a base and a lid. Layer the bottom with pebbles for drainage, add a thin layer of activated charcoal if available to keep the environment fresh, and then top it with potting soil. Plant small succulents, ferns, or moss, and lightly water them before sealing the top half of the bottle back on with tape or glue. Place your water bottle terrarium in a spot with indirect sunlight, and watch your tiny ecosystem thrive without breaking the bank.
This project is perfect for beginners and can be customized with decorative elements like small figurines or colorful stones to add a personal touch. It’s an ideal activity for kids or anyone looking to bring a bit of nature indoors on a budget, proving that creativity and sustainability can go hand in hand.
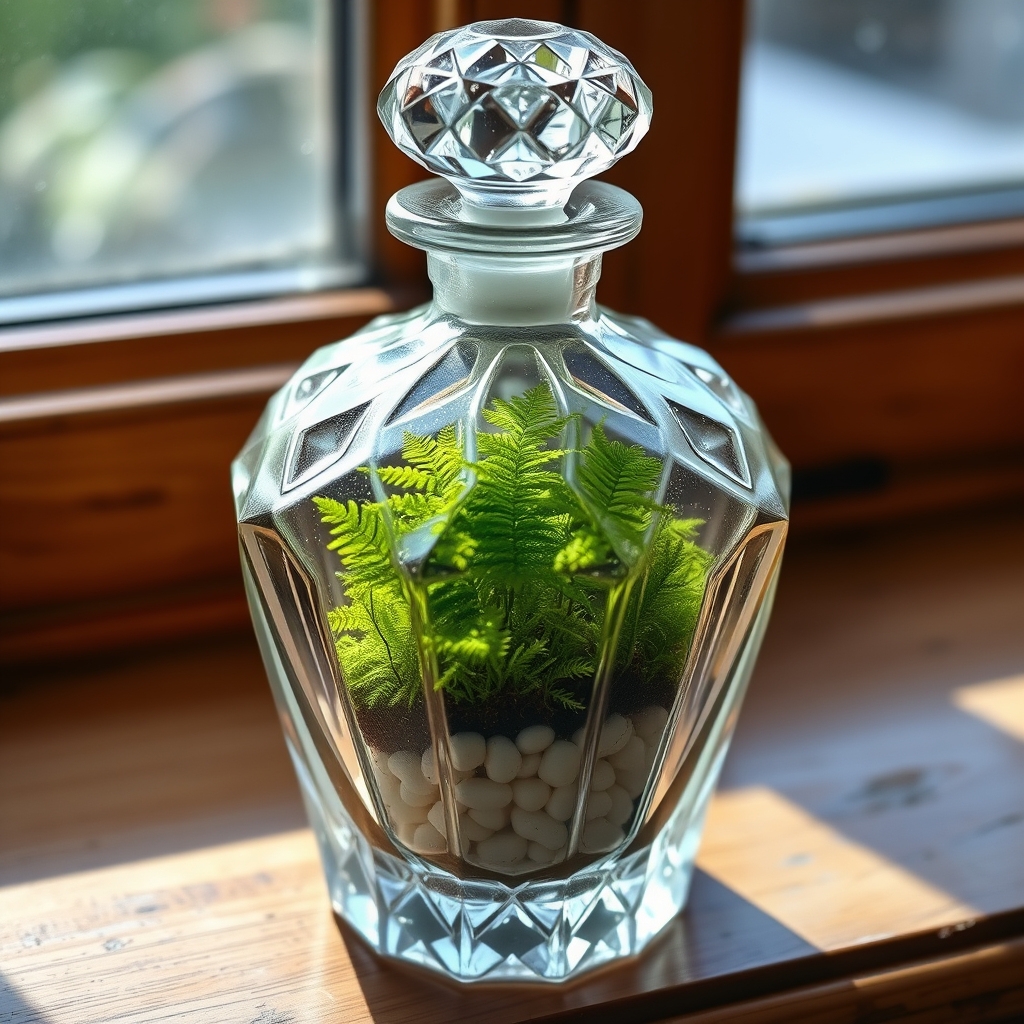
Decorative Apothecary Jar Scene
Creating a decorative apothecary jar scene is a charming way to craft a miniature world inside a glass container. Apothecary jars, with their classic shape and often ornate lids, provide an elegant base for a terrarium that doubles as a striking decor piece. This DIY project allows you to design a tiny landscape or themed scene, such as a fairy garden, a woodland setting, or even a seasonal display, using small plants, figurines, and natural elements.
To start, select a clean, dry apothecary jar with a lid or an open top, depending on the level of humidity your plants require. Layer the bottom with small pebbles or gravel for drainage, followed by a thin layer of activated charcoal to keep the environment fresh. Add a substrate like potting soil, then arrange small, low-maintenance plants such as moss, air plants, or miniature ferns. Enhance the scene with decorative elements like tiny figurines, rocks, driftwood, or even LED string lights for a magical touch.
Finish by placing your apothecary jar terrarium in a spot with indirect sunlight to guarantee the plants thrive without overheating. This setup not only serves as a unique centerpiece for your home but also offers a creative outlet to express your style through the choice of themes and decorations. Regularly check the moisture levels and trim any overgrown plants to maintain the miniature ecosystem‘s balance and aesthetic appeal.