Alocasia plants, often referred to as elephant ear plants, are prized for their large, striking leaves and tropical allure. These captivating plants can transform any indoor space into a lush, exotic haven. Although they require a bit more attention than some other houseplants, the effort is well worth it for the dramatic beauty they bring. In this guide, we’ll explore everything you need to know to successfully grow and care for alocasia plants indoors.
Contents
Choosing the Right Location
Alocasia plants thrive in bright, indirect light. Direct sunlight can cause their delicate leaves to scorch, so it’s best to place your plant near a window with filtered light or in a well-lit room. If natural light is limited, consider using a grow light to provide the necessary illumination. Aim for about 6-8 hours of bright, indirect light daily to ensure healthy growth.
Maintaining Proper Temperature and Humidity
Alocasia plants prefer warm and humid environments, mimicking their native tropical habitat. Keep your plant in a room with temperatures ranging from 65-80°F (18-27°C). Avoid placing it near drafty windows or heating vents, as sudden temperature fluctuations can stress the plant. To maintain humidity, mist the leaves regularly or place a humidity tray with water and pebbles underneath the pot. A room humidifier can also help create a more suitable environment.
Watering Wisely
Proper watering is crucial for the health of your alocasia plant. Water the plant thoroughly when the top inch of soil feels dry to the touch. Ensure the pot has drainage holes to prevent water from accumulating at the bottom, which can lead to root rot. During the growing season (spring and summer), you may need to water more frequently, while in the dormant period (fall and winter), reduce the frequency to avoid overwatering.
Soil and Fertilizing
Alocasia plants thrive in well-draining, nutrient-rich soil. A mix of potting soil, peat moss, and perlite or orchid bark works well to provide the right balance of moisture retention and aeration. Feed your plant with a balanced, water-soluble fertilizer diluted to half strength every 4-6 weeks during the growing season. Reduce or stop fertilizing during the dormant period to prevent nutrient buildup.
Pruning and Maintenance
Regular pruning helps maintain the shape and health of your alocasia plant. Remove any yellowing or dead leaves to encourage new growth and keep the plant looking its best. You can also trim back any leggy stems to promote a bushier appearance. If your plant becomes too tall or unruly, don’t be afraid to cut it back to a more manageable size. Alocasia plants can tolerate heavy pruning and will often respond with vigorous new growth.
Styling Your Alocasia Plant
Alocasia plants are versatile and can be styled in various ways to enhance your indoor decor. Here are some ideas to help you create a stunning display:
- Tall Floor Plant: Use a decorative pot and allow the plant to grow tall, making it a striking floor plant that adds vertical interest to your space.
- Statement Piece: Place your alocasia in a prominent spot where its large, dramatic leaves can be fully appreciated. This is perfect for creating a focal point in your room.
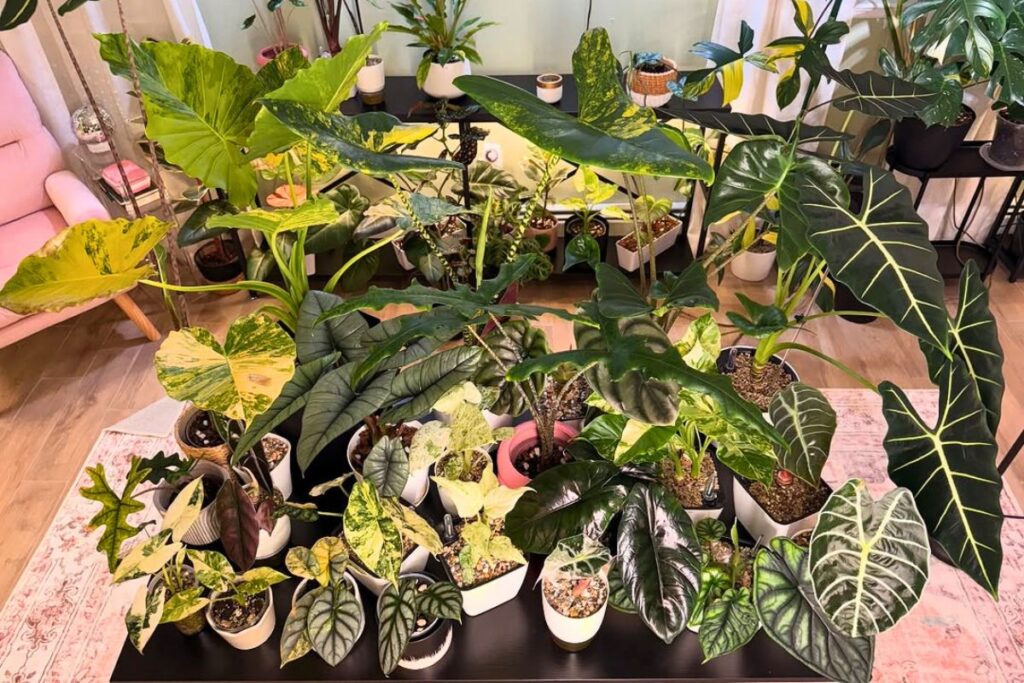
- Grouping with Other Plants: Combine your alocasia with other indoor plants to create a lush, green oasis. The contrasting textures and colors can add visual interest to your plant collection.
- Creative Containers: Choose pots and containers that complement your interior design. The contrast between the plant’s vibrant leaves and stylish pots can enhance the overall aesthetic.
Propagation Techniques
Propagating alocasia plants is relatively easy and a great way to expand your collection or share with friends. Here are two common methods:
Division
- Remove the plant from its pot and gently separate the root ball into smaller sections, ensuring each section has at least one healthy stem and root system.
- Plant each section in fresh, well-draining soil and water thoroughly.
Stem Cuttings
- Choose a healthy stem with several leaves.
- Using clean scissors or pruning shears, cut a 4-6 inch section just below a node.
- Place the cutting in water or a well-draining potting mix. If using water, change it regularly to prevent stagnation.
- Once roots develop, transplant the cutting into soil.
Dealing with Pests and Diseases
Alocasia plants can occasionally fall victim to pests such as spider mites, aphids, and mealybugs. Regularly inspect your plant for signs of pests and treat any infestations promptly with insecticidal soap or neem oil. Maintaining proper care practices and a clean environment can help prevent most common issues. Yellowing leaves can indicate overwatering or inadequate light, so adjust your care routine as needed.
Troubleshooting Common Issues
- Yellowing Leaves: Often a sign of overwatering or poor drainage. Check the soil moisture and ensure the pot has adequate drainage.
- Brown Leaf Tips: This can indicate low humidity or underwatering. Increase humidity levels and adjust your watering schedule.
- Leggy Growth: Lack of light can cause leggy growth. Move the plant to a brighter location or provide supplemental light.
Growing alocasia plants indoors can be a rewarding experience, adding a touch of exotic beauty to your home. By following these care tips and paying attention to your plant’s needs, you’ll be well on your way to enjoying a lush and healthy alocasia plant. Happy planting!