Hey, let’s get your garden thriving by balancing your soil pH! Start with a simple test kit, available at most garden centers, to check if your soil’s pH falls between 6.0 and 7.0, the sweet spot for most plants. Testing’s easy—just follow the kit’s steps, usually mixing soil with a solution. Curious about fixing an off-balance pH? Stick around for the next steps!
Contents
Soil Ph Testing
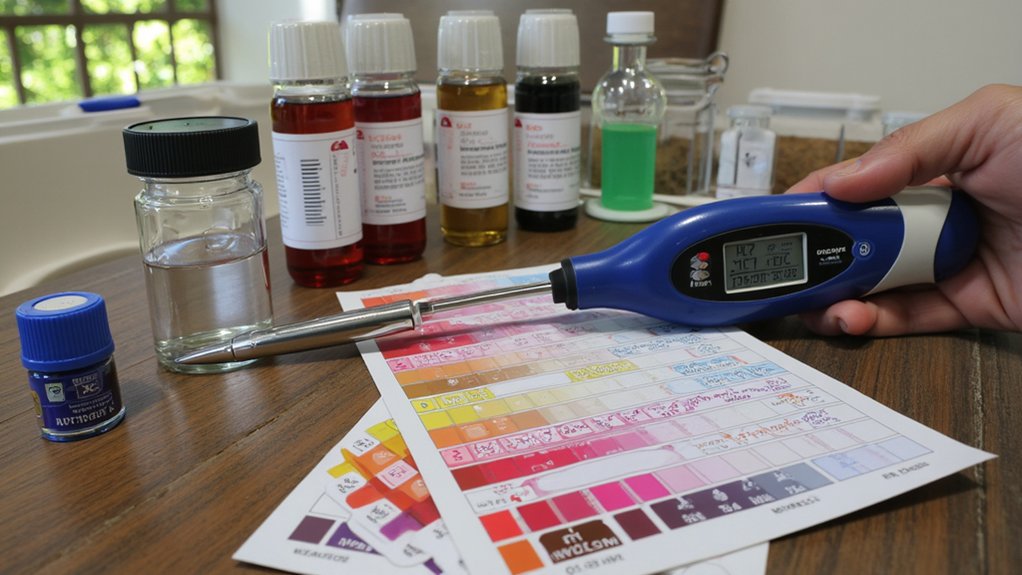
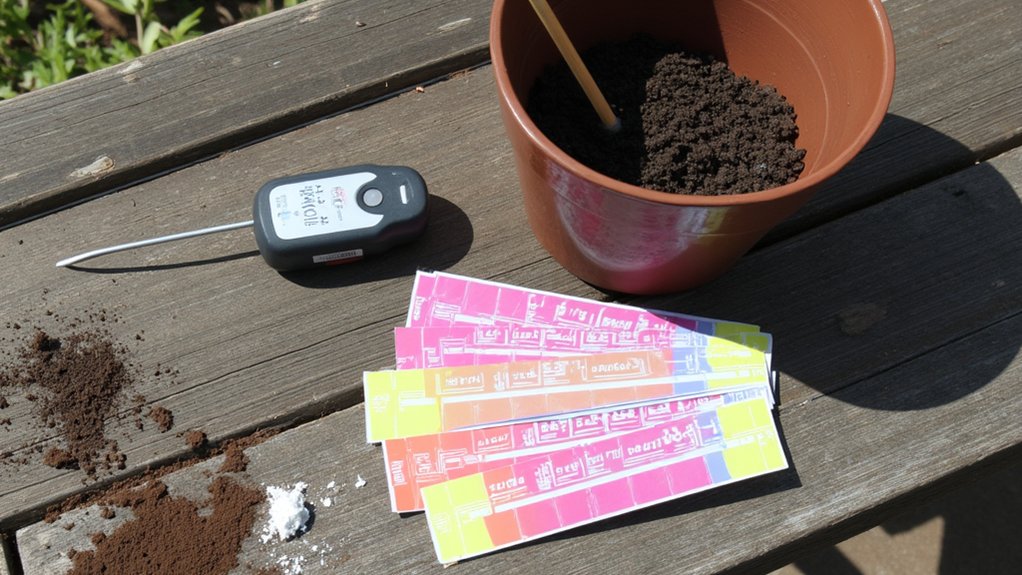
How can you tell if your soil’s pH is right for your plants? Grab a soil testing kit from a garden store, and let’s explore. These kits, often costing under $10, are super easy to use.
First, scoop up a small sample, about a tablespoon, from 4-6 inches deep in your garden. Mix it with water in the provided container, following the kit’s exact ratio, usually 1:1. Add the testing powder or drops, shake it up, and wait about 10 minutes for the color to develop.
Compare the result to the kit’s chart; most plants thrive between pH 6.0 and 7.0. If it’s off, don’t sweat it yet. You’ve got the data now, so you’re one step closer to healthier plants!
Soil Ph Adjustment Techniques
Once you’ve tested your soil’s pH, it’s time to tweak it if the numbers aren’t ideal. Don’t worry, adjusting it isn’t hard, and I’ve got your back with some simple tricks.
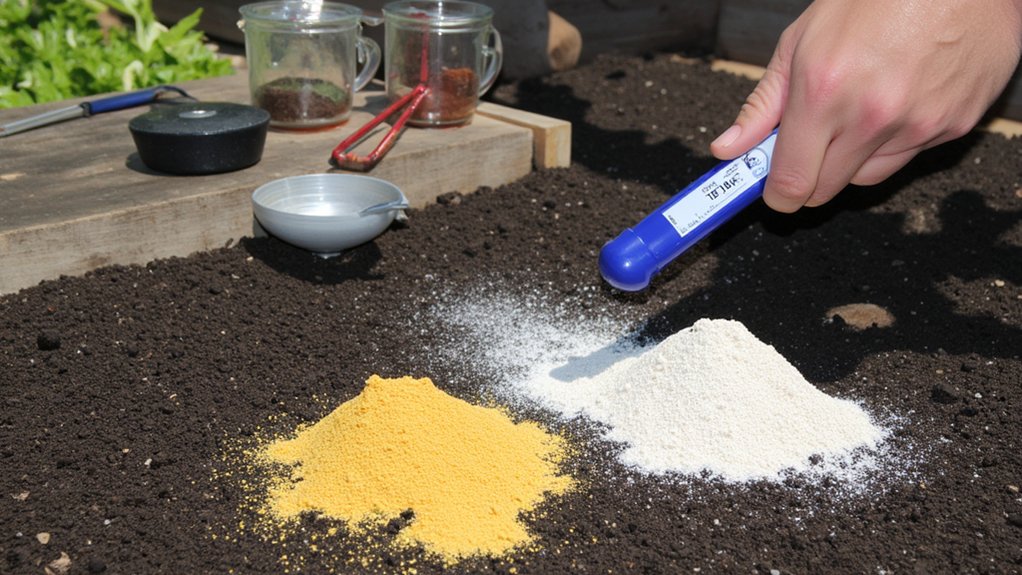
First, if your soil needs a boost in pH, grab some agricultural lime. Apply about 5 pounds per 100 square feet, working it into the top 6 inches of soil, ideally in fall for spring planting.
Now, if the pH is too high, you’ll wanna lower it with elemental sulfur. Use around 1 pound per 100 square feet, mix it in well, and wait 2-3 months to retest.
Be patient, okay? These changes take time, so don’t rush. Retest after a few months to confirm you’re on track.
Understanding Soil Acidity
Let’s shift gears a bit and get into the nitty-gritty of soil acidity, so you’re clear on what’s happening underground. Soil acidity, measured on the pH scale from 0 to 14, tells you how acidic or alkaline your dirt is. A pH below 7 means acidic; above 7, it’s alkaline.
Now, why’s this important for your plants? Most crops thrive in a slightly acidic to neutral range, about 6.0 to 7.0, since this affects how roots absorb essentials. If it’s too low, say below 5.5, toxicity from metals like aluminum can harm roots. Too high, above 7.5, and certain deficiencies might show up.
Check your soil’s pH regularly, every 6-12 months, to catch shifts. Understanding this helps you tweak conditions for healthier growth.
Monitoring Soil Nutrients
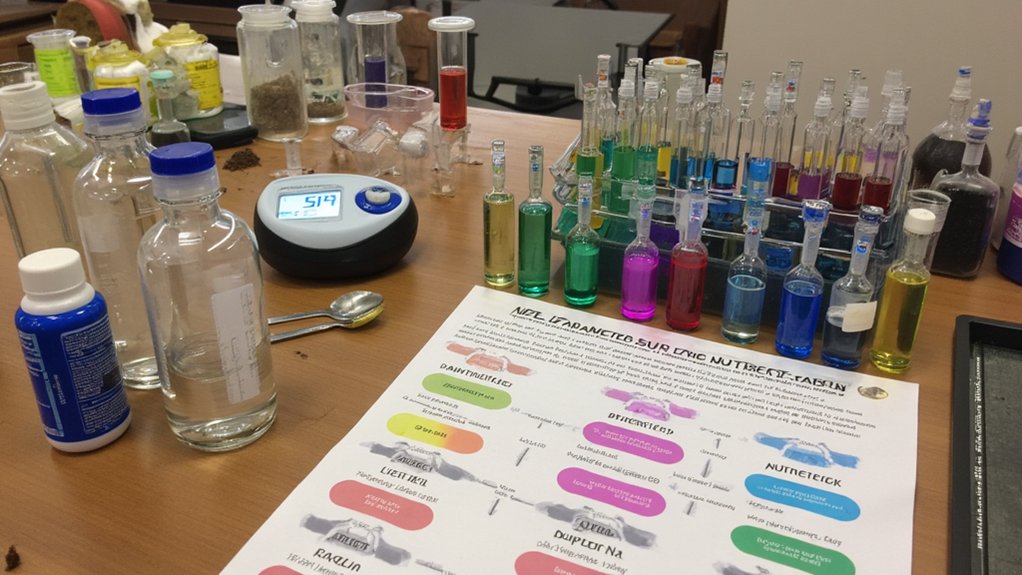
While you’ve got a handle on soil pH, it’s just as critical to keep tabs on soil nutrients for thriving plants. Nutrients like nitrogen, phosphorus, and potassium—often called NPK—fuel growth, so don’t skimp on checking them. A deficiency can stunt your garden faster than you’d think.
Start by grabbing a soil test kit from a local garden center or online. Follow the instructions to collect a sample, usually about 6 inches deep, from several spots in your plot. Mix these samples, then test for NPK levels and micronutrients like magnesium. Most kits give results in a day or two, showing exact numbers, like 10-5-5 for NPK ratios.
If levels are off, adjust with fertilizers, but don’t overdo it—precision’s key here. Retest every 6 months to stay on track.
Choosing Suitable Plants
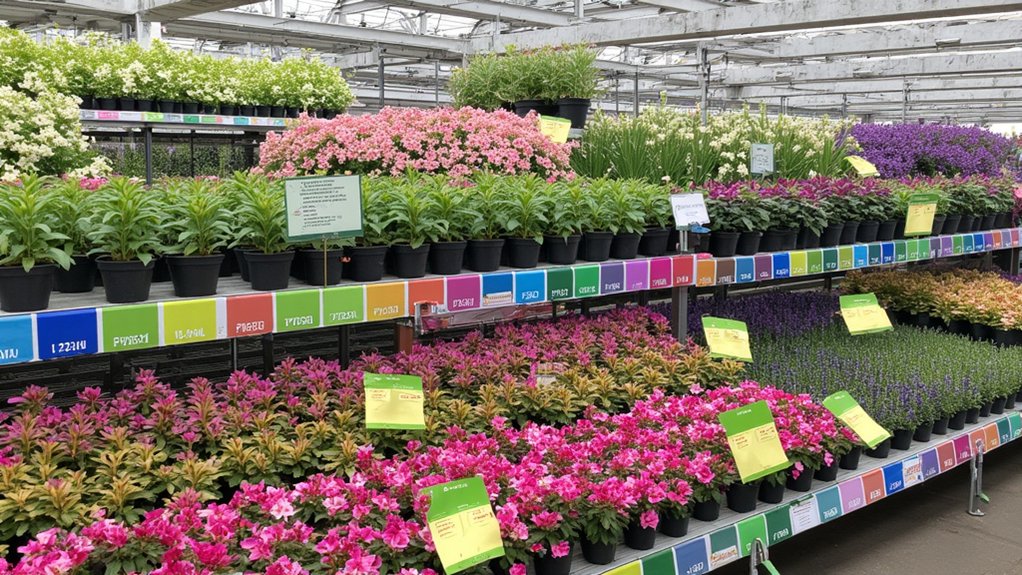
After getting your soil pH and nutrients in check, it’s time to pick plants that’ll thrive in your setup. Don’t just grab any seedling; match them to your soil’s pH range. For acidic soil, around 5.5 to 6.5, try growing blueberries or azaleas, since they love that environment.
Next, if your soil tests neutral, say 6.5 to 7.0, you’ve got tons of options like tomatoes or beans. Check plant tags or seed packets for their ideal pH needs before buying. It saves headaches later.
Lastly, for alkaline soil, 7.0 to 8.0, go for lavender or clematis, as they handle it well. Research local varieties too, and ask nursery staff for tips on what grows best in your area.
Soil Ph Myths
Some folks might believe every soil pH rumor they hear, but don’t fall for the myths. You’ve probably heard that coffee grounds always acidify soil. Truth is, used grounds are often near neutral, around 6.5 to 6.8, so they won’t drastically shift pH.
Another myth? That you can fix pH overnight with a quick lime dump. Nope, adjusting soil pH takes weeks, sometimes months. Test your soil first with a kit, note the reading, then add lime or sulfur in small batches, like 5 pounds per 100 square feet, every 2-3 weeks.
Lastly, don’t buy into “one-size-fits-all” pH solutions. Every garden’s different, so customize your approach. Check your soil regularly, and adjust as needed with patience.
Soil Ph Impact
Before you start tweaking your soil, understand how pH impacts your plants’ health. Soil pH, ranging from 0 to 14, determines nutrient availability. If it’s too acidic, below 6.0, your plants can’t absorb essentials like phosphorus. Too alkaline, above 7.5, and iron becomes scarce, stunting growth.
Check your soil’s pH with a simple test kit from any garden store. Most plants thrive between 6.0 and 7.0, so aim for that sweet spot. If you’re growing veggies like tomatoes, they prefer 6.2 to 6.8 for best results. Knowing this helps you avoid guesswork.
Don’t ignore pH—it’s a silent factor in plant health. Adjust it gradually, over weeks, not days, to prevent shocking roots. Test monthly, and you’ll see stronger, happier plants soon.
Soil Ph History
While you might think soil pH is a modern concern, it’s got roots stretching back centuries. Ancient farmers, as early as 2000 BCE in Mesopotamia, noticed crops thrived or failed based on soil conditions. They didn’t know about pH, but they observed differences.
You’d see them experimenting with ash or lime to tweak their fields, even without science. By the Roman era, around 100 BCE, writers like Cato documented using marl, a lime-rich clay, to improve acidic soils. They aimed for balance, just like you do now.
Soil Ph Tools
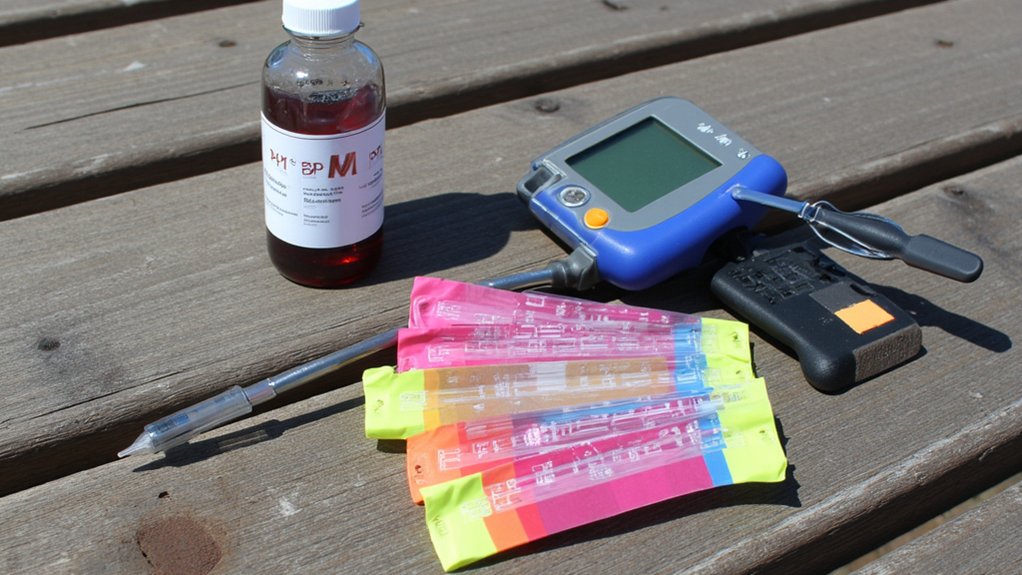
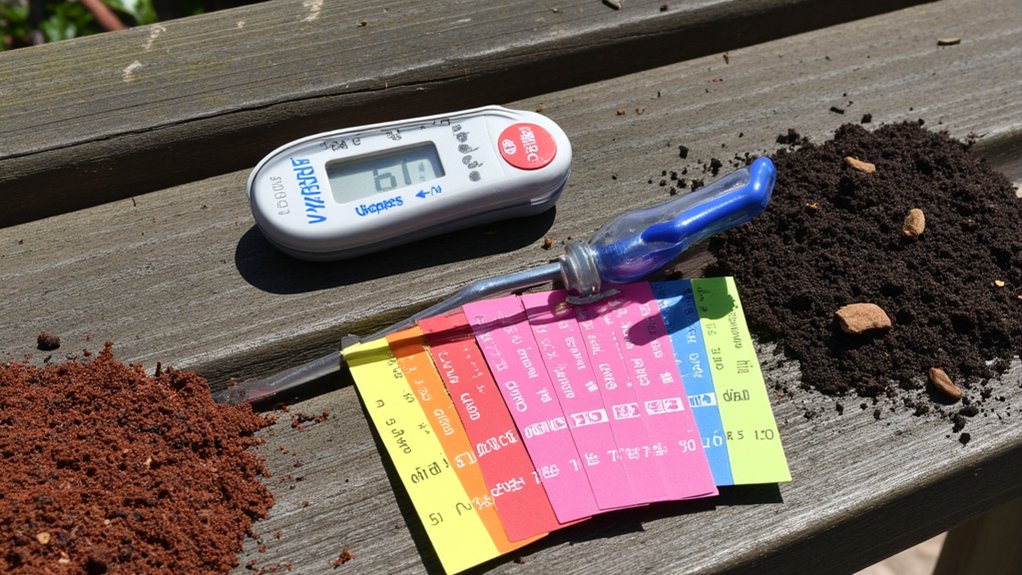
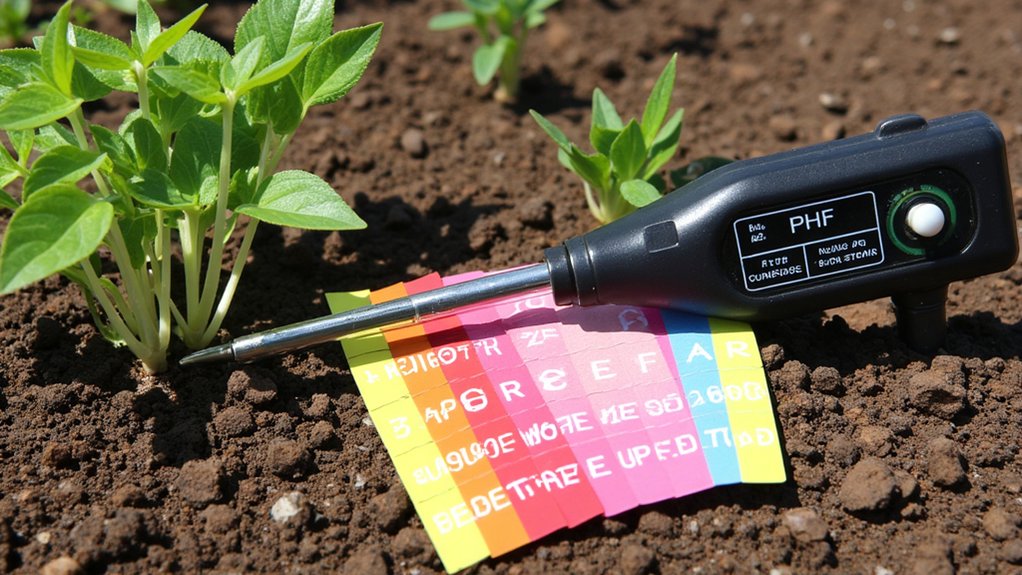
Gear up, because testing soil pH is easier than you’d think with the right tools. Grab a basic pH test kit, often found at garden centers for under $10. These kits usually include test strips or a color-changing solution. They’re quick, giving results in just a few minutes.
Now, let’s talk digital pH meters, which offer more precision. Stick the probe into your soil, about 4-6 inches deep, and wait 30 seconds for a reading on the screen. Make sure the soil’s moist, not dry, for accurate results. These meters cost around $20-$50, but they’re reusable.
Lastly, don’t skip cleaning your tools after use. Rinse them with water to avoid contamination. You’ve got this, so start testing today!
Soil Ph Innovations
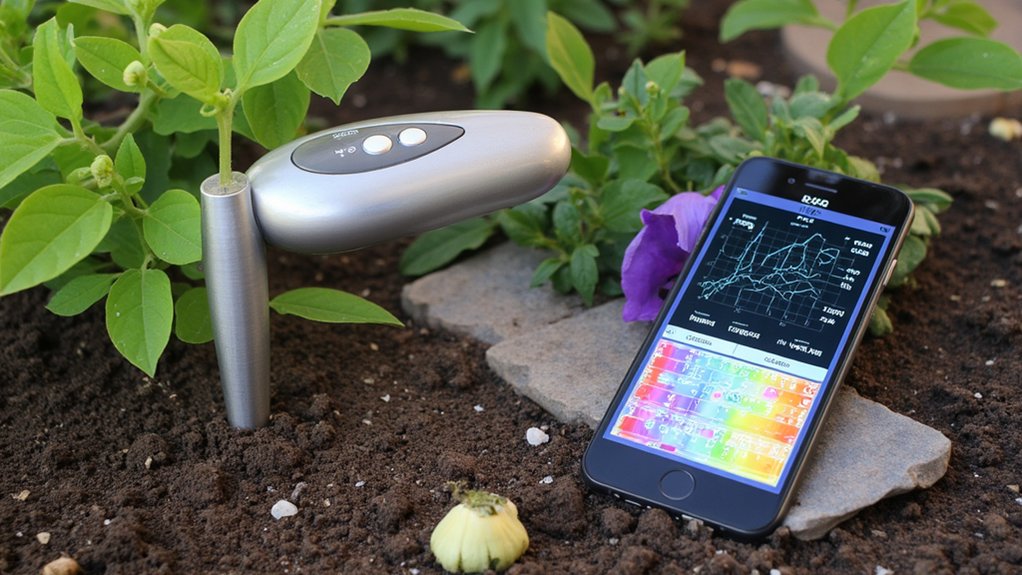
As technology advances, you’ll find some exciting soil pH innovations that make gardening a breeze. Ever heard of smart soil sensors? These nifty devices, often Bluetooth-enabled, measure pH levels in real-time and send data to your phone.
Stick one into your garden bed, about 6 inches deep, and wait just 30 seconds for a reading. Apps linked to these sensors, like the SoilTech Pro, even suggest exact lime or sulfur amounts—say, 2 pounds per 100 square feet—to adjust pH. It’s a game-changer, right?
Then, there’re automated pH adjusters for larger plots. Set your desired pH, maybe 6.5 for veggies, on the control panel. The machine mixes amendments and applies them over 24 hours, saving you tons of effort.