Hey, let’s get started on building a rain garden to stop water runoff in your yard. First, scout out a low spot where water pools naturally after rain. You’ll want a space about 10 by 20 feet, perfect for catching that excess flow. There’s a bit more to it, though, with some key steps to nail down, so stick with me for the next part.
Contents
Rain Garden Basics
Hey there, let’s plunge into the essentials of rain gardens with some straightforward know-how. You’ve probably noticed water pooling in your yard after a storm, right? A rain garden’s your fix—it’s a shallow, planted depression that captures runoff. It helps soak up water, reducing erosion and pollution in nearby streams.
Start by observing where water flows during rain. Check your yard for natural low spots, ideally 10-20 feet from your home’s foundation to avoid basement flooding. You’ll want an area that gets at least 1 inch of water during a typical storm. Watch for a few rain events to confirm.
Next, test the soil drainage. Dig a hole, fill it with water, and time it—good drainage takes 24 hours max.
Rain Garden Design
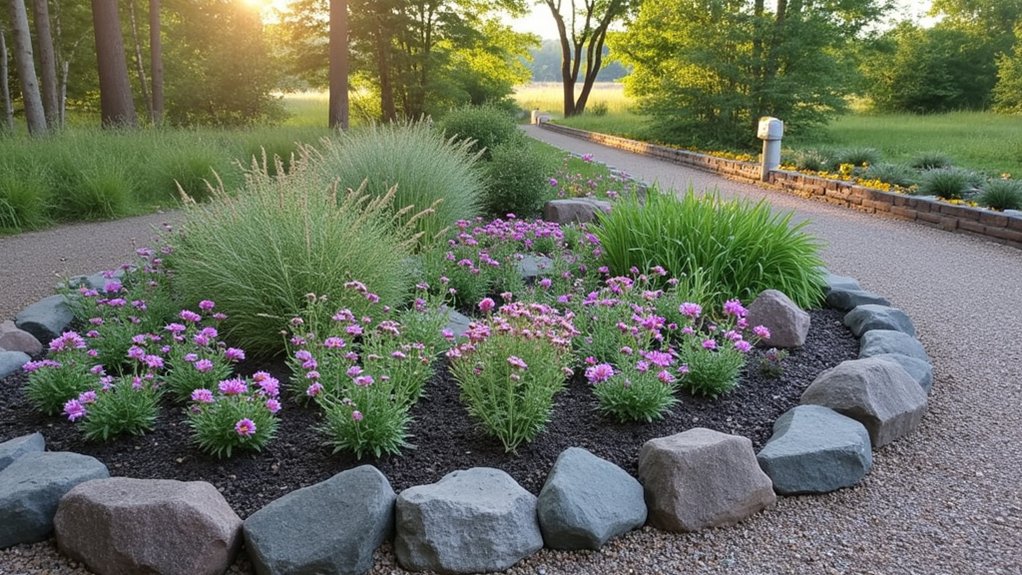
Let’s dive right into designing your rain garden with a clear plan in mind. You’ve gotta pick the right spot, ideally a low area where water naturally collects after rain. Measure a space, say 10 by 20 feet, guaranteeing it’s at least 10 feet from your home’s foundation to avoid water issues.
Next up, sketch a rough layout on paper. Mark where water enters and exits, and plan a shallow basin, about 6 to 8 inches deep, to hold runoff. Digging this out takes a weekend, so grab a shovel and get started.
Finally, check your slope. Confirm it’s gentle, around 1-2% grade, so water flows in without eroding soil. You’re on your way now!
Selecting Native Plants
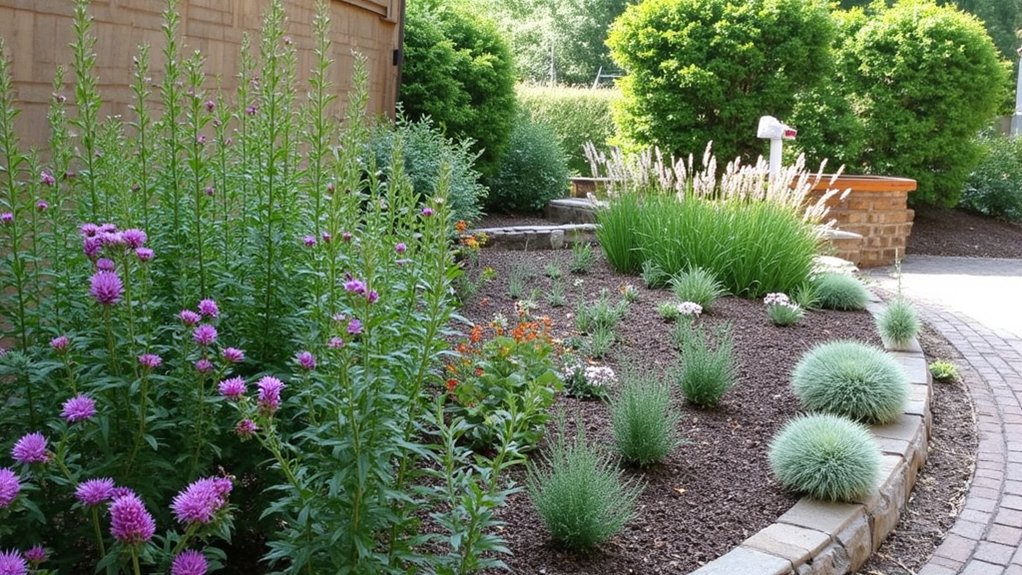
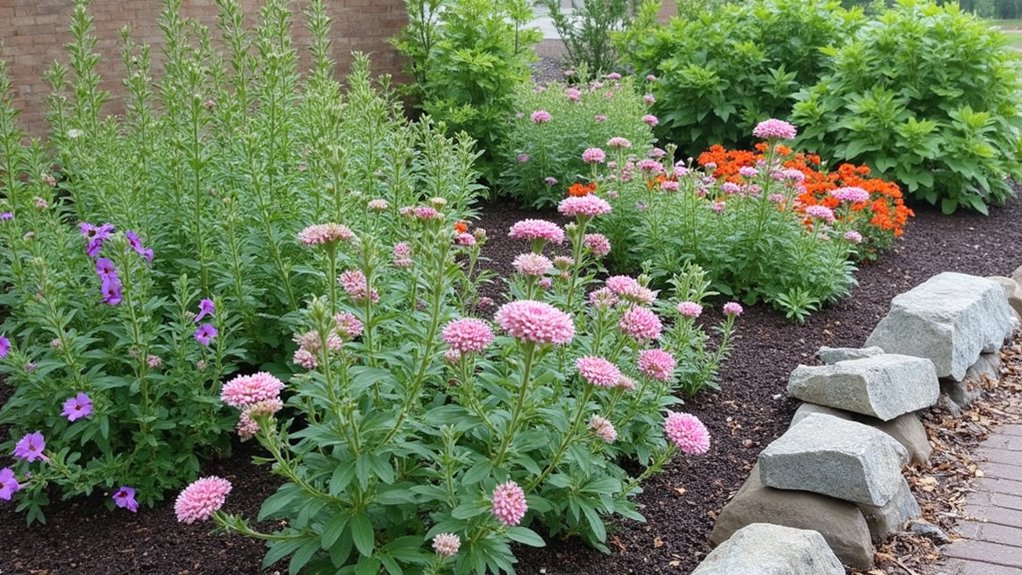
After shaping your rain garden’s basin, it’s time to focus on selecting native plants that’ll thrive there. Native plants are your best bet, since they’re adapted to your local climate and soil. They need less care, too.
Start by researching species native to your area, like purple coneflower or switchgrass, which handle wet and dry spells. Check with local nurseries or extension offices for lists of plants suited to rain gardens. Aim for a mix of heights, from low groundcovers to taller perennials, ensuring visual appeal.
Pick plants that bloom at different times, ideally from spring to fall, for year-round interest. Group them by water needs, placing thirstier ones, like marsh marigolds, in the basin’s center, and drought-tolerant ones on the edges.
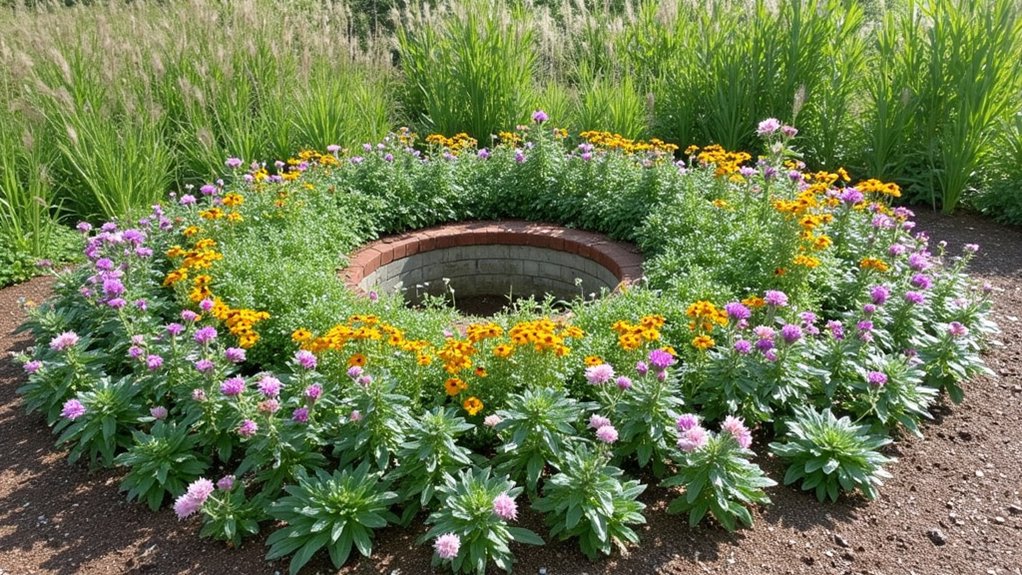
Digging the Basin

Three key steps will guide you in digging the basin for your rain garden. First, mark out the area, using string or spray paint, to define a space about 5 to 8 feet wide. Make sure it’s at least 10 feet from your house to avoid water issues.
Next, grab a shovel and start digging down, aiming for a depth of 4 to 8 inches. Keep the bottom level, so water spreads evenly, and slope the sides gently for a natural look. This shouldn’t take more than a few hours.
Finally, check the basin’s capacity by watching how it holds water after rain. Adjust the depth if needed, but don’t rush it—precision matters here, buddy.
Installing Drainage Pipes

Ready to tackle the next step in your rain garden project? Let’s get those drainage pipes installed to manage excess water. Grab a perforated pipe, about 4 inches in diameter, and some gravel.
First, lay the pipe in the deepest part of your basin, ensuring it slopes slightly, about 1-2% grade, toward an outlet or lower area. This helps water flow naturally, preventing pooling. Cover it with a 6-inch layer of gravel for stability and filtration.
Now, connect the pipe to any existing downspouts if you’ve got ‘em nearby. Use fittings to secure everything tight, avoiding leaks. Test it with a hose after 24 hours to check the flow. You’re setting up a solid system, so take your time!
Adding Mulch Layer
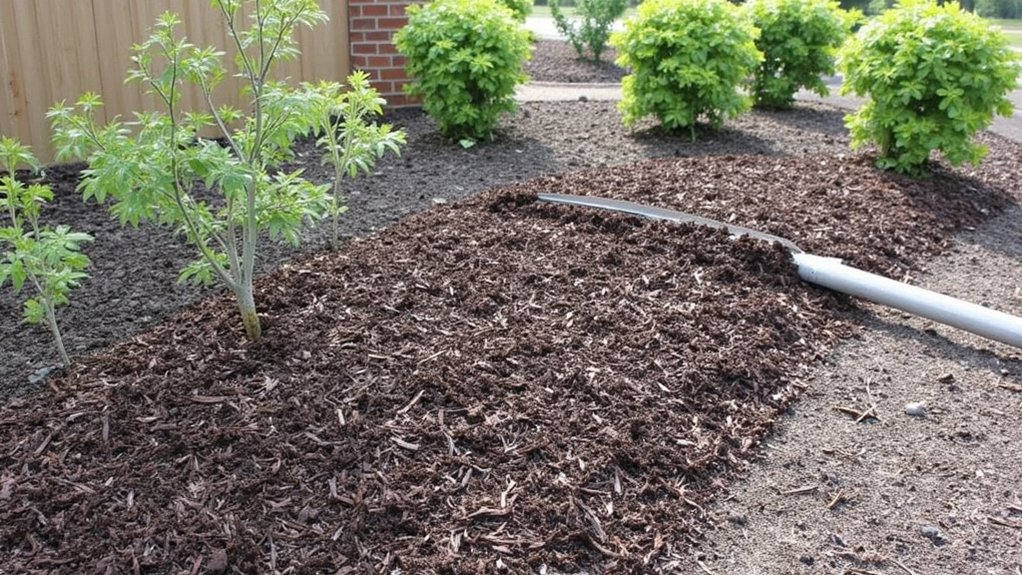
Let’s plunge into adding the mulch layer, a key step to polish your rain garden. You’ve got the base ready, so now let’s protect and beautify it. Mulch keeps moisture in and weeds out, simple as that.
Start by grabbing organic mulch, like shredded bark or wood chips, about 2-3 inches deep. Spread it evenly across the garden bed, using a rake for a smooth finish. Don’t pile it too close to plant stems, though; leave a small gap, say 1-2 inches, to avoid rot.
Work in sections if your garden’s large, covering a few feet at a time. This layer, applied right, lasts months, cutting down maintenance. Check it yearly, topping off as needed, to keep things tidy and functional.
Testing Soil Drainage
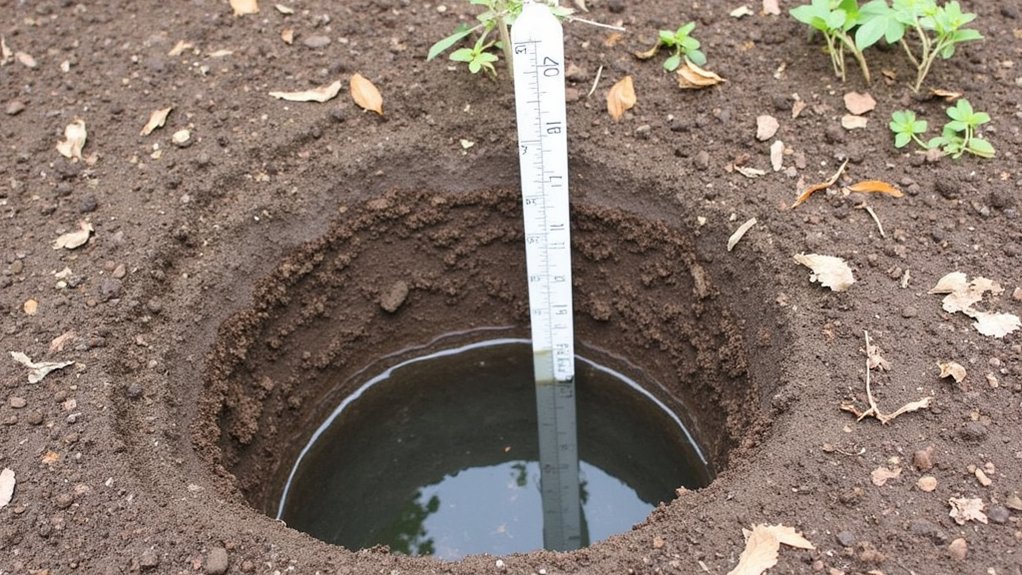
Before you plant anything in your rain garden, it’s smart to test the soil drainage. You don’t want water pooling forever, right? Let’s make sure it’ll soak in properly.
Start by digging a hole, about 12 inches deep and wide, in your garden spot. Fill it with water, let it drain completely, then refill it. Time how long it takes to drain again—ideally, it should empty within 24 hours. If it’s slower, your soil might need some help.
Check the drainage rate: good soil drains 1-6 inches per hour. If it’s sluggish, consider mixing in sand or compost to improve it. This quick test saves headaches later, ensuring your rain garden works like it should.
Maintaining Rain Garden
Once you’ve got your soil drainage sorted, it’s time to think about keeping your rain garden in top shape. Don’t let weeds take over; pull them out weekly, especially after rain. Check for debris like leaves or trash, and clear it to prevent clogging.
Every month, inspect the plants for signs of stress, like wilting or yellowing leaves. If you spot issues, adjust watering or add mulch—about 2-3 inches deep—to retain moisture. Prune dead growth in early spring to encourage new blooms.
Finally, monitor water flow during heavy rains. If pooling lasts over 48 hours, dig small channels to redirect excess water. Stay on top of these tasks, and you’ll keep your garden thriving with minimal hassle.
Choosing Garden Location
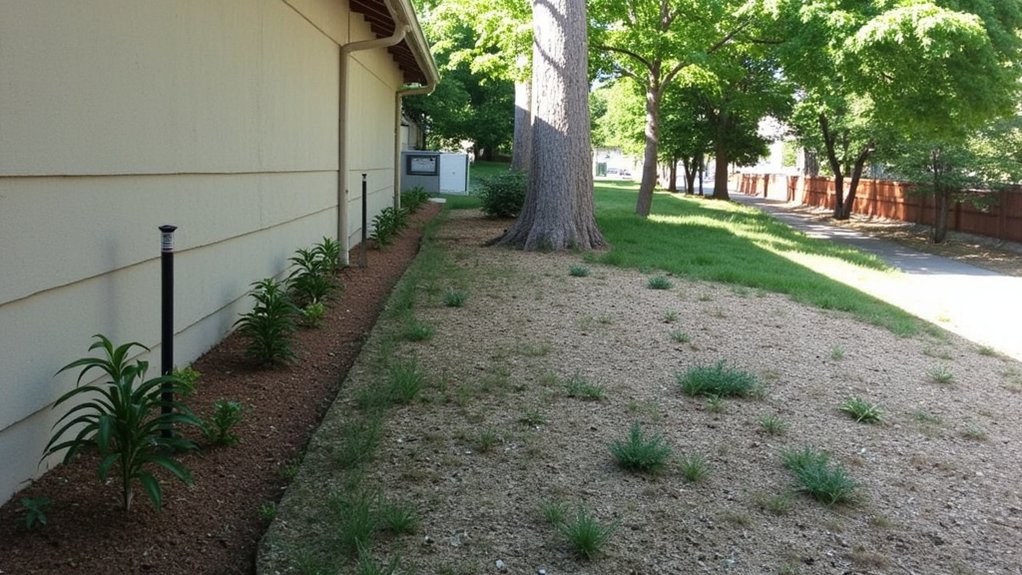
While starting your rain garden project, picking the right spot is your first crucial step. Look for a low-lying area, ideally 10-20 feet from your home, to avoid foundation issues. Make certain it’s a place where water naturally pools after rain.
Next, check the slope—aim for a gentle decline, about 1-2% grade, so water flows in without eroding soil. Avoid steep areas; they’re tricky to manage. Stand outside during a storm, if possible, and watch where runoff gathers most.
Also, verify it’s at least 10 feet from septic systems or utility lines. Call your local utility company to mark underground lines before digging. Pick a spot with partial sun, around 4-6 hours daily, for best plant growth.
Budgeting for Materials
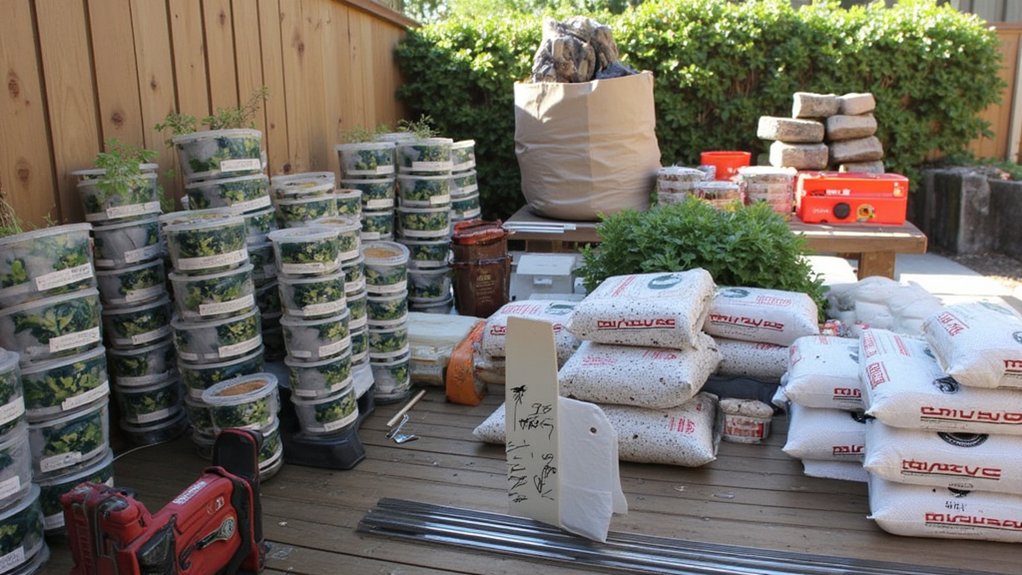
Let’s plunge into budgeting for your rain garden materials, a key step to keep costs in check. You’ve gotta plan smart, so start by listing what you need: native plants, mulch, gravel, and maybe some edging.
First, price out plants—aim for $5 to $10 each, depending on size, and buy 10-15 for a 100-square-foot garden. Check local nurseries for deals, and don’t forget, native species save water and cash long-term. Next, estimate 2-3 cubic yards of mulch at $30 per yard, plus a ton of gravel, roughly $50.
Set a total budget, say $300-$500, and track every purchase. Shop sales, reuse materials if you can, and avoid overspending. You’ve got this—stick to the plan!