If you’re looking to grow a Clivia indoors, you’ll discover it’s a rewarding plant that can thrive for decades with proper care. These striking natives of South Africa produce vibrant orange or yellow blooms and can adapt well to indoor environments, though they need specific conditions to flourish. Whether you’re a seasoned gardener or new to houseplants, mastering the basics of light, water, and seasonal care will set you up for success with these long-lived beauties.
Contents
Light Requirements and Optimal Placement
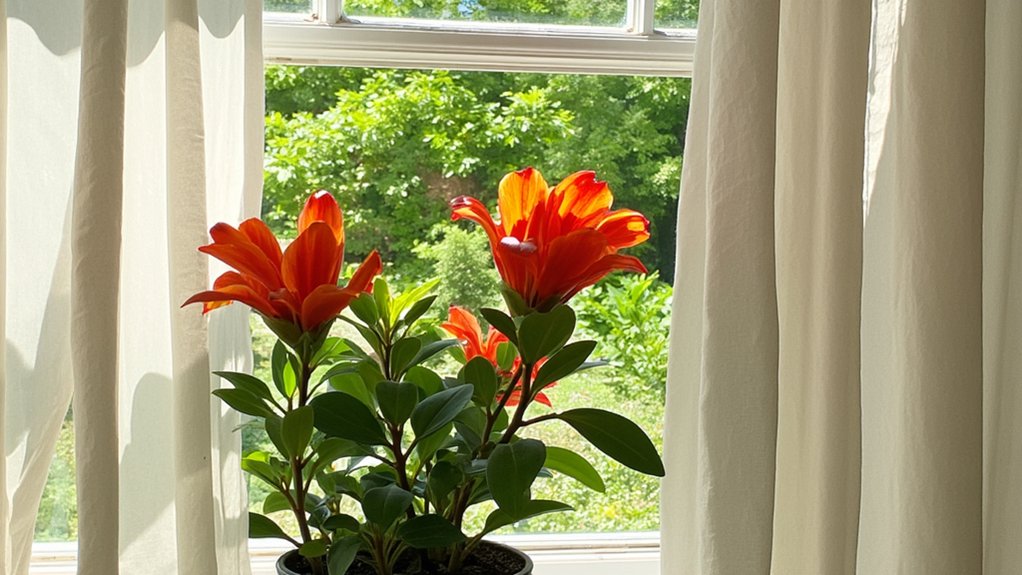
Three key factors determine the ideal light conditions for your indoor Clivia: intensity, duration, and seasonal variation. You’ll want to place your plant in bright, indirect sunlight for most of the year, keeping it about 3-4 feet from east or west-facing windows.
During summer months, protect your Clivia from direct sunlight, which can scorch its leaves. Move it to a shadier spot or filter harsh rays with a sheer curtain. In winter, you can gradually expose it to 2-3 hours of direct morning sun to encourage blooming, but don’t place it in southern windows where light’s too intense.
Temperature and Humidity Needs
While Clivia plants are remarkably adaptable, they’ll thrive best in temperatures between 65-75°F (18-24°C) during their active growing season. During winter months, you’ll want to keep them slightly cooler, around 50-60°F (10-15°C), to encourage blooming.
These plants aren’t too fussy about humidity levels, but they’ll appreciate 40-50% relative humidity. If your home’s air is particularly dry, especially during winter heating, you can increase moisture by placing your Clivia on a humidity tray filled with pebbles and water. Just make sure the pot’s bottom doesn’t sit directly in the water, as this can lead to root rot.
Soil Selection and Potting Tips
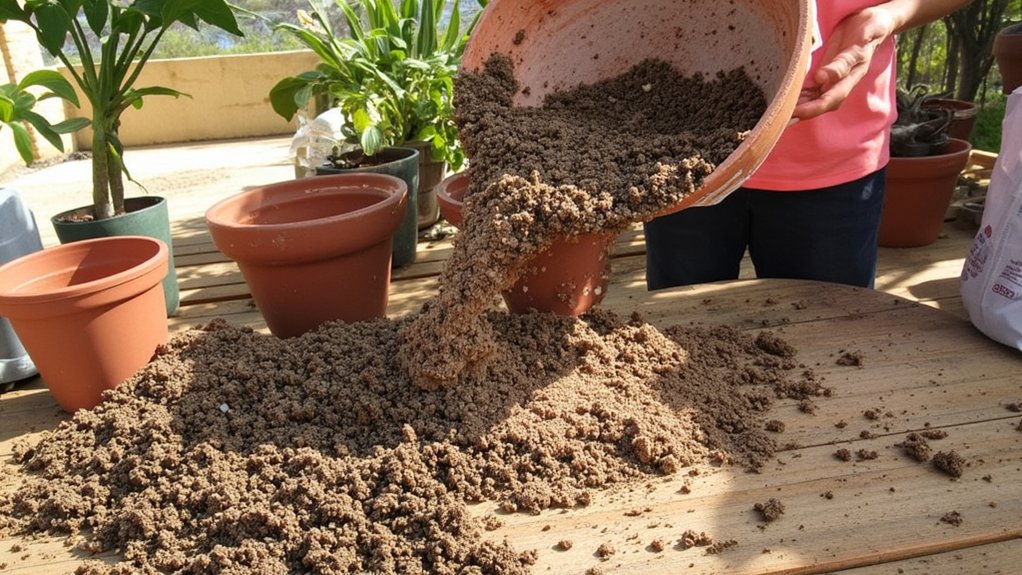
Just as your Clivia needs the right temperature conditions, it also requires proper soil and potting to flourish. Choose a well-draining potting mix combining two parts regular potting soil, one part perlite, and one part orchid bark to create ideal growing conditions.
Select a container that’s just 1-2 inches wider than your plant’s root ball, ensuring it has drainage holes. Don’t plant too deeply – keep the crown slightly above soil level. Pack the soil firmly but not too tightly around the roots, leaving about an inch of space between the soil surface and pot rim for watering.
Watering Schedule and Techniques
Since Clivia plants naturally thrive in semi-dry conditions, you’ll need to be strategic with your watering schedule. Water thoroughly only when the top 2 inches of soil feel dry to the touch, typically every 7-10 days during growing season.
During winter’s dormant period, reduce watering to once every 3-4 weeks, allowing the soil to become nearly dry between waterings. When you do water, pour slowly around the base until it drains from the bottom holes, but don’t let the pot sit in standing water.
For best results, use room-temperature water and avoid getting moisture on the leaves or crown to prevent rot.
Seasonal Growth and Dormancy Periods
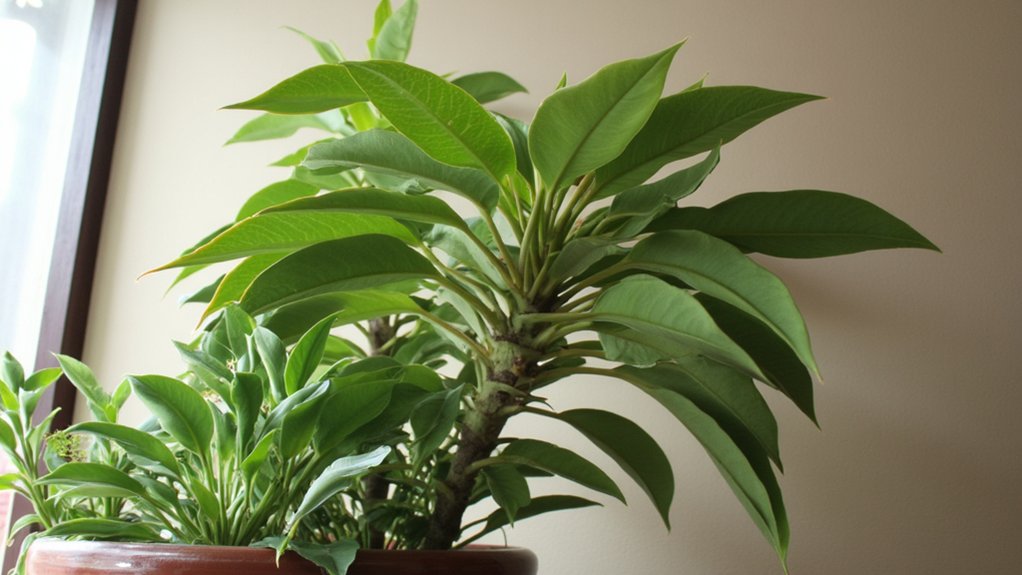
Proper watering habits align perfectly with your Clivia’s natural growth cycle throughout the year. From spring to fall, your plant enters an active growth phase, producing vibrant foliage and, potentially, stunning blooms. During these months, maintain regular watering and fertilizing schedules.
Winter dormancy is essential for flower development. From December through February, reduce watering by half and move your Clivia to a cooler spot, ideally between 50-65°F. Don’t worry if leaves yellow slightly – it’s normal during rest periods.
Resume normal care in late February when you notice new growth emerging from the center of the plant.
Fertilizing Your Clivia Plant
Regular fertilizing throughout the growing season helps your Clivia develop lush foliage and produce its signature blooms. Feed your plant monthly from spring through summer using a balanced, water-soluble fertilizer (10-10-10), diluted to half strength.
During the fall and winter dormancy period, stop fertilizing completely. Your Clivia won’t need additional nutrients while it’s resting. Resume feeding in early spring when you notice new growth emerging.
If you’re preparing your plant for blooming, switch to a high-phosphorus fertilizer (3-15-3) in late winter. Apply it every two weeks until flower buds appear, then return to your regular feeding schedule.
Propagation Methods and Division
Expanding your Clivia collection doesn’t require purchasing new plants – these robust beauties can be propagated at home through several reliable methods.
The most effective way to propagate Clivia is through division of mature plants that have developed multiple fans. Wait until your plant is 3-4 years old, then carefully remove it from its pot during spring. Gently separate the fans, ensuring each division has adequate roots and at least 4-5 leaves.
You can also grow Clivia from seeds, though it’s a slower process. Harvest ripe berries when they’re bright red, remove the fleshy coating, and plant seeds immediately in well-draining potting mix, 1/2 inch deep.
Common Pests and Disease Management
While Clivia plants are generally hardy, three common pests can plague indoor specimens: mealybugs, scale insects, and spider mites. You’ll spot mealybugs as white, cotton-like clusters near leaf joints, while scale appears as brown bumps along stems and leaves. Spider mites create fine webbing and cause yellow stippling on foliage.
For organic control, wipe leaves with isopropyl alcohol using a cotton swab, or spray with neem oil solution (2 tablespoons per gallon of water) every 7-10 days. Root rot can develop from overwatering, so always check soil moisture before watering and guarantee proper drainage to prevent fungal diseases.