If you’ve acquired a croton plant, you’re about to discover why these tropical beauties are both rewarding and demanding indoor guests. Your success with this colorful foliage plant depends on mastering a few key care requirements that aren’t particularly difficult but do require consistent attention. While many houseplants forgive occasional neglect, crotons need precise conditions to maintain their vibrant leaves and healthy growth – and those striking colors won’t last without proper care.
Contents
Light Requirements for Indoor Crotons

Looking to give your croton the perfect light exposure? These colorful plants need bright, indirect sunlight for 4-6 hours daily to maintain their vibrant foliage. Place your croton within 3-5 feet of an east- or west-facing window for ideal results.
You’ll know your plant’s getting too much light if the leaves appear washed out or develop brown spots. Conversely, insufficient light causes the leaves to lose their distinctive variegation and revert to plain green. During winter months, you might need to supplement with grow lights positioned 12-18 inches above the plant for 6-8 hours daily.
Temperature and Humidity Needs
While crotons thrive in warm temperatures between 65-85°F (18-29°C), they’ll struggle if exposed to sudden temperature changes or cold drafts. Keep your plant away from air conditioning vents, drafty windows, and exterior doors during winter months.
These tropical beauties need high humidity to maintain their vibrant foliage. You’ll want to maintain humidity levels around 60-80% by using a humidity tray, regular misting, or running a humidifier nearby. If you notice brown leaf edges, that’s often a sign your croton needs more moisture in the air.
During winter, you can group multiple plants together to create a microclimate that’ll help maintain higher humidity levels naturally.
Proper Watering Techniques
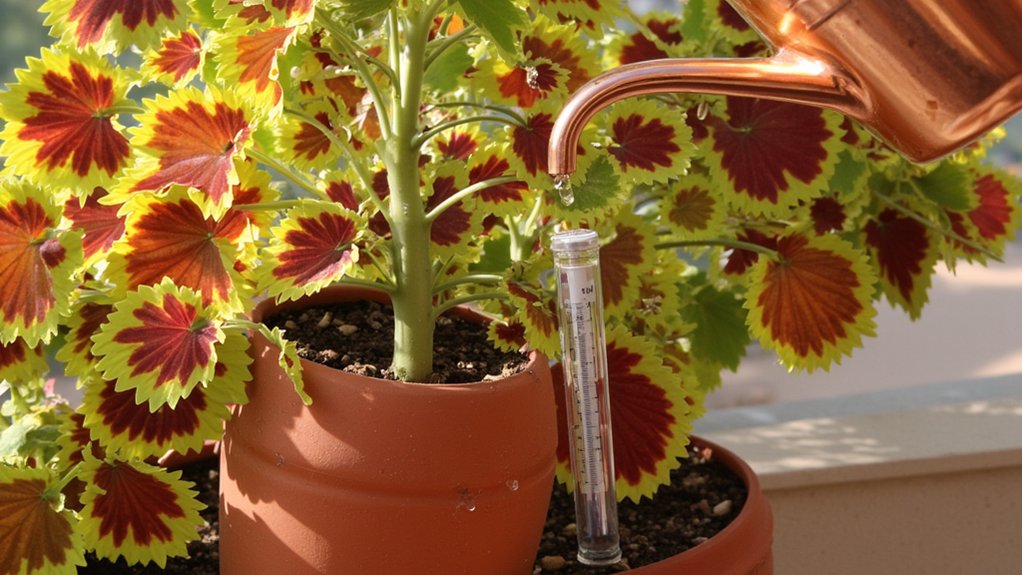
Three key principles guide proper croton watering: keep the soil consistently moist but never waterlogged, water thoroughly until it drains from the bottom, and adjust frequency based on seasonal needs.
You’ll want to check your croton’s soil moisture by inserting your finger 1-2 inches deep – if it feels dry at that depth, it’s time to water. During spring and summer, you’ll typically water every 3-5 days, while in winter, reduce to every 7-10 days.
When watering, pour room temperature water slowly around the base until it flows from the drainage holes. Don’t let your croton sit in standing water – empty the saucer after 15 minutes.
Soil and Potting Recommendations
Proper soil selection works hand-in-hand with good watering practices to keep your croton healthy and thriving. You’ll want to use a well-draining, slightly acidic potting mix with a pH between 4.5 and 6.5. Combine two parts quality potting soil with one part perlite or coarse sand for ideal drainage.
Choose a pot that’s 2-3 inches larger than your croton’s root ball, ensuring it has drainage holes at the bottom. When repotting, gently loosen the root ball and position the plant at the same depth it was growing previously. Add fresh soil mixture around the roots, pressing firmly but not compacting too tightly.
Fertilizing Your Croton Plant
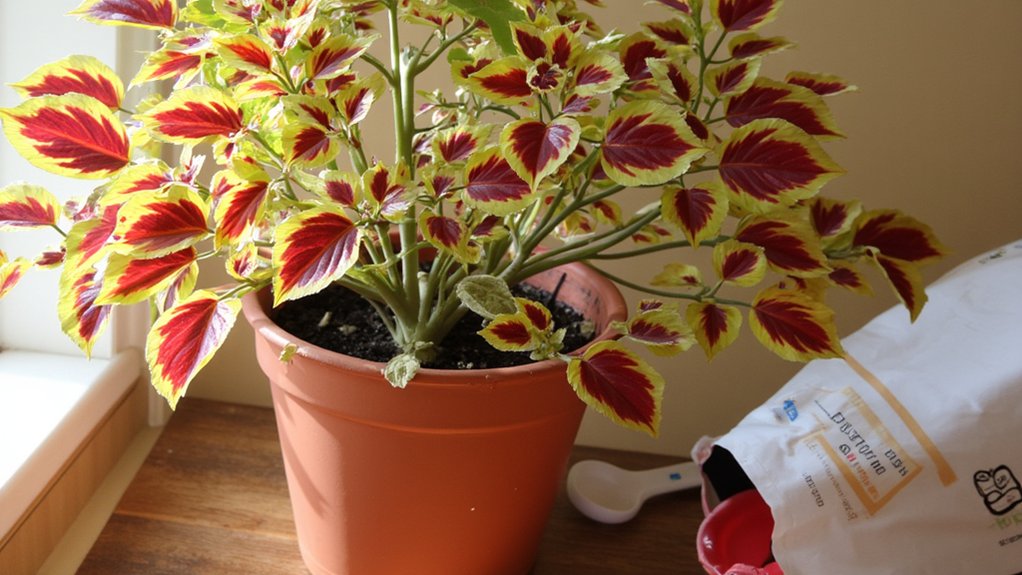
Feeding your croton with balanced fertilizer helps maintain those vibrant, eye-catching leaves you love. During the growing season (spring through summer), apply a water-soluble 10-10-10 fertilizer every 4-6 weeks, diluted to half-strength.
In winter, you’ll want to reduce fertilizing to once every 8-10 weeks, as your plant’s growth naturally slows down. If you notice pale new leaves or slower-than-usual growth, try supplementing with an iron-rich fertilizer. However, don’t overdo it – too much fertilizer can cause leaf burn and root damage. Always water your croton thoroughly before applying any fertilizer.
Pruning and Maintenance Tips
Regular pruning keeps your croton looking tidy while promoting healthy, bushy growth. Remove any dead, yellowed, or damaged leaves at the base using clean, sharp pruning shears. When trimming longer stems, cut just above a leaf node at a 45-degree angle.
You’ll want to prune your croton every 3-4 months during the growing season. Don’t remove more than 1/3 of the plant’s foliage at once. For leggy stems that are over 12 inches long, trim them back to 6-8 inches to encourage branching.
Wipe your pruning tools with rubbing alcohol between cuts to prevent the spread of disease, and always dispose of trimmed material away from your houseplants.
Common Pests and Diseases
While maintaining your croton through regular pruning helps prevent issues, you’ll still need to watch for common pest invaders and plant diseases. Spider mites, mealybugs, and scale insects frequently target crotons, appearing as tiny specks or cottony masses on leaves.
If you spot pests, treat your plant immediately with insecticidal soap, applying it every 7-10 days until the infestation clears. Root rot and leaf spot diseases can develop in overly wet conditions. To prevent these, guarantee proper drainage and avoid getting water on the foliage when watering.
Inspect your plant’s leaves weekly, checking both top and bottom surfaces for early signs of trouble.
Propagation Methods and Success Tips
Growing new croton plants through propagation gives you multiple options, with stem cuttings being the most reliable method. To start, select a healthy 4-6 inch stem with at least three leaves, and cut it at a 45-degree angle just below a node.
Remove the lower leaves, dip the cut end in rooting hormone, and plant it in a well-draining potting mix. Keep the soil consistently moist, and place a clear plastic bag over the cutting to maintain humidity. You’ll see roots developing within 3-4 weeks, and once you feel resistance when gently tugging the stem, your cutting has successfully rooted.