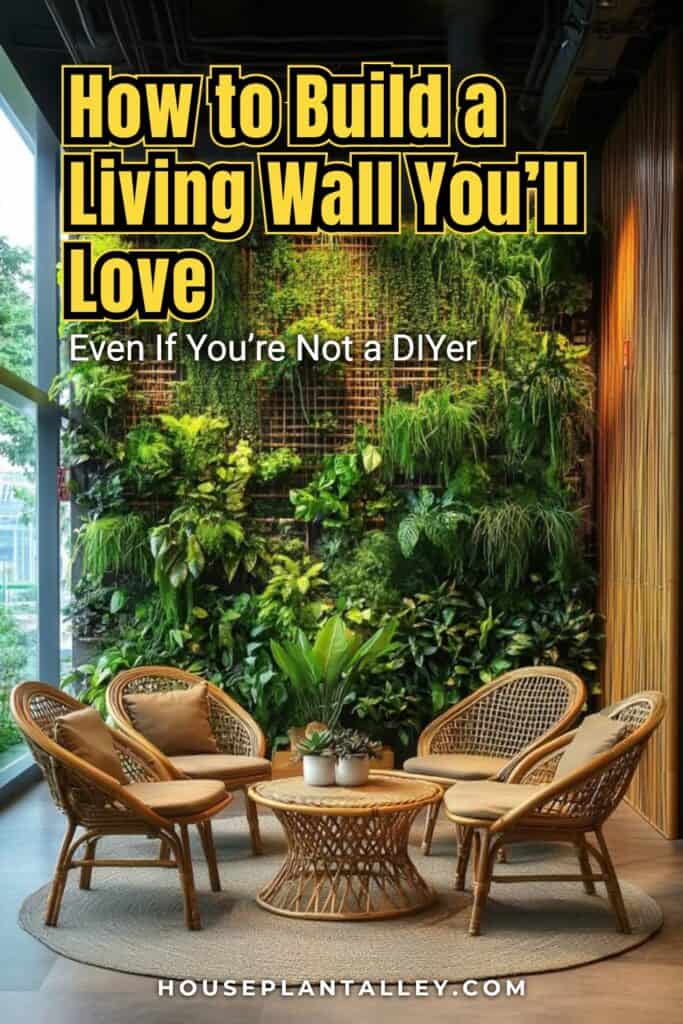
Dreaming of a lush vertical garden? Whether you’re sprucing up your living room or turning your patio into a green escape, this guide walks you through every step of building a thriving living wall.
Contents
1. Choose the Right Living Wall System
Your location helps determine the best system:
For indoor walls:
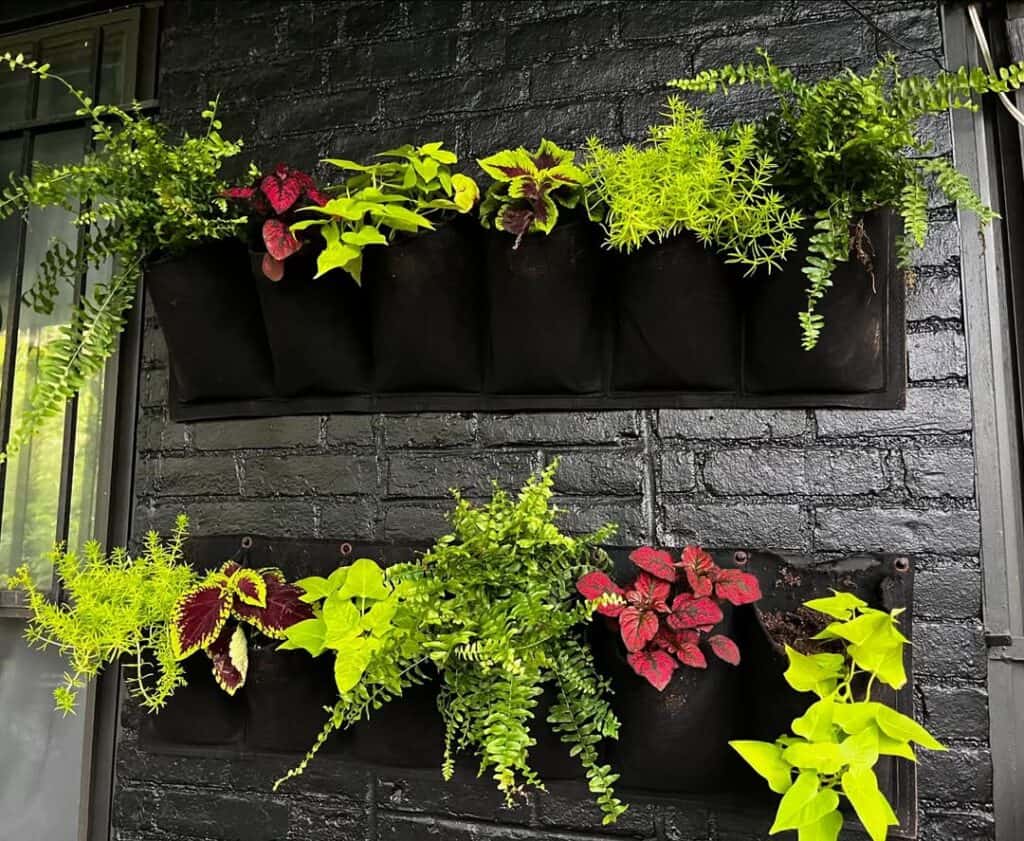
- Pocket systems or modular panels work best.
- Prioritize systems with built-in waterproofing and compact irrigation.
For outdoor walls:
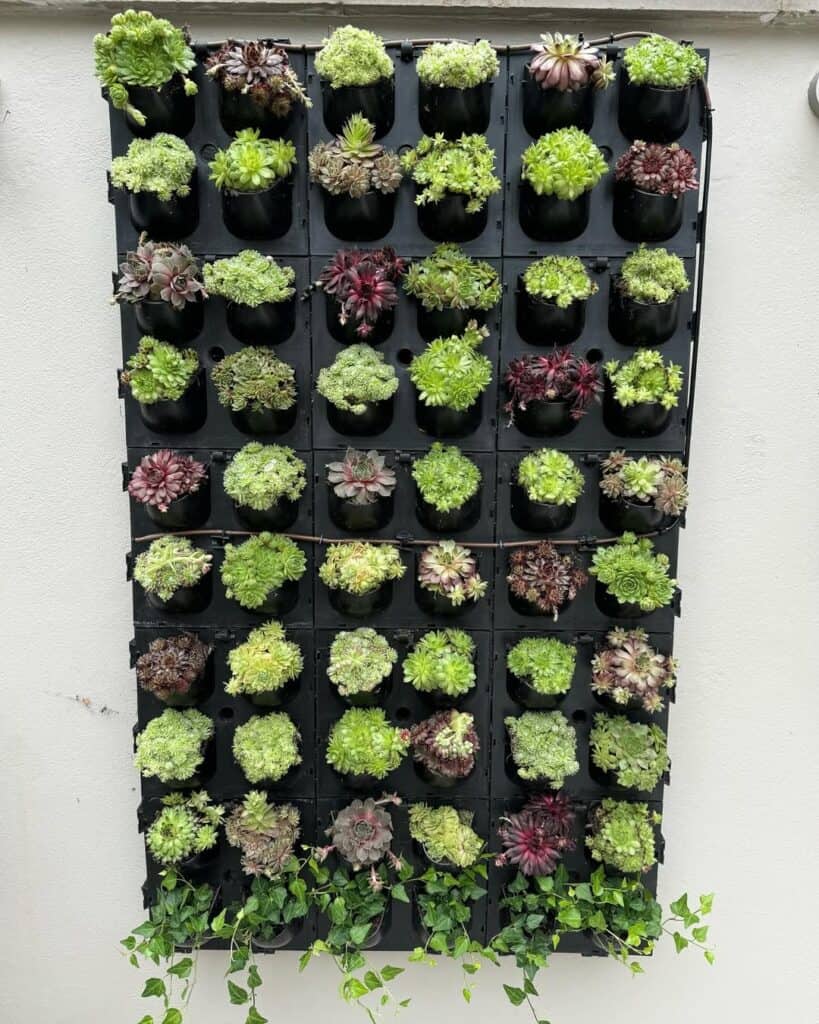
- Modular panels offer durability and weather resistance.
- Felt-based systems can be used if sheltered from direct rain and intense sun.
|
System Type |
Best For |
Key Notes |
|---|---|---|
|
Modular Panels |
Indoors & Outdoors |
Most versatile; great for custom designs |
|
Pocket Systems |
Indoors |
Easy to maintain and rearrange |
|
Felt-Based Design |
Outdoors (covered) |
Lightweight; needs close water monitoring |
2. Gather Your Tools & Materials
Tools
- Drill, level, measuring tape, pruning shears
Materials
- Sturdy wall frame
- Waterproof backing (crucial for indoors)
- Irrigation system (indoor: reservoir-based; outdoor: connect to hose or rain barrel)
- Potting soil + landscape fabric
- Pockets/panels/containers
- Plants, fertilizer, mounting hardware
- Moisture meter & pH kit
3. Pick the Perfect Location
Indoors
- Near windows with bright, indirect light
- Avoid heat vents or air conditioners
- Use grow lights if sunlight is limited
Outdoors
- South- or east-facing walls are ideal
- Protect from strong wind and heavy rainfall
- Ensure good drainage and solid wall structure
📏 Start with at least a 3×3 ft layout and make sure the wall can support the added weight (150 lbs is a safe standard).
4. Install Your Wall Step-by-Step
- Mount the frame using brackets every 16 inches.
- Add waterproof backing (especially crucial indoors).
- Install irrigation—indoor setups need a drip reservoir; outdoor systems can be automated.
- Add soil (2–3 inches deep per pocket/container).
- Plant: Place plants 6–8 inches apart and secure with pins or netting.
5. Select Plants Based on Your Environment
Indoor-Friendly Picks
- Low light: pothos, philodendrons, ferns
- Bright light: succulents, herbs like basil or thyme
Outdoor Favorites
- Sun-loving: lavender, ornamental grasses, flowering vines
- Partial shade: fuchsias, impatiens, coleus
🪴 Group plants with similar sunlight and water needs. Use 75% hardy perennials and rotate seasonal bloomers for year-round interest.
6. Maintain Your Living Wall Like a Pro
✔️ Weekly: Check irrigation lines, wipe dust (indoors), and clear any clogs
✔️ Every few days: Trim yellowing leaves, monitor moisture
✔️ Monthly: Fertilize with half-strength liquid feed during growing seasons
✔️ As needed: Replace any struggling plants to keep your wall looking full and healthy
With the right setup, your living wall can become a vibrant focal point—indoors or out.