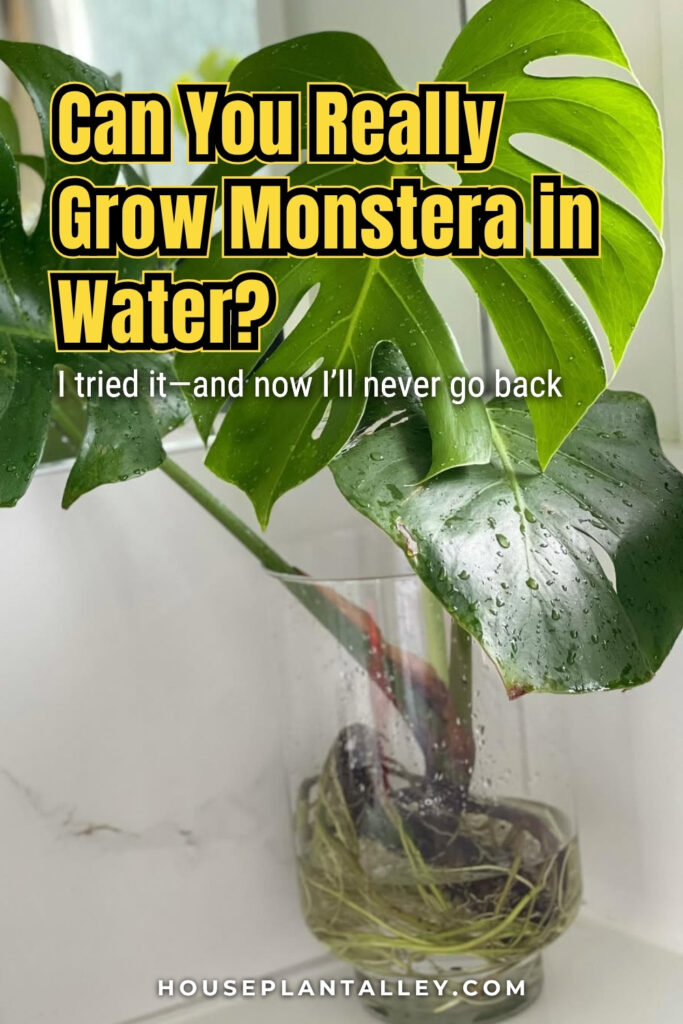
If you’ve been hesitant to commence on your plant parenthood journey, water propagation of Monstera might be your perfect entry point. You’ll discover that growing these tropical beauties in water isn’t just a temporary solution – it’s becoming a popular permanent growing method among houseplant enthusiasts. While you may have seen stunning photos of Monstera thriving in crystal-clear vessels, there’s more to successful water cultivation than simply placing a cutting in a jar. To transform your cutting into a thriving specimen, you’ll need to understand the critical elements that make the difference between lackluster results and vibrant, healthy growth.
Contents
- 1 Choosing the Right Monstera Cutting
- 2 Essential Supplies and Tools
- 3 Preparing Your Water Setup
- 4 Taking Healthy Stem Cuttings
- 5 Root Development Stages
- 6 Water Maintenance and Changes
- 7 Common Issues and Solutions
- 8 Transitioning Between Growth Mediums
- 9 Long-Term Care Guidelines
- 10 Frequently Asked Questions
- 10.1 Can I Grow Monstera in Water Permanently Without Soil?
- 10.2 Why Are My Water-Propagated Monstera Leaves Smaller Than Soil-Grown Ones?
- 10.3 Does Adding Fertilizer to Propagation Water Increase Growth Speed?
- 10.4 What Water Temperature Is Best for Monstera Propagation?
- 10.5 Can I Mix Different Monstera Varieties in the Same Propagation Container?
Choosing the Right Monstera Cutting
Selecting an ideal Monstera cutting requires careful attention to specific anatomical features. For suitable stem cutting selection, you’ll need to identify a segment with at least one node, aerial root, and healthy leaf. When identifying healthy monstera cuttings, examine the stem for firmness and guarantee it’s free from discoloration, rot, or disease. Choose sections 4-6 inches in length for perfect propagation success.
Essential Supplies and Tools
Basic Container Requirements
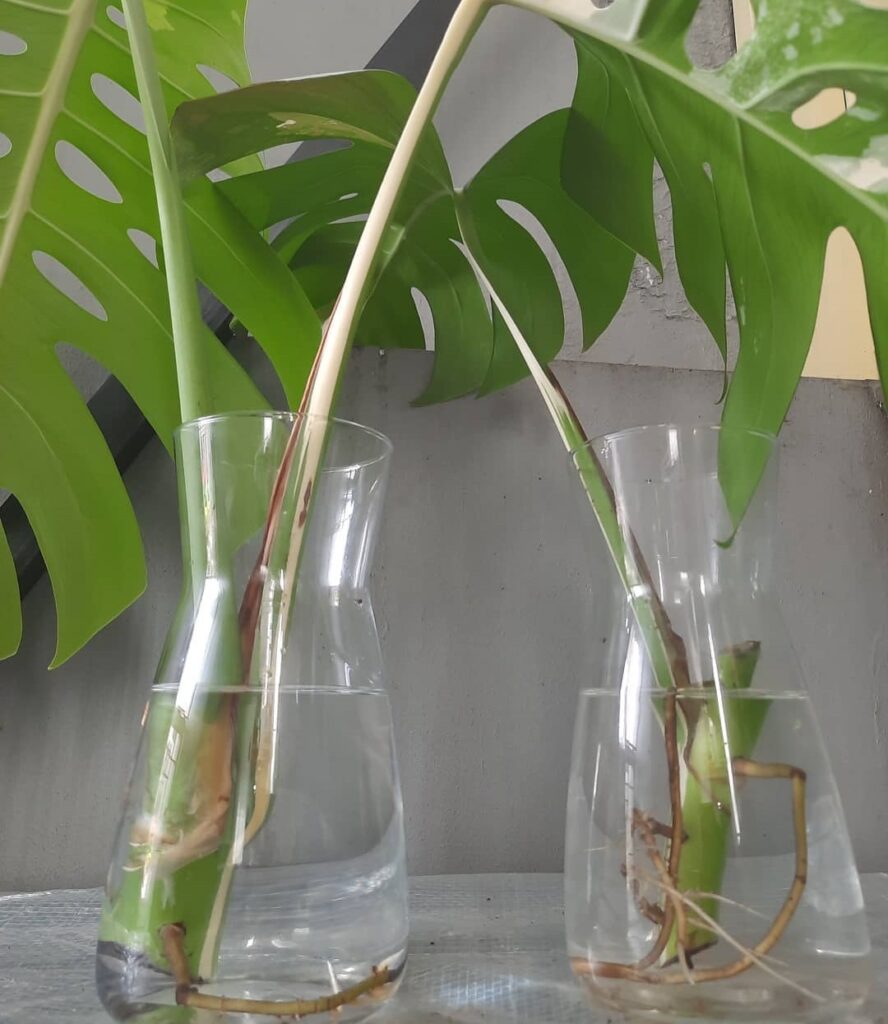
For successful water propagation of Monstera deliciosa, the ideal container setup requires several key components.
You’ll need a clear glass or plastic container that’s at least 6-8 inches deep and 4-6 inches wide to accommodate root growth. Choose vessels with a narrow neck to support the cutting while maintaining proper watering frequency. The container must be clean, transparent for monitoring roots, and spacious enough for long-term development.
Propagation Tools Needed
Successful Monstera water propagation demands specific tools and materials beyond just containers. You’ll need clean, sharp pruning tools like pruning shears or a sterilized knife for taking cuttings. A propagation medium such as sphagnum moss can help support new roots. Additionally, you’ll require hydrogen peroxide for sterilization, rooting hormone powder to stimulate growth, and pH testing strips to monitor water conditions.
Preparing Your Water Setup
Choosing Container and Location
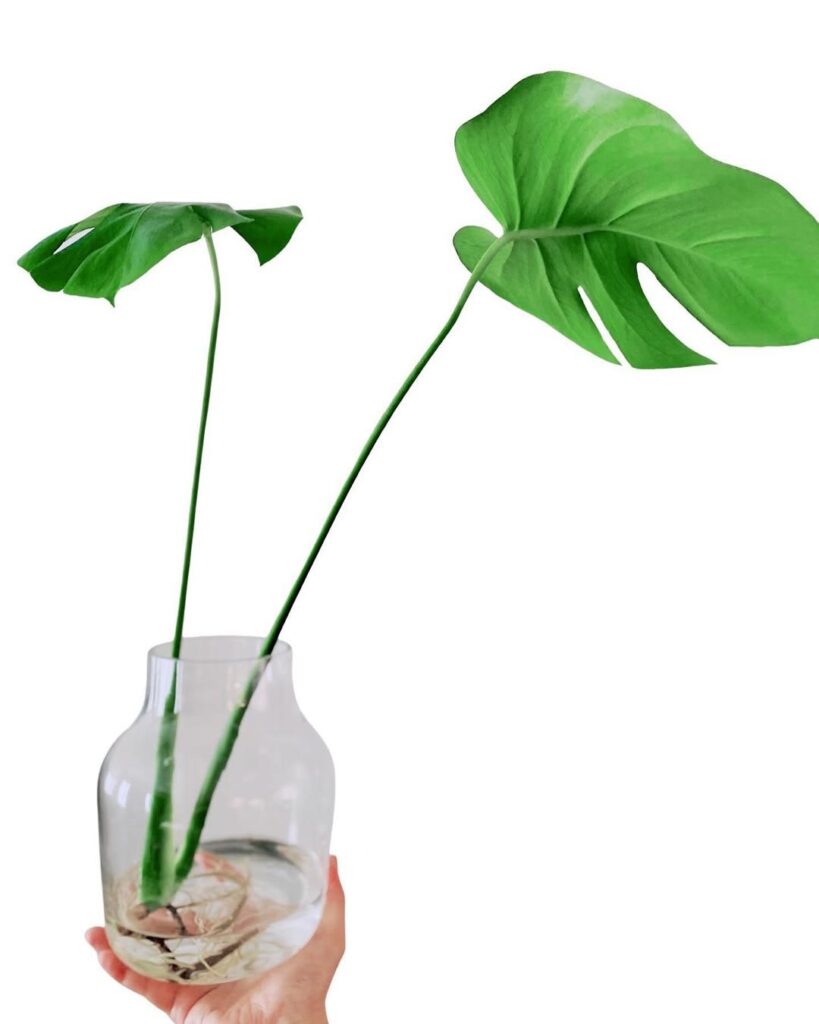
Proper container selection and positioning play essential roles in water propagation success for Monstera deliciosa. Choose a clear glass vessel that’s at least 6 inches deep with a wide mouth for stability. Position your container where it’ll receive bright, indirect light, maintaining suitable lighting requirements of 70-85% filtered sunlight. You’ll need ideal humidity levels between 60-80% for successful water cultivation.
Water Quality and Temperature
Consistently maintaining ideal water conditions serves as the foundation for healthy Monstera water propagation. You’ll need to maintain a water pH between 5.5-7.0 and moderate water hardness levels of 60-180 ppm. Keep water temperature stable at 68-82°F (20-28°C). Replace the water every 7-10 days to prevent algae growth and maintain oxygen levels for excellent root development.
Taking Healthy Stem Cuttings
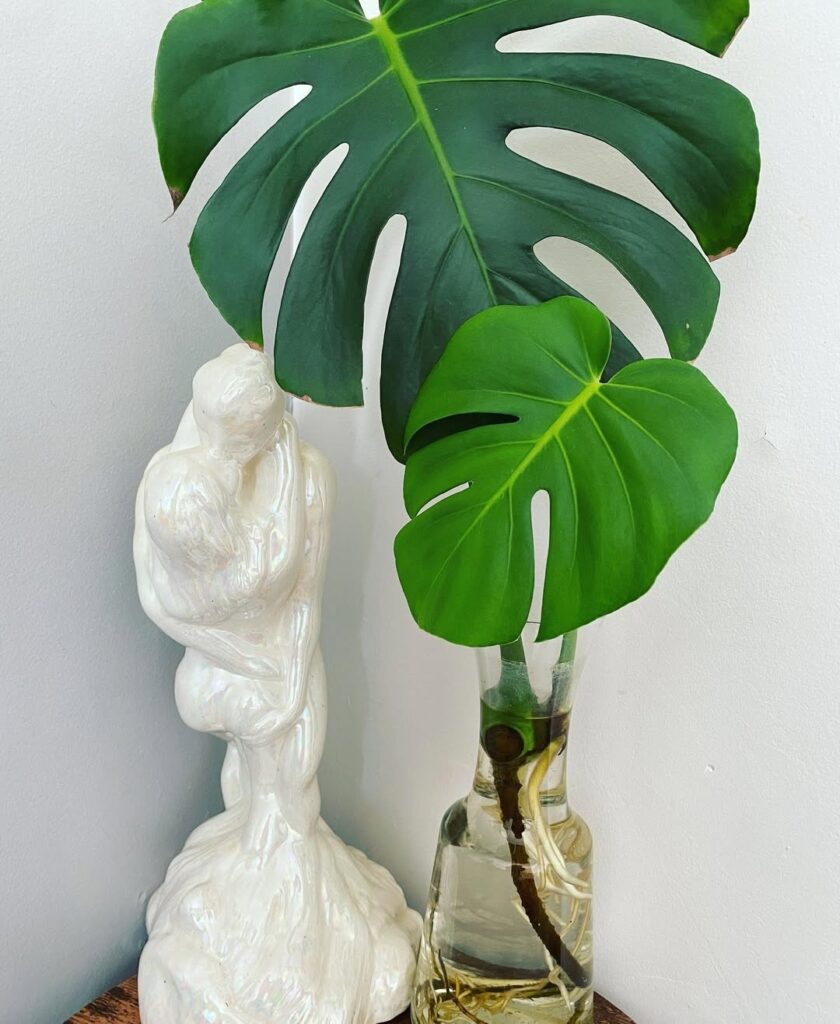
Taking healthy stem cuttings from your Monstera requires careful attention to node placement and cutting technique. For ideal cutting selection, identify stems with at least one node and two leaves. Make a clean, 45-degree cut below the node using sterilized pruning shears. During cutting preparation, remove any lower leaves and guarantee each segment has visible aerial roots or growth points.
Root Development Stages
Throughout the water propagation process, Monstera cuttings undergo distinct developmental phases of root formation. You’ll observe these critical stages:
- Initial node swelling and white root primordia emergence (days 7-14)
- Primary root elongation with accelerated root growth rate (days 14-28)
- Secondary root branching with increased nutrient absorption efficiency, marked by darker coloration and fine root hairs (days 28-45)
Water Maintenance and Changes
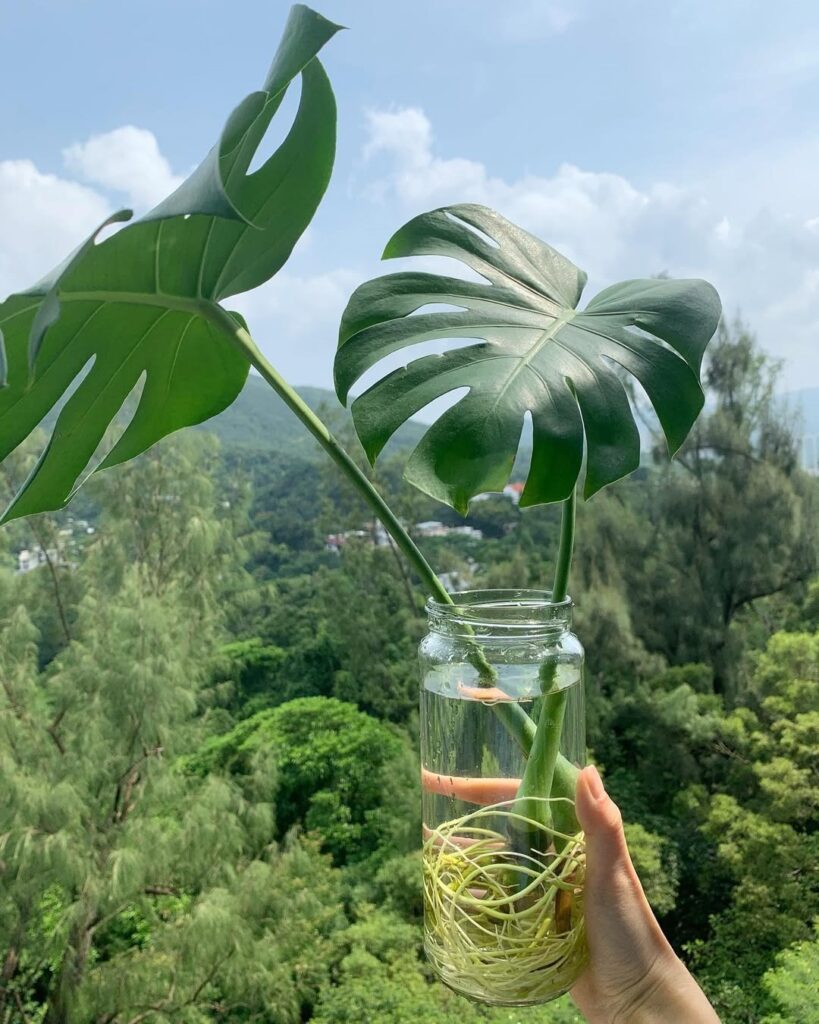
Proper water maintenance directly impacts the success of root development across all growth stages. You’ll need to perform water quality testing weekly to monitor pH levels and mineral content. Change the water every 7-10 days to prevent bacterial growth and maintain oxygen levels. If you notice cloudiness or algae formation between scheduled water changes, immediately replace the water to protect your monstera’s developing root system.
Common Issues and Solutions
Identifying and resolving problems early guarantees successful water propagation of your monstera. When practicing pest management and disease prevention, watch for these critical signs:
- Yellow or brown spots on leaves indicate bacterial infection – treat with hydrogen peroxide solution
- Root rot appears as black, mushy roots – trim affected areas immediately
- Spider mites create webbing – isolate plant and spray with neem oil
Transitioning Between Growth Mediums
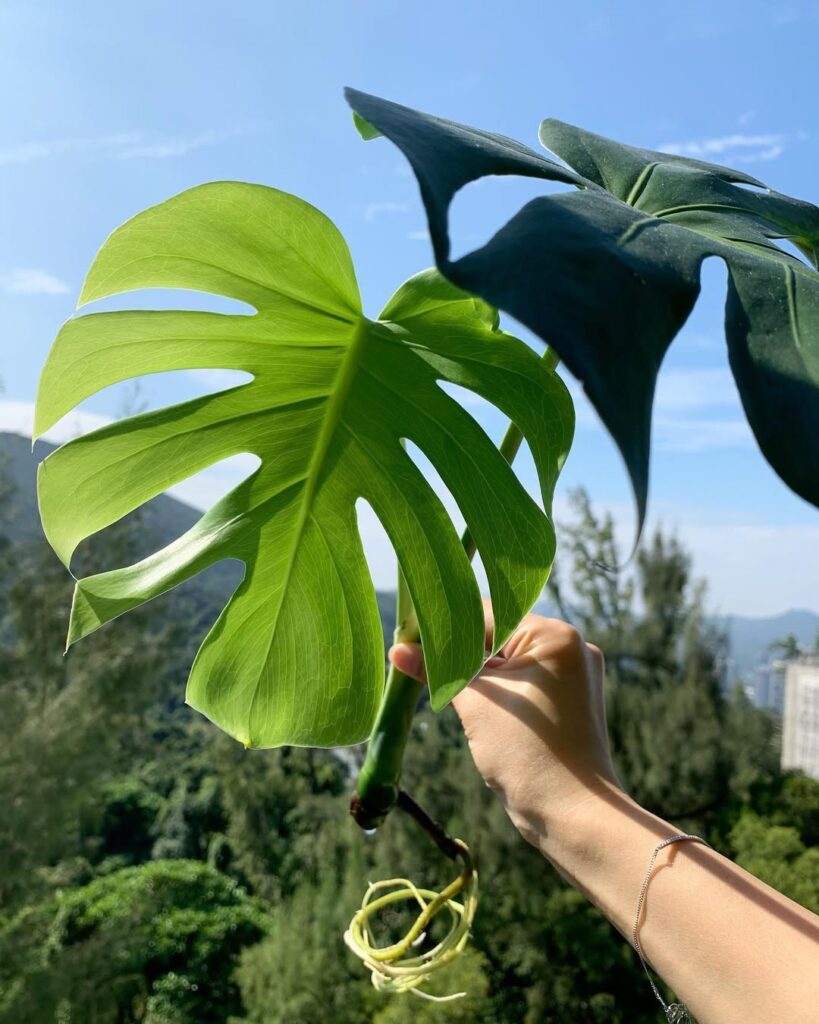
After successfully managing any growth issues, the next phase involves moving your monstera from water to soil medium. Begin the shift when roots reach 2-3 inches in length. Maintain strict soil moisture management by keeping the soil consistently damp for two weeks. Monitor root growth during this period by gently examining the base. Signs of successful migration include new leaf development and stable stem positioning.
Long-Term Care Guidelines
Regular maintenance forms the foundation of successful monstera growth in water systems. Monitor watering frequency by checking water levels weekly and replenishing with filtered water when levels drop below the roots.
- Change 100% of the water every 14 days to prevent algae buildup
- Apply liquid fertilizer at 1/4 strength monthly during growing season
- Test water pH biweekly, maintaining levels between 5.5-6.5
Frequently Asked Questions
Can I Grow Monstera in Water Permanently Without Soil?
Like a fish out of water, you can’t sustain monstera permanently in water alone. You’ll face nutrient deficiencies and stunted growth, even with proper sunlight requirements. Soil provides essential minerals for long-term health.
Why Are My Water-Propagated Monstera Leaves Smaller Than Soil-Grown Ones?
Your water-grown monstera’s smaller leaves occur because water absorption rates are lower without soil’s complex nutrient matrix, directly impacting foliage development. You’ll see reduced leaf size until nutrients are properly supplemented.
Does Adding Fertilizer to Propagation Water Increase Growth Speed?
A little goes a long way! You’ll need to manage nutrient concentration carefully, as fertilizer can boost growth but requires frequent water changes. Start with quarter-strength solution to prevent burning your cuttings.
What Water Temperature Is Best for Monstera Propagation?
You’ll achieve ideal results maintaining water temperature between 68-77°F (20-25°C). Monitor water pH levels between 5.5-6.5 for successful monstera propagation. Avoid extreme temperature fluctuations that could stress your cutting’s development.
Can I Mix Different Monstera Varieties in the Same Propagation Container?
You shouldn’t mix varieties, as they’ve got different ideal light requirements and growth rates. Keep each type separate to maintain appropriate propagation medium conditions and monitor individual progress more effectively.
