Propagating Alocasia Mickey Mouse is like taking a blank canvas and creating a masterpiece. With the right tools, knowledge and patience, you can create your own stunning arrangement of these plants that will bring life to any home or garden. In this step-by-step guide, you’ll learn how to propagate Alocasia Mickey Mouse safely and successfully so you can enjoy its beauty for years to come.
The process of propagating plants isn’t just an art form—it’s also a science. From choosing the right container to understanding the best soil mix ratio and lighting levels, there are many factors at play in successful propagation. If done correctly, however, it can be incredibly rewarding as well!
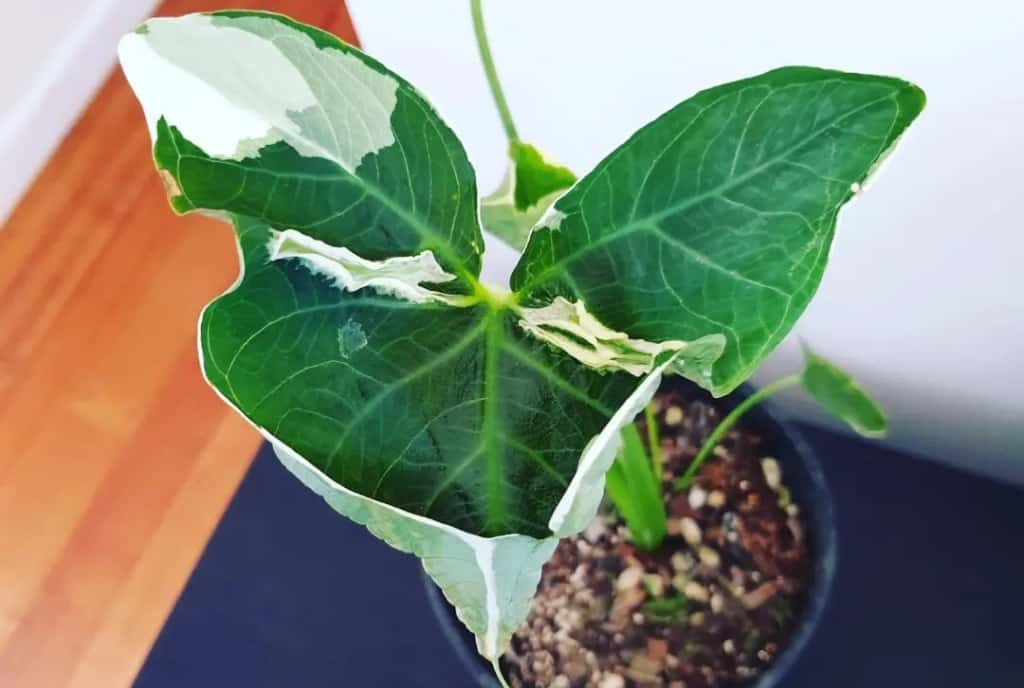
Alocasia Mickey Mouse is one of the most popular houseplants out there due to its striking foliage and easy care requirements. But before you start propagating it, there are some steps you should take first to ensure success. Read on for our step-by-step guide on how to propagate Alocasia Mickey Mouse with ease!
Contents
Offset Division As A Means Of Alocasia Mickey Mouse Propagation
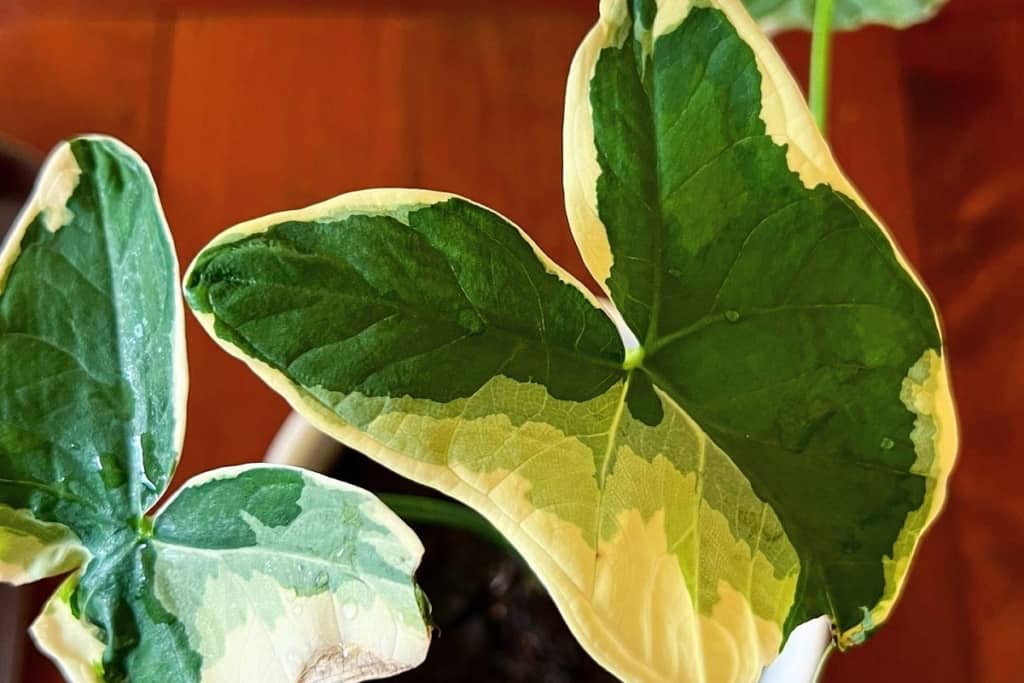
If you’re looking to propagate the beautiful Alocasia Mickey Mouse, offset division is a great way to do it. With its large glossy leaves and striking color, this plant makes an attractive addition to any garden or home décor. By dividing the offsets of your existing plant, you can create new plants that will thrive in their own container. This method helps prevent root rot from occurring and keeps your original plant healthy too.
How To Propagate Alocasia Mickey Mouse By Offset Division
As easy as pie, propagating Alocasia Mickey Mouse by offset division is a simple and straightforward process. To get started, first you need to identify the mother plant that has multiple offsets growing around it. These baby plants are then carefully separated from the mother plant while ensuring their roots remain intact. As they should be planted in indirect light for optimal growth, choose an area accordingly before planting them into well-draining soil or potting mix.
Now comes the step-by-step guide on how to propagate your new little family: start by gently removing each baby plant from its mother using your fingers or a trowel. Make sure there’s no damage done to any of the delicate root systems during this time. Once removed, place them both in separate pots filled with fresh soil or potting mix; make sure their root system gets covered completely and press down lightly to ensure good contact between soil and roots. Water thoroughly afterward—but don’t overwater!
Growing The Offset Divisions In Water
Growing the offset divisions in water is one way to successfully propagate Alocasia Mickey Mouse. After carefully separating a healthy offset, you’ll need to place it in a jar of warm water. This should be done with care, as handling and moving the delicate root ball too much can cause damage.
To help your new plant grow healthily, you may add in some diluted fertilizer once every two weeks or so. Liquid houseplant fertilizers are ideal for this task since they contain all the necessary nutrients that will give your young plants a boost. Additionally, make sure the environment around them is quite humid; if not, humidity levels can be increased using a spray bottle filled with clean water from time to time.
It’s also essential to ensure air circulation around the offsets while submerged in the jar of water – this helps keep bacteria and fungi away which could otherwise quickly contaminate the root system and kill off your precious plantlets! A small fan nearby works well for this purpose as it keeps airflow consistent without disturbing their fragile roots.
Now that you’ve provided everything your little baby plants need, just sit back and watch them flourish! With proper dedication and love, soon enough they will have developed strong roots able to support themselves against gravity when transplanted into soil.
Growing The Offset Divisions In Soil
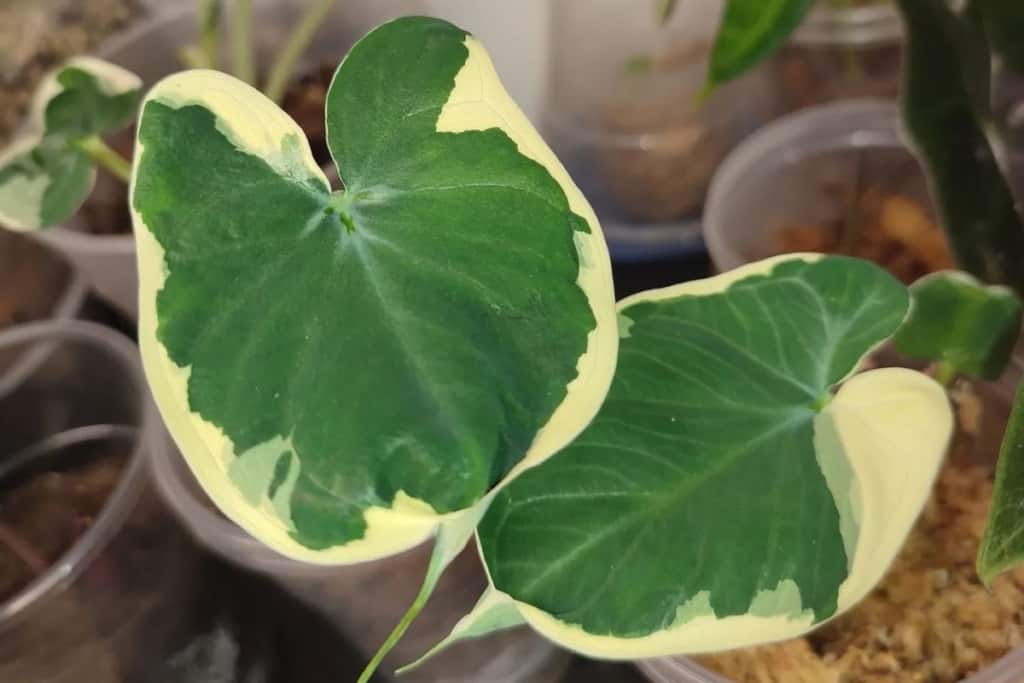
Propagating Alocasia Mickey Mouse is a rewarding experience, with approximately 90% of propagated offsets successfully growing into adult plants. To ensure success, it’s important to understand the needs for this compact plant when planting the offset divisions in soil. Fresh soil that provides proper drainage and humidity levels is essential, as well as keeping light levels low during propagation.
A great way to begin is by preparing a pot or container filled with a soil mix specifically formulated for tropical plants like Alocasia Mickey Mouse. Make sure you’re using fresh pots each time you propagate – old containers may not provide adequate drainage which can lead to root rot. Once your container is ready, place your division carefully onto the surface of the new soil and use your fingers to gently push down around the base of the stem until it feels secure in its home.
It’s also beneficial to lightly water the area surrounding the division before covering them up with an additional layer of soil. When watering these newly planted offsets, be mindful not to over-water – allowing excess moisture can quickly cause rot and kill your young plant! For best results, keep moist but never soggy; this will help establish strong roots while still maintaining the humid conditions needed for optimal growth.
Lighting plays an integral role in successful propagation too. Alocasia Mickey Mouse prefers bright indirect sunlight or filtered shade from artificial lighting options indoors—direct sun exposure should always be avoided since it could burn their delicate leaves and stunt their development. With all these tips taken into consideration, you’ll soon have healthy-looking foliage and beautiful blossoms!
Caring For Newly Propagated Alocasia Mickey Mouse
Caring for newly propagated Alocasia Mickey Mouse is an absolute must if you want to enjoy its beauty and lush green foliage! The effort put into propagation will be wasted without proper care, so it’s essential that you’re aware of what your plant needs. To help ensure a long life full of vibrant color, here are the things that need to be done:
- Give it indirect light – A mature Alocasia Mickey Mouse should receive no more than three hours of direct sunlight per day. The best way to provide this is by placing it near an east or west-facing window.
- Ensure good drainage – When planting in soil, make sure there are drainage holes at the bottom of your pot. This helps prevent waterlogging which can cause root rot.
- Water regularly – During the growing season (spring through autumn), keep the soil moist but not soggy. In winter months, reduce watering as Alocasia goes dormant during these months.
- Remove diseased leaves – Inspect your plant regularly for yellowing or wilting leaves and remove them immediately using clean pruners. Doing this ensures disease won’t spread from one leaf to another.
Now that you know how to care for your propagated Alocasia Mickey Mouse, all that’s left is to wait and observe its growth with admiration! With regular checkups and attention is given to indirect light, drainage holes, watering habits, and removal of diseased leaves—any newbie gardener can successfully raise their own Alocasia Mickey Mouse indoors!
Conclusion
Propagating Alocasia Mickey Mouse isn’t as difficult as one might think. All it takes is a few simple steps and some TLC along the way. And once you get started, you won’t want to stop—watching those babies grow will become an addiction like none other! If you follow my advice above, they’ll soon be the stars of your garden or home space; dazzling everyone who sees them with their lush foliage and striking colors.
Take Rebecca’s story for example: after learning how to propagate her Alocasia Mickey Mouse correctly, she was able to successfully divide two of her existing plants into four separate babies that each grew strong and healthy roots over time. She kept them in water until they were ready to transplant into the soil, where she could better monitor their progress and give them adequate nutrients. Her patience paid off—all four of her baby alocasia plants flourished under her watchful eye!
So what are you waiting for? Get ready to experience the joy of propagation: turn off all distractions, grab your tools, and get ready for some serious planting fun! You never know what beauty awaits when you give new life to something old—so go ahead and try it out for yourself today!