Just like a child outgrowing their favorite shoes, your rubber plant will signal when it’s time for a larger home. You’ll notice roots peeking through drainage holes, slowed growth, or leaves that seem less vibrant than usual. While repotting might seem challenging, you’re about to discover how this essential care task can transform your struggling plant into a thriving specimen with just a few simple tools and careful steps.
Contents
Signs Your Rubber Plant Needs Repotting
Signs that indicate your rubber plant needs repotting include roots growing through drainage holes, slowed growth, and soil that dries out much faster than usual. When you notice roots circling the bottom of the pot or appearing on the soil surface, these are clear indicators that your plant has become root-bound and requires more space to grow.
Physical signs from the plant itself can also signal the need for repotting. If your rubber plant’s leaves are yellowing despite proper care, if the plant appears top-heavy, or if it’s been in the same pot for more than 2-3 years, it’s likely time for a larger container. Additionally, if water runs straight through the pot without being absorbed by the soil, this suggests the root ball has become too compressed and needs fresh potting medium.
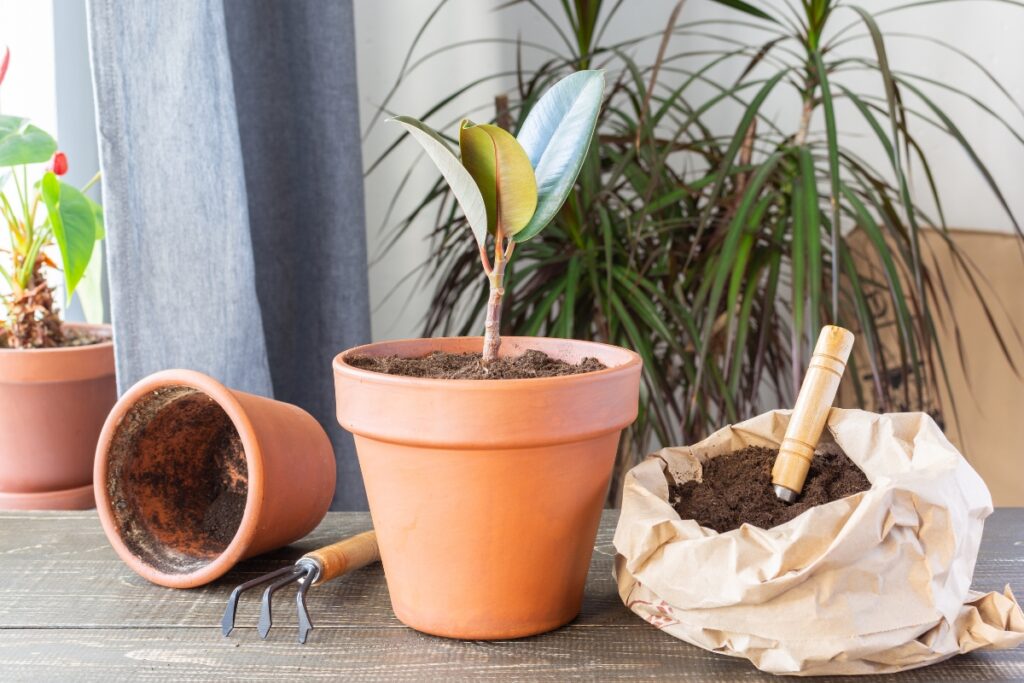
Essential Tools and Materials for Repotting
Essential tools and materials needed for repotting a rubber plant include a new pot with drainage holes that’s 1-2 inches larger than the current container, fresh well-draining potting soil, and clean pruning shears or scissors. A spray bottle filled with water, newspaper or drop cloth to protect surfaces, and gardening gloves are also necessary components. For larger rubber plants, having a trowel or small shovel will help with soil manipulation.
Basic supplies should also include stones or broken pottery pieces for drainage layer placement, a watering can, and potentially a stake with plant ties if the plant needs support after repotting. A soil moisture meter can be helpful but isn’t essential. The potting mix should be specifically formulated for indoor plants or can be created by combining regular potting soil with perlite or sand to improve drainage.
Selecting the Right Pot and Soil Mix
Choose a pot that’s 1-2 inches larger in diameter than the current container, ensuring it has adequate drainage holes. The new pot can be plastic or ceramic, but it must be sturdy enough to support the rubber plant’s weight and size. Any container material is acceptable as long as it provides proper drainage and stability.
The ideal soil mix for rubber plants should be well-draining while retaining enough moisture for healthy growth. Combine regular potting soil with perlite or coarse sand in a 2:1 ratio. Adding orchid bark or coco coir can further improve drainage and aeration. This mix provides the perfect balance of moisture retention and root breathability that rubber plants need to thrive.
Step-by-Step Repotting Process
Begin by gathering your supplies: a new pot 1-2 inches larger than the current one, fresh potting soil, and clean pruning shears. Remove the rubber plant from its current pot by gently tipping it sideways while supporting the base of the plant. Carefully loosen and remove old soil from around the roots, and trim any damaged or rotting roots with clean shears.
Place a layer of fresh potting mix in the bottom of the new pot, then position the rubber plant so it sits at the same depth as it was in its previous container. Fill in around the roots with fresh potting soil, gently tamping down to remove air pockets. Leave about an inch of space at the top for watering. Once complete, water thoroughly until water drains from the bottom holes, and place the plant in a location with bright, indirect light to recover from the repotting process.
Aftercare and Recovery Tips
Place your newly repotted rubber plant in a location with bright, indirect light and maintain consistent room temperature. Water thoroughly after repotting, but allow the top inch of soil to dry between subsequent waterings to prevent root rot. Avoid fertilizing for at least 4-6 weeks after repotting to give the plant time to recover and establish new roots.
Monitor your rubber plant closely for signs of transplant shock, which may include leaf drop, wilting, or yellowing leaves. These symptoms are normal and usually temporary as the plant adjusts to its new container. Maintain higher humidity around the plant by misting the leaves or using a humidity tray, and protect it from drafts or sudden temperature changes during the recovery period.
Common Repotting Mistakes to Avoid
When repotting a rubber plant, several common mistakes can harm the plant’s health and growth. Using a pot that’s too large is a frequent error, as it can lead to overwatering and root rot. Similarly, failing to use well-draining potting soil or not providing adequate drainage holes can create waterlogged conditions that damage the root system. Rough handling of the roots during the repotting process can also cause unnecessary stress and damage to the plant.
Another set of critical mistakes involves timing and aftercare. Repotting during the plant’s dormant season (winter) or when it’s already stressed can shock the plant and slow its recovery. Additionally, overwatering immediately after repotting, failing to stake tall plants for stability, or placing the newly repotted plant in direct sunlight can compromise its successful adaptation to the new container. Many gardeners also make the mistake of burying the plant too deeply in its new pot, which can cause stem rot and other issues.