Hey, if your plants are drooping or wilting, don’t worry, you can help them bounce back. Start by giving them 1-2 cups of room-temperature water right at the base, ensuring it soaks in. Check the soil by sticking your finger 1-2 inches down; if it’s dry, water every 2-3 days. There’s more to reviving them, so stick around for the next steps!
Contents
Watering Drooping Plants
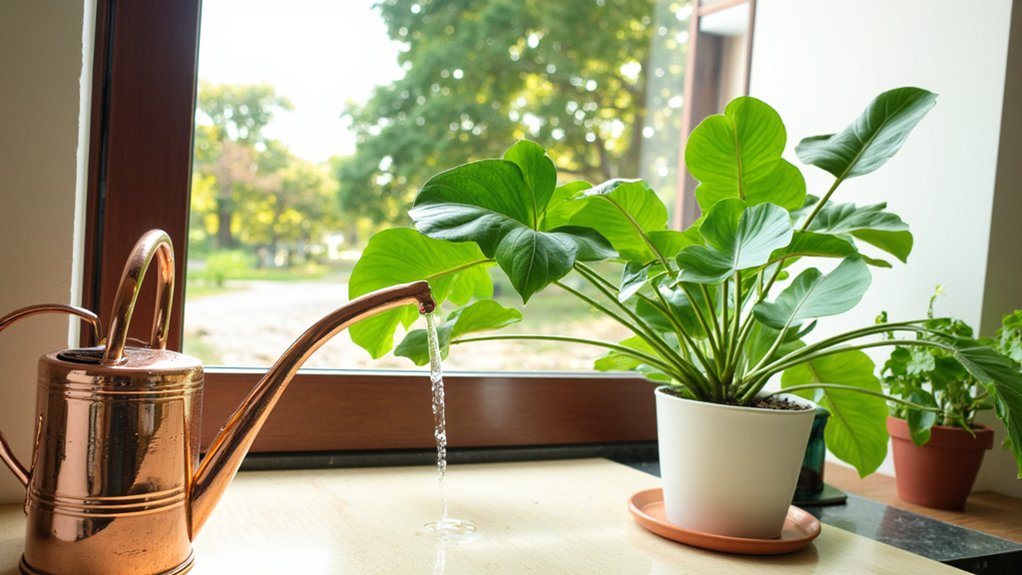
Although it might seem obvious, watering drooping plants is often the first step to bringing them back to life. Don’t just splash water and hope for the best, though. Grab a watering can, and let’s do this right.
Start by slowly pouring about 1-2 cups of room-temperature water around the base of your plant. Watch how it absorbs; if it pools on top, stop, wait 10 minutes, then continue. This prevents root shock, trust me.
Next, check the pot’s drainage holes after 15 minutes. If water’s still sitting there, tip out the excess to avoid soggy roots. Keep watering every 2-3 days, using roughly the same amount, until you see those leaves perk up. You’ve got this, just stay consistent!
Checking Soil Moisture
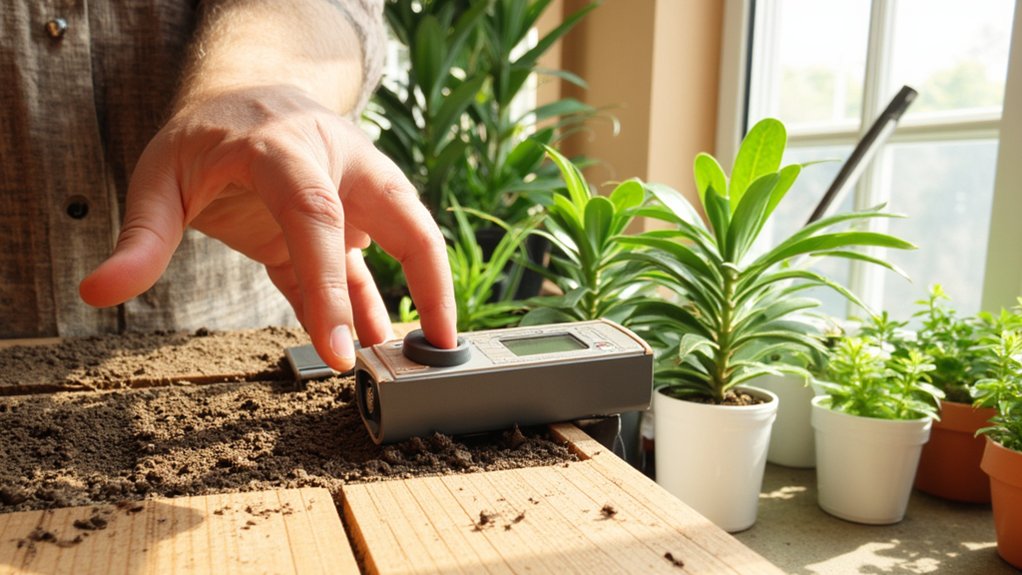
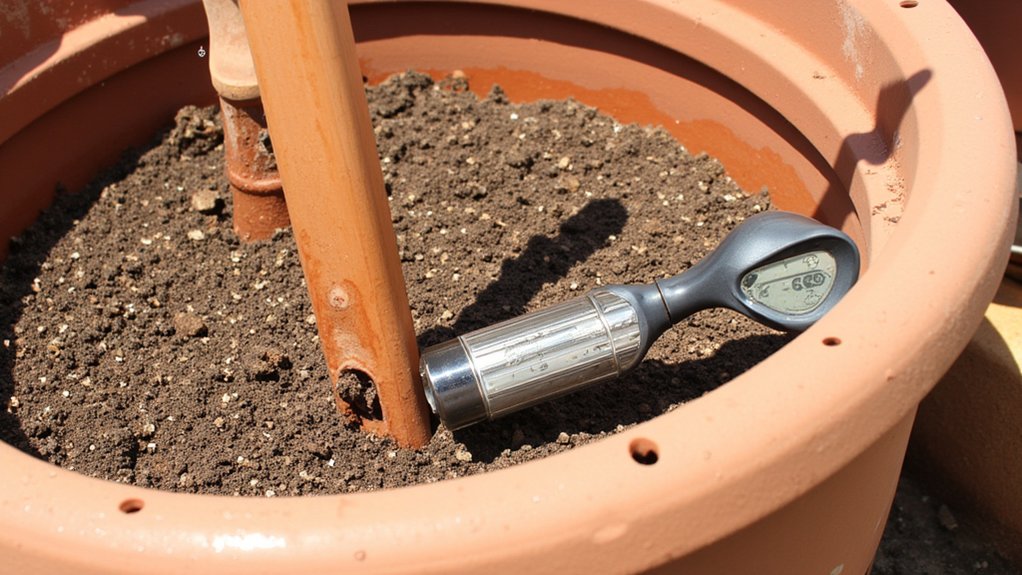
Before you water again, let’s make sure you’re not overdoing it by checking the soil moisture. Stick your finger about 1-2 inches into the soil, near the plant’s base. If it feels dry at that depth, it’s time to water. If it’s still damp, hold off for a day or two.
Now, don’t just guess—use a tool if you’ve got one. A moisture meter, available at most garden stores for around $10, gives a precise reading instantly. Insert it 2 inches down, check the scale, and water only if it shows “dry.” Overwatering can drown roots, so be cautious. Keep checking every 2-3 days to maintain balance. You’ll get the hang of it soon!
Pruning Dead Leaves
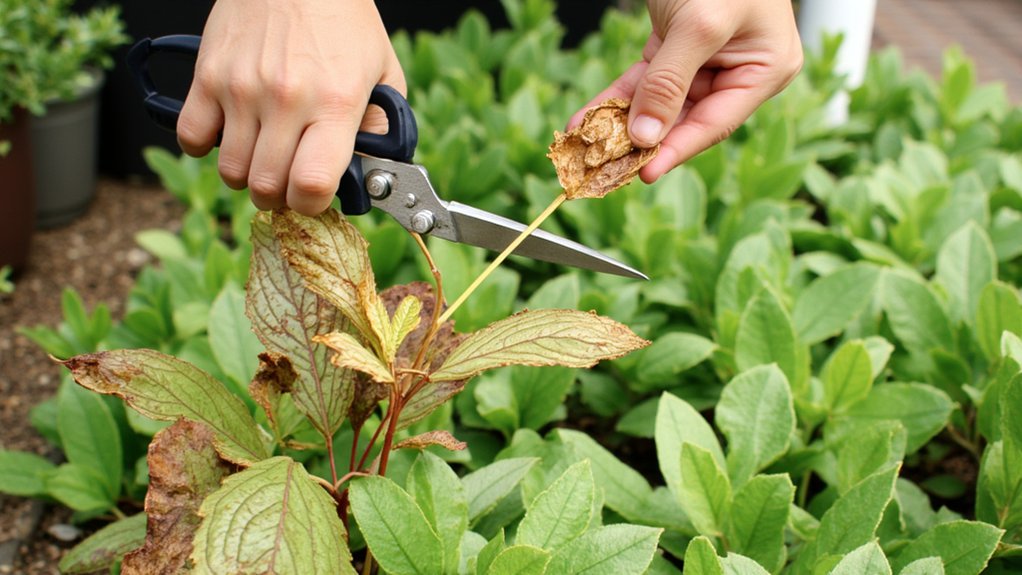
Tackle those drooping plants by starting with a quick prune of dead leaves. Grab a pair of clean, sharp scissors or pruning shears, and let’s get to work. Inspect your plant closely, looking for leaves that are brown, crispy, or completely wilted.
First, snip off those dead leaves at the base, about 1/4 inch above the stem junction. Be precise—don’t tear or damage healthy tissue nearby. This helps your plant focus energy on new growth, not wasted bits. Dispose of the cuttings immediately to avoid pests.
Next, check for partially dead leaves; trim only the damaged parts if some green remains. Work slowly, taking 5-10 minutes per plant, ensuring you don’t miss hidden spots. You’ve got this—keep it neat!
Adjusting Light Exposure
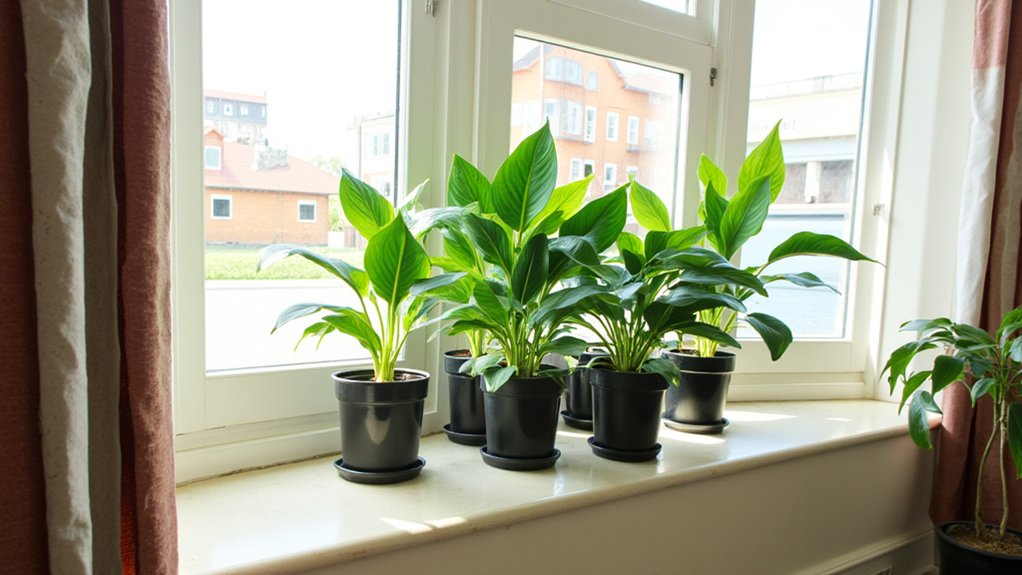
Now that you’ve pruned those dead leaves, let’s shift focus to tweaking your plant’s light exposure. Plants can droop if they’re not getting the right amount of light, so you’ve gotta assess their spot.
First, check if your plant’s in direct sun or deep shade. Most indoor plants need bright, indirect light, about 2-3 feet from a south-facing window, for 6-8 hours daily. If it’s too dark, move it closer to the window, but use a sheer curtain to filter harsh rays.
Next, rotate the pot every few days, ensuring all sides get equal light. Watch for signs like yellowing leaves or leggy growth, and adjust accordingly. Stick with this for a week, and you’ll likely see improvement.
Adding Nutrient-Rich Fertilizer
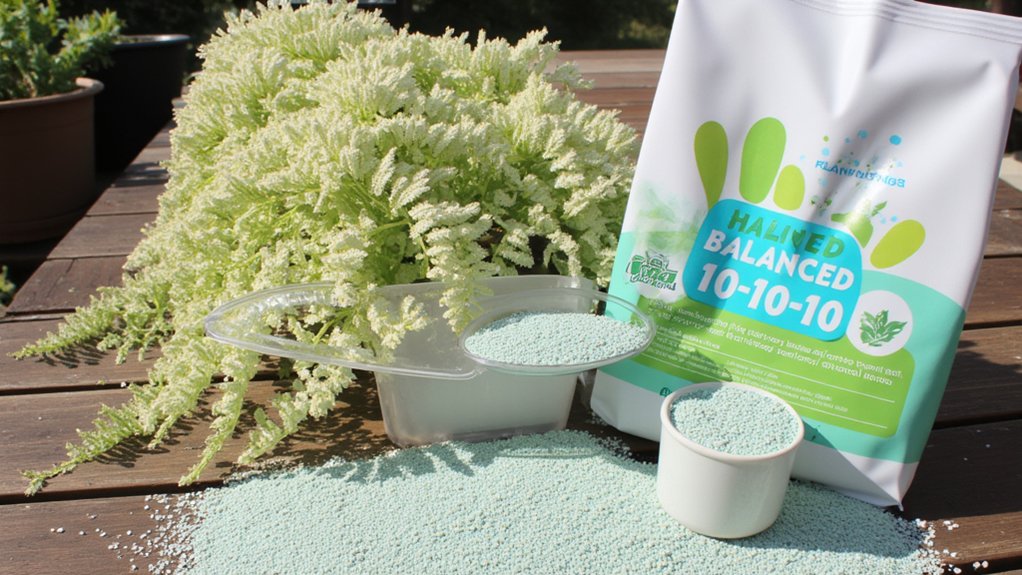
After sorting out your plant’s light needs, let’s plunge into boosting its strength with nutrient-rich fertilizer. You’ve gotta give your plant the right food to perk up those droopy leaves. Start by picking a balanced, water-soluble fertilizer, like a 10-10-10 mix, which has equal parts nitrogen, phosphorus, and potassium.
Next, mix it according to the package—usually, it’s about 1 teaspoon per gallon of water. Apply this every two weeks during the growing season, pouring it directly onto the soil, not the leaves. Make sure you don’t overdo it; too much can burn the roots. Watch your plant over a week or two for greener, sturdier growth. If it’s not improving, cut back and reassess. You’ve got this!
Monitoring Humidity Levels
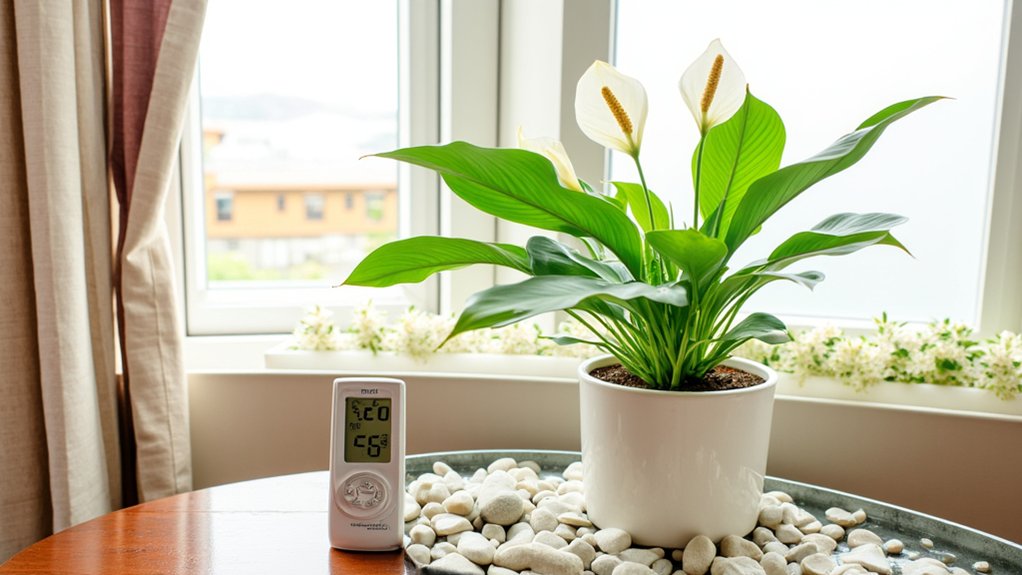
Humidity, that sneaky factor, can make or break your plant’s recovery from drooping. You’ve gotta keep an eye on it, since too little moisture in the air can dry out leaves fast. Most houseplants thrive between 40-60% humidity, so grab a hygrometer to check levels.
Don’t guess—place the hygrometer near your plant, away from vents or windows, for an accurate reading. If it’s below 40%, boost humidity with a pebble tray. Fill a shallow tray with pebbles, add water just below the top, and set your pot on it. Check daily to verify water hasn’t evaporated completely. If it’s too high, above 60%, use a dehumidifier to prevent mold. Monitor weekly, adjusting as needed, to keep your green buddy happy.
Repotting Stressed Plants
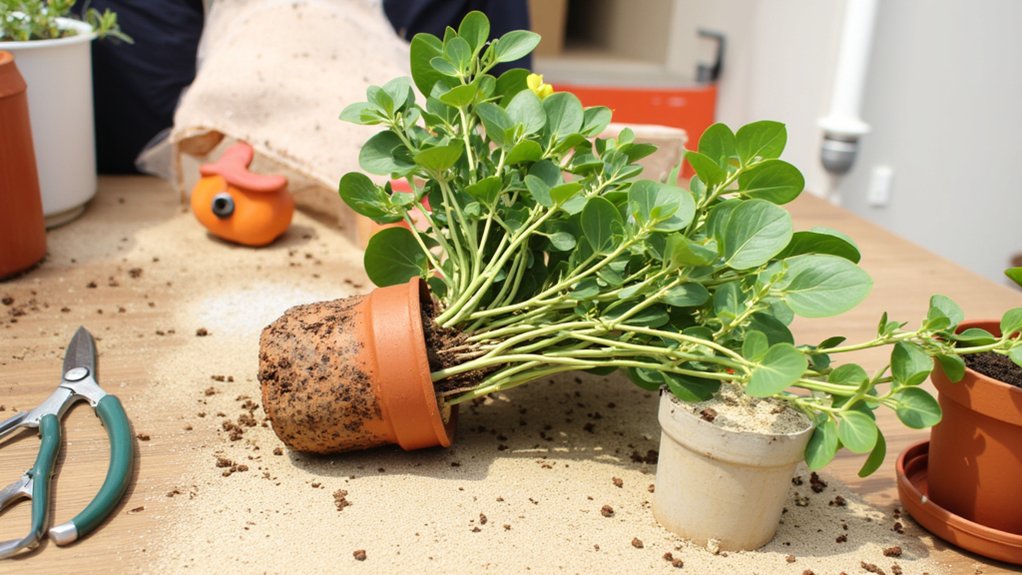
When your plant’s still drooping despite your best efforts, it might be time to contemplate repotting. Sometimes, the roots are cramped, or the soil’s just not right. Repotting can give your plant a fresh start, so let’s take the plunge.
First, grab a pot that’s 1-2 inches larger in diameter than the current one. Make sure it’s got drainage holes, too. You don’t want soggy roots causing more stress, right?
Next, gently remove your plant, shaking off old soil from the roots. Inspect them for any rot or damage, trimming if needed with clean scissors. Then, place it in the new pot with fresh, well-draining potting mix. Firm the soil around, ensuring the plant sits at the same depth as before. Water lightly, and watch it perk up!
Preventing Overwatering Damage
Since overwatering is a sneaky culprit behind drooping plants, let’s tackle how to prevent it. First, check the soil’s moisture before watering. Stick your finger about 1-2 inches deep; if it’s damp, hold off.
Next, use pots with drainage holes to avoid water pooling at the bottom. Excess water needs an escape route, so don’t skip this. Place a saucer underneath to catch drips, but empty it within 30 minutes.
Also, adjust your watering schedule based on the season. Plants often need less in cooler months, maybe once every 10-14 days, compared to weekly in summer. Observe your plant’s environment—humidity and light affect needs too. Finally, use well-draining soil mixes; they prevent soggy conditions that harm plants. Keep it simple, and you’ve got this!
Inspecting Root Health
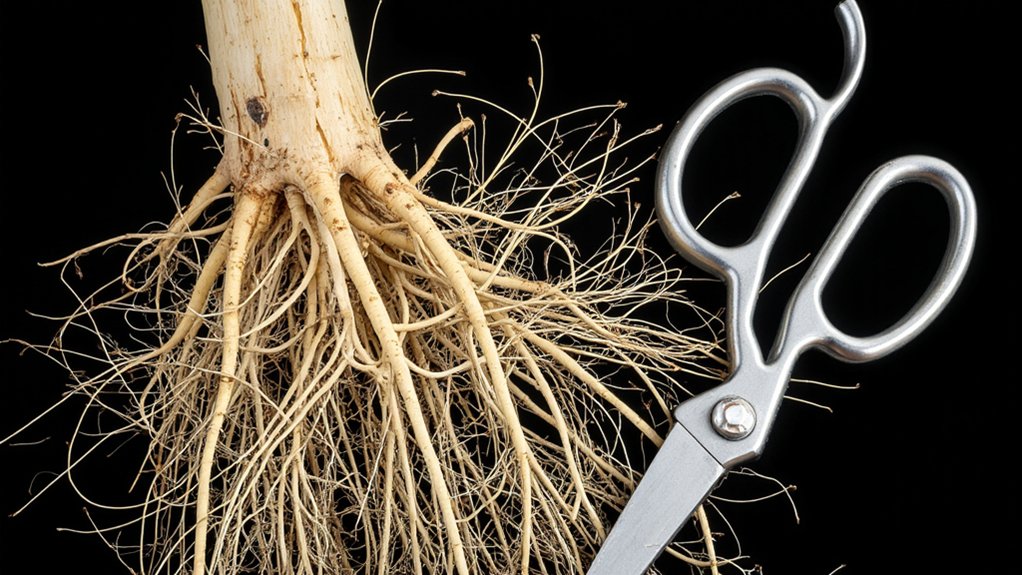
Three critical steps can guide you in inspecting root health to revive your drooping plant. First, gently remove the plant from its pot, shaking off excess soil. Check the roots for a healthy white or light tan color, about 1-2 inches from the tips.
Next, sniff for any foul odors, like rotting eggs, which signal decay. Feel the roots too; they shouldn’t be mushy or slimy, but firm. If you spot black or brown patches, trim them off with clean scissors.
Lastly, measure the root ball’s size against the pot—roots circling tightly mean it’s root-bound. Repot into a container 2 inches wider if needed. These steps, done every 2-3 months, help catch issues early and keep your plant thriving.
Using Supportive Plant Stakes
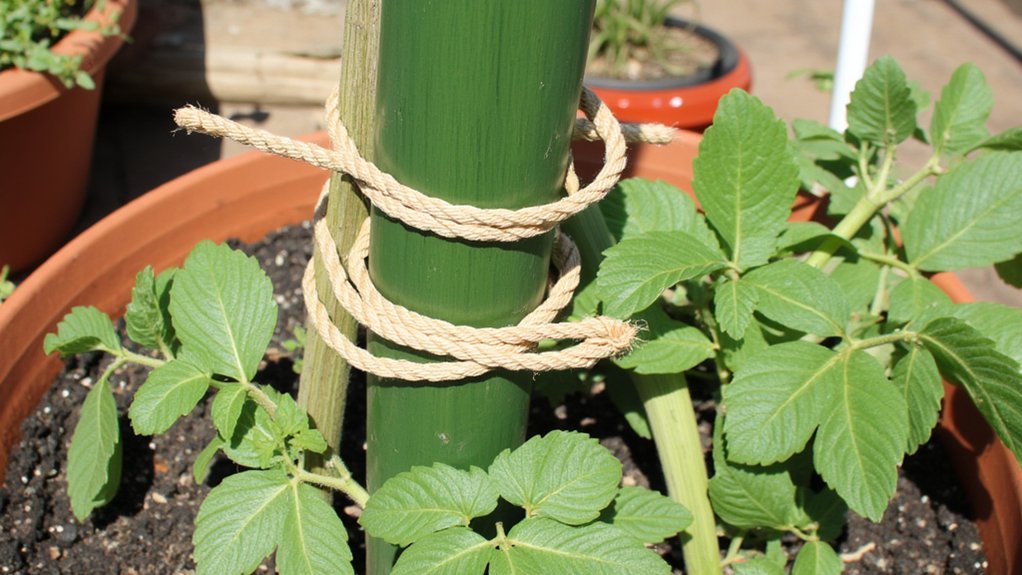
After checking those roots, let’s move on to stabilizing your drooping plant with supportive stakes. Grab a sturdy stake, like bamboo or metal, about 6-12 inches taller than your plant. Push it into the soil, roughly 2 inches from the stem, ensuring it’s deep enough to stand firm.
Next, use soft twine or garden ties to secure the plant to the stake. Don’t tie too tight—leave a little wiggle room, about a half-inch gap, so the stem isn’t strangled. Loop the tie in a figure-eight pattern for extra support. Check it weekly, adjusting as the plant grows.
This trick keeps your plant upright while it recovers. Soon, with proper care, it’ll stand tall on its own again.