Nearly 40% of Dendrobium orchid owners report struggling with common growth issues in their first year of cultivation. If you’re facing yellow leaves, root rot, or stubborn blooms that won’t open, you’re not alone in this botanical challenge. While these elegant plants have earned a reputation for being finicky, you’ll find that most problems can be solved with a few precise adjustments to their care routine. Let’s explore how you can transform your troubled orchid into a thriving specimen.
Contents
Yellow Leaves and Leaf Drop: Causes and Solutions
Yellowing leaves and leaf drop in Dendrobium orchids often signal underlying problems with your plant’s care routine. When you notice these symptoms, first check your watering habits – overwatering is the most common culprit. Your orchid’s roots should dry slightly between waterings, typically every 5-7 days.
Low humidity and improper light exposure can also trigger leaf yellowing. You’ll want to maintain 50-70% humidity and provide bright, indirect light for 12-14 hours daily. If your orchid’s getting direct sunlight, move it back 2-3 feet from the window.
Check for pest infestations, particularly spider mites, which can cause premature leaf drop and yellowing.
Root Problems and Disease Prevention
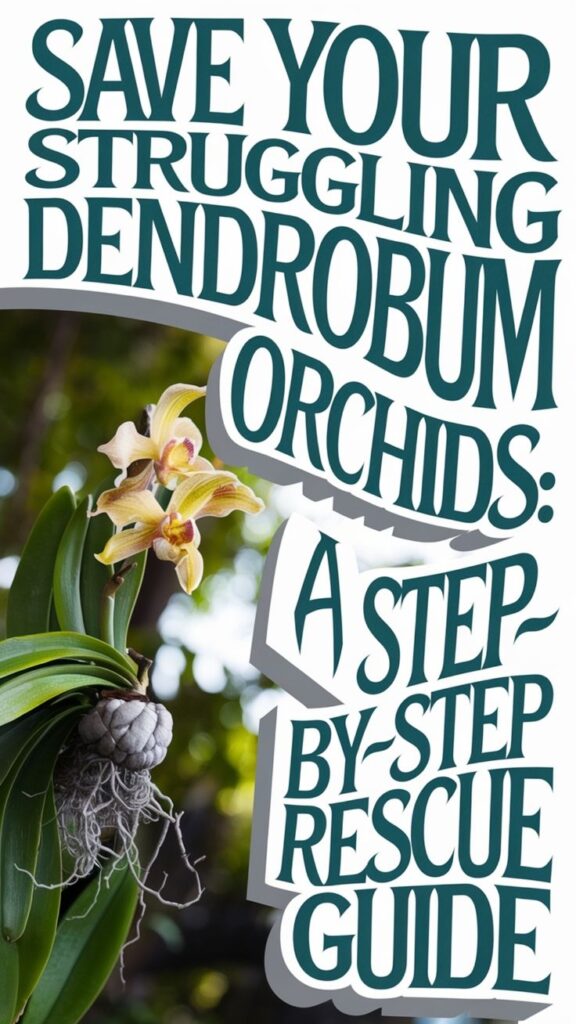
While healthy roots are essential for your Dendrobium’s survival, root problems can quickly develop if you don’t monitor their condition regularly. Check roots monthly by gently removing the orchid from its pot and inspecting for dark, mushy spots or a rotten smell.
To prevent root rot, never let your orchid sit in standing water, and repot every 2-3 years using fresh media. Trim infected roots with sterilized scissors, cutting 1/4 inch above the damaged area. After trimming, dust the cuts with cinnamon powder as a natural fungicide.
If you spot white, fuzzy patches on roots, you’re dealing with root mealybugs. Treat immediately with 70% isopropyl alcohol using a cotton swab.
Flower Loss and Stunted Blooms
When your Dendrobium orchid suddenly drops its flowers or produces tiny, deformed blooms, you’re likely dealing with environmental stress or pest problems. Check the temperature, which should stay between 65-85°F during the day and no lower than 60°F at night.
Poor lighting can also cause flower loss. Move your orchid to a spot that receives bright, indirect sunlight for 5-6 hours daily. If you notice spider mites or thrips on the buds, treat them immediately with insecticidal soap.
Ensure you’re fertilizing correctly – apply a balanced 20-20-20 fertilizer every two weeks during the growing season, but reduce to monthly applications during winter rest.
Temperature and Humidity Challenges
Your Dendrobium orchid’s health depends heavily on maintaining temperatures between 65-85°F during the day and 55-65°F at night. You’ll need to watch humidity levels carefully, keeping them at 50-70% through regular misting, humidity trays, or small humidifiers to prevent leaf and bud problems. While these orchids can handle brief temperature drops, you’ll want to protect them from cold drafts by moving plants away from windows and doors during winter months.
Ideal Growing Temperature Ranges
Although Dendrobium orchids adapt well to indoor environments, they thrive within specific temperature ranges that mirror their natural tropical habitat. During the day, maintain temperatures between 65-85°F (18-29°C), with ideal growth occurring around 75°F (24°C).
Your orchids need a 10-15°F drop in temperature at night, ideally between 55-65°F (13-18°C). This nighttime cooling mimics their native environment and helps trigger blooming cycles. If you’re growing multiple Dendrobium varieties, remember that some species prefer cooler conditions while others need consistent warmth.
Monitor temperatures using a min-max thermometer, and adjust your growing area’s conditions accordingly using fans, heaters, or relocating plants as needed.
Managing Humidity Year Round
Since Dendrobium orchids naturally grow in humid tropical environments, maintaining proper humidity levels is essential for their health. You’ll want to keep humidity between 50-70% during the growing season, dropping to 45-55% during winter rest periods.
To increase humidity, place your orchid on a humidity tray filled with pebbles and water, making sure the pot doesn’t sit directly in the water. In dry indoor conditions, you can use a humidifier or mist your orchids daily, preferably in the morning so leaves can dry before nightfall.
Monitor humidity levels with a hygrometer, and adjust your methods seasonally as indoor heating and cooling affect moisture levels.
Cold Damage Prevention Tips
When temperatures drop below 60°F (15.5°C), Dendrobium orchids can suffer significant cold damage that affects their leaves, roots, and blooms.
To protect your orchids, move them at least 6 inches away from cold windows during winter months, and place them on humidity trays filled with pebbles. Don’t let leaves touch glass surfaces, as this can cause black spots and tissue death.
If you’re growing Dendrobiums outdoors, bring them inside when nighttime temperatures approach 55°F (12.8°C). During transport, wrap plants in newspaper or frost cloth to prevent shock. For indoor plants, maintain temperatures between 65-80°F (18.3-26.7°C) using a space heater if necessary.
Correct Watering and Drainage Issues
You’ll need to check your Dendrobium’s soil moisture before watering, as these orchids prefer to dry slightly between waterings. During growth seasons, you’ll want to water more frequently, usually every 4-5 days, while cutting back to every 7-10 days during dormancy. If you notice black, mushy roots or a rotting smell, you’ll need to trim away the damaged tissue and repot in fresh medium with better drainage to prevent further root rot issues.
Check Soil Before Watering
Determining your Dendrobium orchid’s watering needs starts with a simple soil check. Insert your finger about 1 inch into the potting medium, or use a wooden skewer to test moisture levels. If it’s damp, wait another day before watering.
The soil’s color offers additional clues – dark, moist media doesn’t need water, while light-colored, dry media signals it’s time to water. You’ll notice the pot feels lighter when the soil is dry. During active growth, check your orchid’s soil every 2-3 days, and during dormancy, extend this to 4-5 days.
Adjust Watering During Seasons
Seasonal changes notably impact your Dendrobium orchid’s watering needs throughout the year. During spring and summer’s active growth periods, you’ll need to water more frequently, typically every 4-5 days, while maintaining 50-70% humidity levels.
In fall and winter, your orchid enters a rest phase, requiring considerably less water. Cut back to watering every 7-10 days, and don’t panic if the pseudobulbs shrivel slightly – that’s normal during dormancy. Always water early morning, allowing excess moisture to evaporate before nightfall.
If you’re growing indoors with controlled temperatures, you’ll still need to adjust watering frequency based on your orchid’s natural growth cycles.
Fix Root Rot Problems
Root rot threatens even the healthiest Dendrobium orchids when excess moisture becomes trapped around their roots. To save your plant, you’ll need to act quickly by removing it from its pot and trimming away any black, mushy roots with sterilized scissors.
After trimming, dust the remaining roots with fungicide powder and let them air dry for 24 hours. Repot your orchid in fresh, well-draining medium using a clean pot with plenty of drainage holes. Don’t water for 5-7 days to allow cut surfaces to heal.
Going forward, only water when the top inch of potting mix feels dry, and never let water pool in the pot’s saucer.
Pest Management and Treatment Methods
Three common pests can wreak havoc on your Dendrobium orchids: spider mites, mealybugs, and scale insects. You’ll spot spider mites by their tiny webs and yellow leaf spots, while mealybugs appear as white, cottony clusters along stems and leaf joints. Scale insects form brown or tan bumps on leaves and stems.
To treat these pests, first isolate infected plants. Mix 1 tablespoon of neem oil with 1 quart of water and a drop of dish soap. Spray this solution thoroughly on all plant surfaces every 7-10 days until the pests disappear. For severe infestations, you can dab individual pests with rubbing alcohol using a cotton swab.