Hoya plants, often referred to as wax plants, are beloved by many for their stunning foliage and fragrant flowers. Propagating these tropical beauties is a rewarding and relatively simple process that allows you to expand your collection or share your favorite Hoyas with friends and family. In this comprehensive guide, we’ll cover various propagation methods, tips for success, and common challenges to watch out for.
Contents
Why Propagate Hoya Plants?
Propagation is the process of creating new plants from existing ones. There are several reasons why you might want to propagate your Hoya plants:
- Expand Your Collection: Grow more of your favorite Hoya varieties.
- Share with Others: Gift Hoya cuttings to friends and family.
- Plant Health: Pruning and propagating can help maintain the health and shape of your plants.
- Cost-Effective: Propagating your own plants is a budget-friendly way to grow your indoor garden.
Propagation Methods
1. Stem Cuttings
One of the most popular and straightforward methods of propagating Hoyas is through stem cuttings. Here’s how to do it:
Step-by-Step Guide:
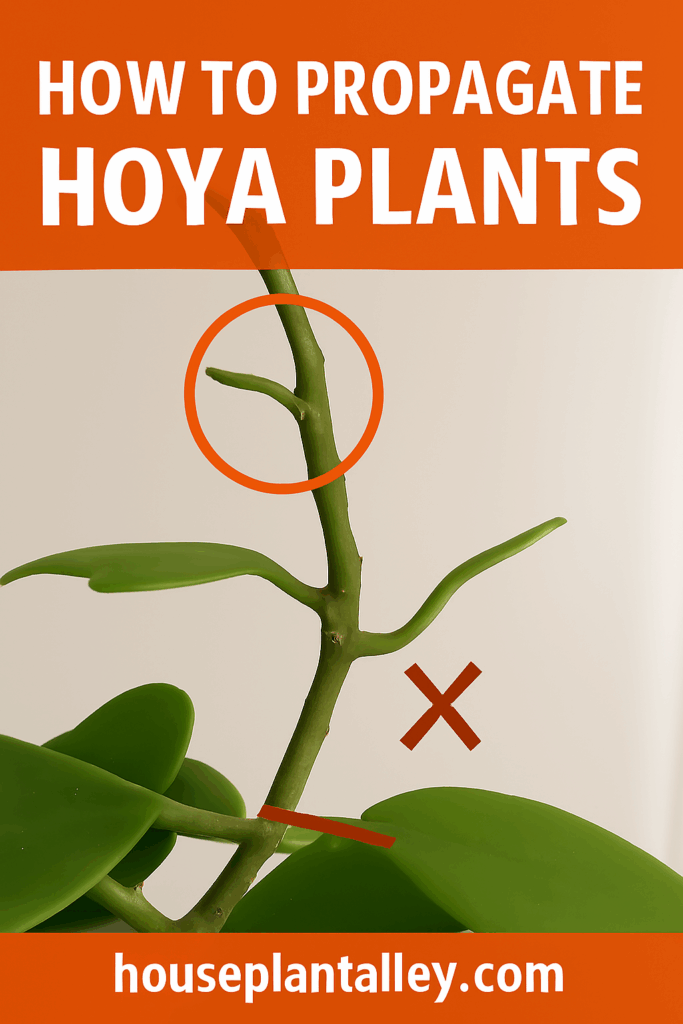
- Select a Healthy Stem: Choose a stem with several leaves and at least one node (the area where leaves emerge).
- Cut the Stem: Using a clean, sharp pair of scissors or pruning shears, cut just below a node. Aim for a cutting that is about 4-6 inches long.
- Prepare the Cutting: Remove the lower leaves, leaving a few at the top. This helps the cutting focus its energy on root development.
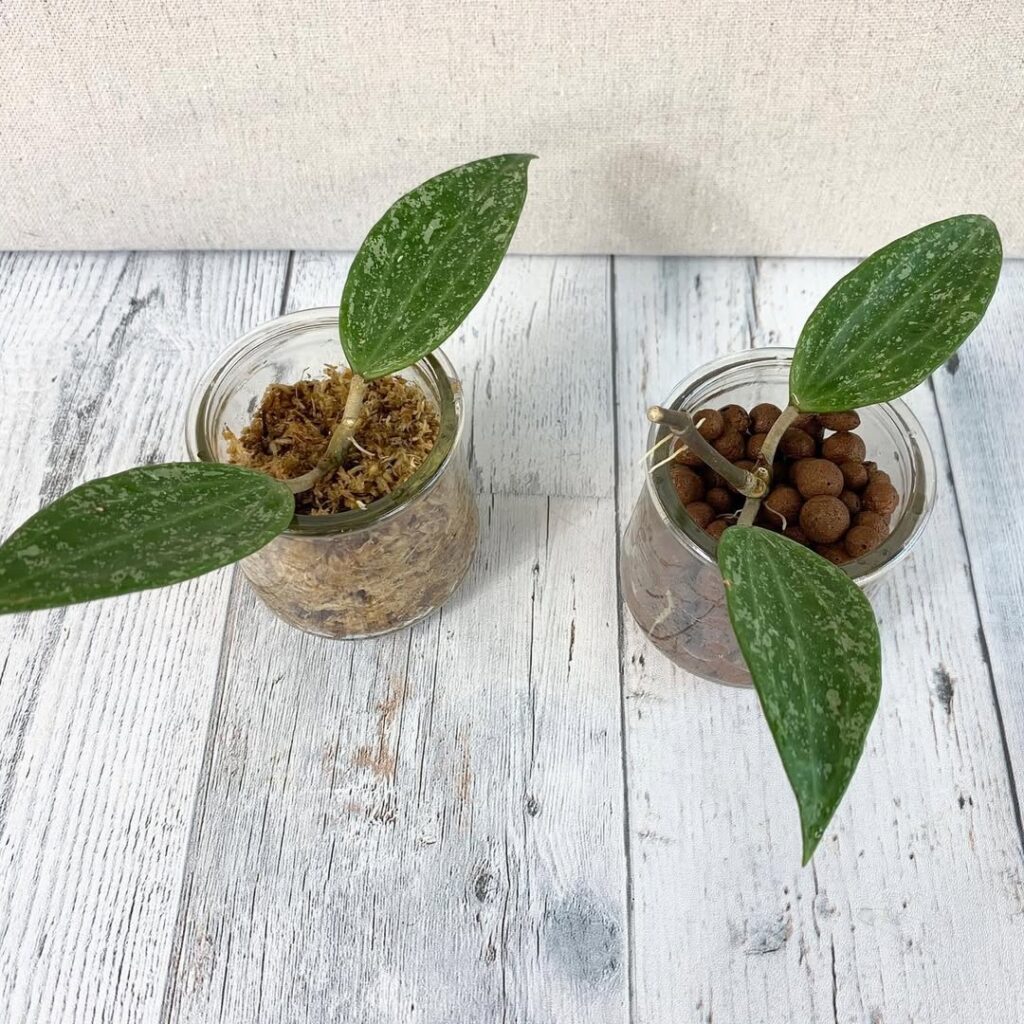
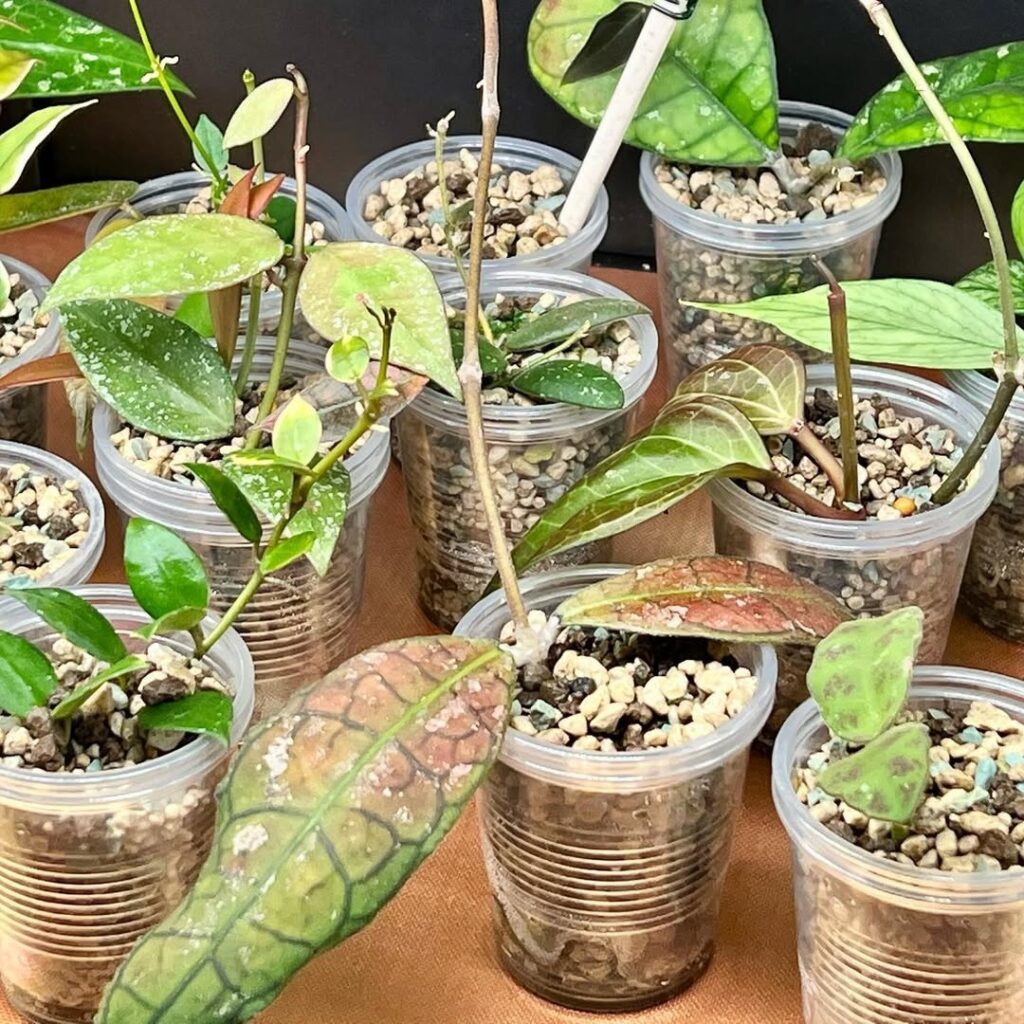
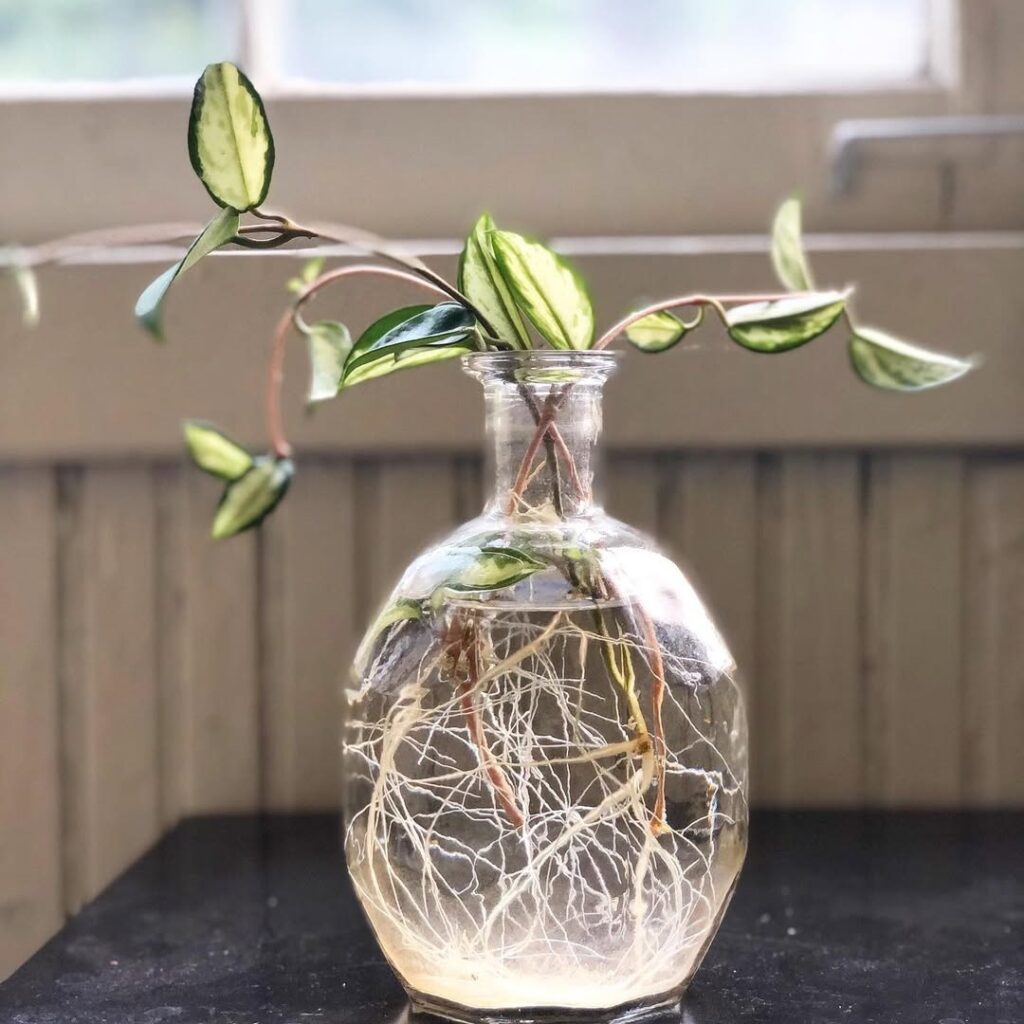
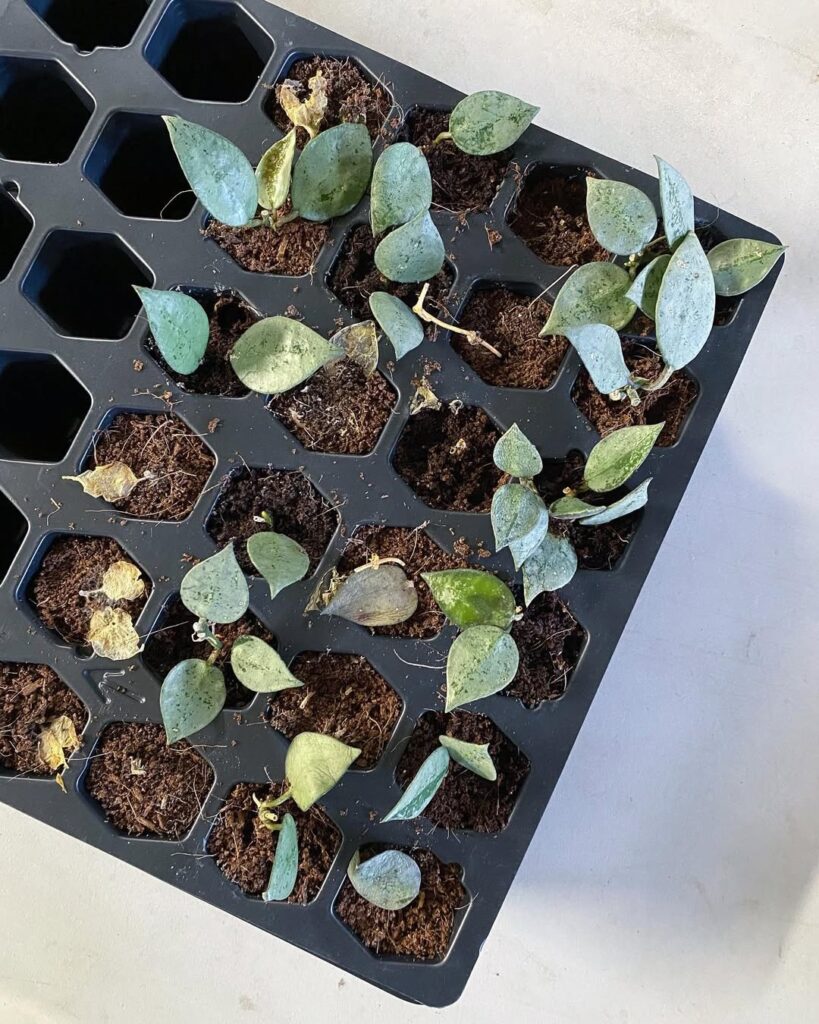
- Rooting Medium: Place the cutting in water or a well-draining potting mix (a mix of orchid bark, perlite, and peat moss works well). If using water, ensure that only the node is submerged.
- Provide Optimal Conditions: Place the cutting in a warm, bright spot with indirect light. Maintain high humidity by covering the cutting with a plastic bag or using a humidity dome.
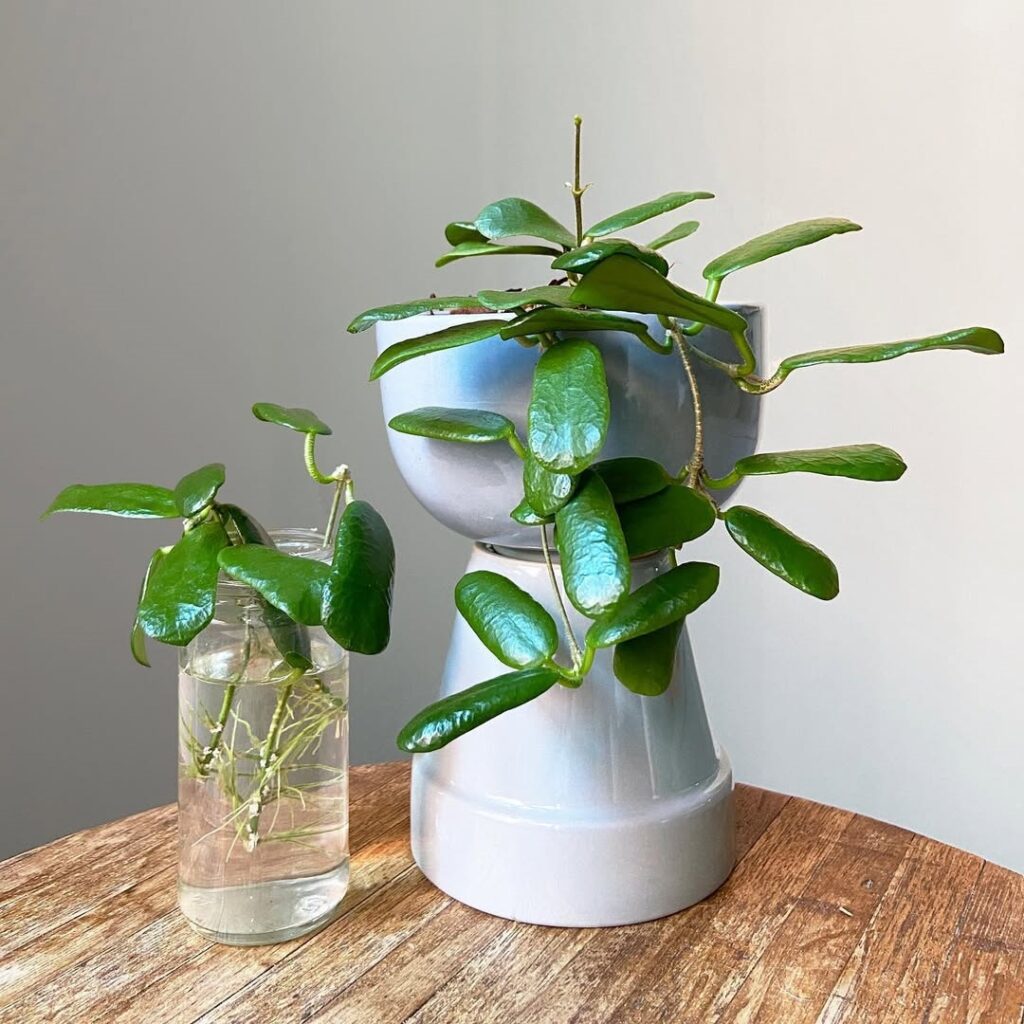
- Wait for Roots: Check for root development every few days. This process can take a few weeks to a couple of months, depending on the Hoya variety and conditions.
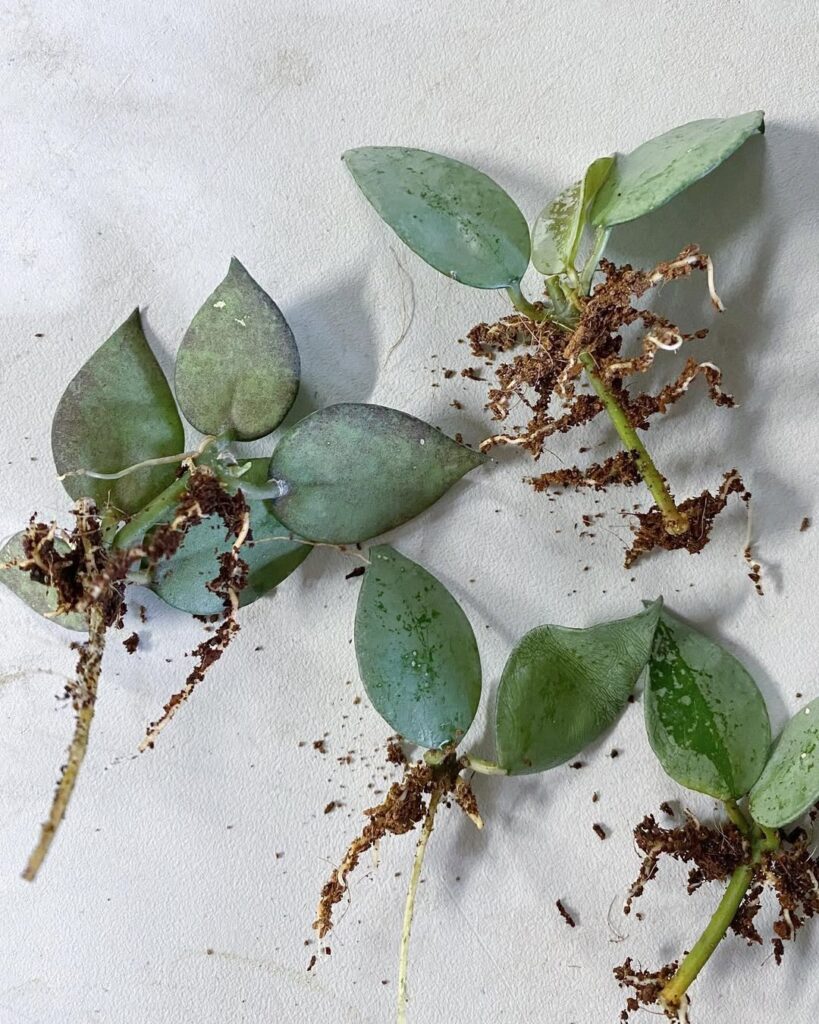
- Transplant: Once the roots are at least an inch long, transplant the cutting into a pot with fresh potting mix.
2. Leaf Cuttings
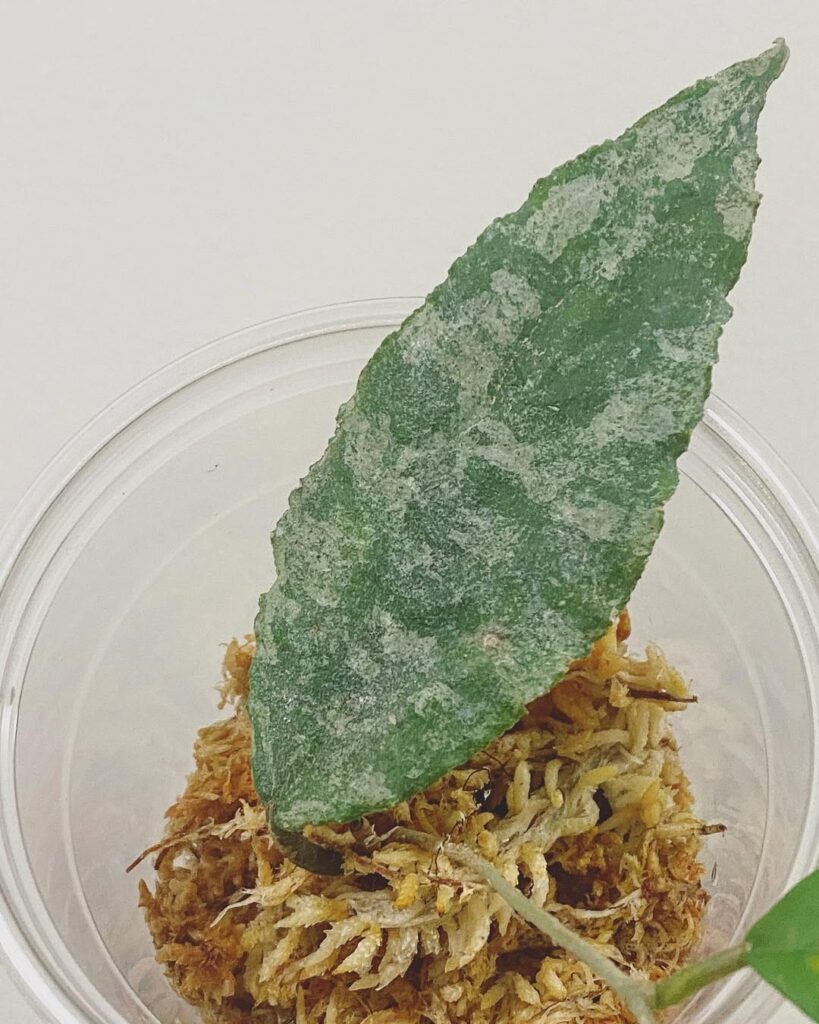
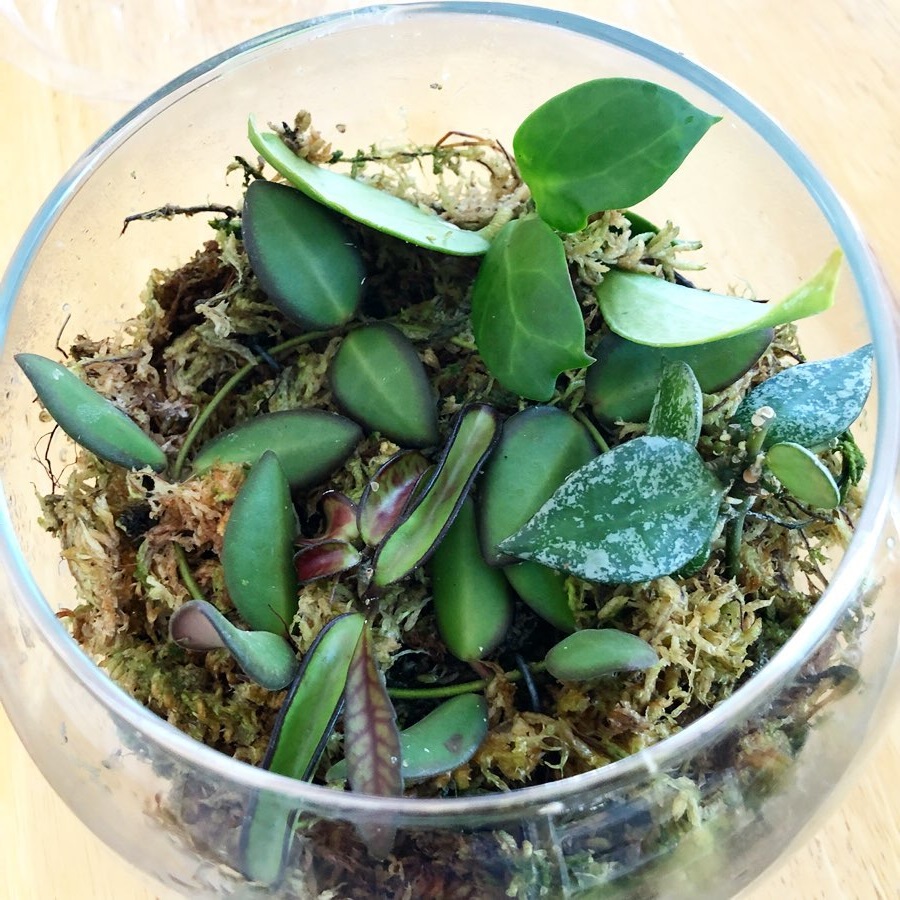
Some Hoya species, like Hoya Kerrii, can be propagated from single leaves. This method is less common but can be successful with patience.
Step-by-Step Guide:
- Select a Healthy Leaf: Choose a healthy, mature leaf from your Hoya plant.
- Cut the Leaf: Using clean, sharp scissors, cut the leaf with a small portion of the stem attached.
- Prepare the Leaf: Let the cut end callous over for a day or two to prevent rot.
- Rooting Medium: Insert the cut end into a well-draining potting mix. Keep the leaf upright and ensure it is stable.
- Provide Optimal Conditions: Place the leaf in a warm, bright spot with indirect light. Maintain high humidity.
- Wait for Roots: This method requires patience, as root development can take several months. Occasionally, new growth may emerge from the base of the leaf.
3. Air Layering
Air layering is a more advanced propagation technique that encourages root development while the stem is still attached to the parent plant.
Step-by-Step Guide:
- Select a Healthy Stem: Choose a stem that is at least a foot long with several leaves.
- Make a Cut: About halfway down the stem, make a small cut or remove a section of the bark to expose the inner stem.
- Apply Rooting Hormone: Apply rooting hormone to the exposed area to encourage root development.
- Wrap with Moss: Moisten sphagnum moss and wrap it around the exposed area. Secure the moss with plastic wrap or aluminum foil.
- Maintain Moisture: Keep the moss consistently moist by misting it regularly.
- Wait for Roots: After a few weeks to a few months, roots should develop in the moss.
- Cut and Transplant: Once roots are visible, cut the stem below the rooted area and transplant it into a pot with fresh potting mix.
Tips for Successful Propagation
- Clean Tools: Always use clean, sharp tools to make cuts. This helps prevent infections and diseases.
- Humidity: High humidity is crucial for successful propagation. Use humidity domes, plastic bags, or humidity trays to maintain the right environment.
- Patience: Propagation can be a slow process. Be patient and give your cuttings time to develop roots.
- Light: Provide bright, indirect light for your cuttings. Avoid direct sunlight, which can scorch the delicate new growth.
- Rooting Hormone: Using rooting hormone can increase the chances of successful root development, especially for more challenging species.
Common Challenges and Solutions
- Rot: Overwatering or high humidity can cause rot. Ensure good airflow and let cuttings callous over before planting.
- Pests: Keep an eye out for pests like mealybugs and spider mites. Treat infestations promptly with insecticidal soap or neem oil.
- Slow Rooting: Some Hoya species take longer to root. Be patient and provide consistent care.
Benefits of Propagating Hoya Plants
- Sustainability: Propagation is an eco-friendly way to expand your plant collection.
- Personal Satisfaction: Watching your cuttings grow into mature plants is incredibly rewarding.
- Customization: Propagating your own plants allows you to select the healthiest and most desirable traits.
Conclusion
Propagating Hoya plants is a fun and rewarding process that allows you to grow your collection and share the love of plants with others. Whether you’re a seasoned plant parent or a beginner, the techniques outlined in this guide will help you successfully propagate your Hoyas and enjoy their beauty for years to come.
