Did you know that 75% of orchid owners struggle to maintain year-round blooms? You’re not alone if your orchids seem stubborn about producing those striking flowers consistently. While these exotic beauties have earned a reputation for being fussy, they’ll reward you with magnificent blooms once you understand their core needs. Let’s uncover the time-tested secrets that professional growers use to keep their orchids flowering through every season.
Contents
Understanding Your Orchid’s Natural Bloom Cycle
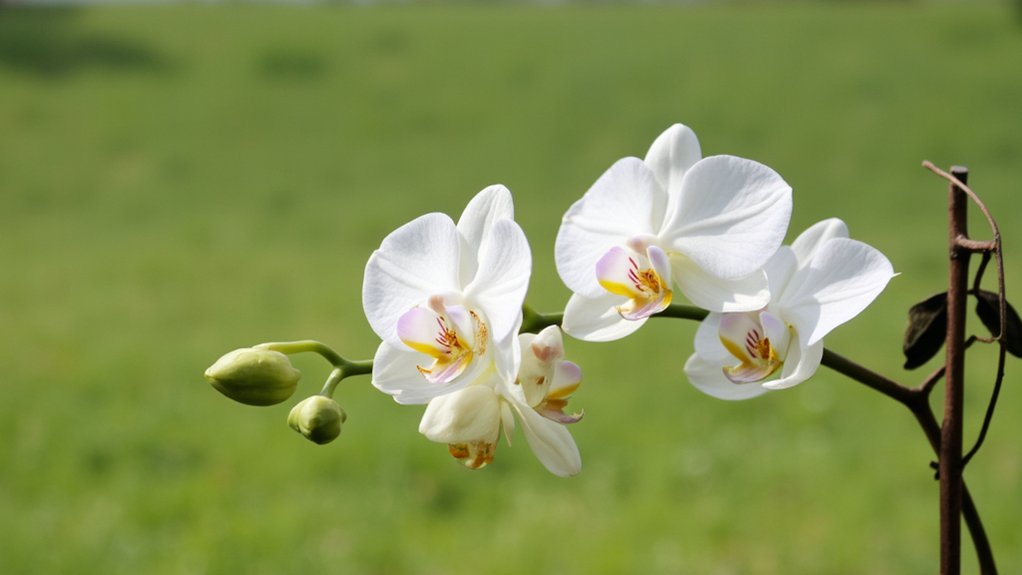
Three distinct phases make up your orchid’s natural blooming cycle. During the vegetative phase, which typically lasts 6-8 months, your plant focuses on developing new leaves and roots. You’ll notice minimal flowering activity during this time.
The flowering phase begins when your orchid produces a spike, leading to blooms that last anywhere from 2-4 months. Watch for a small green nub emerging between the leaves—that’s your spike starting to grow.
The dormancy phase follows blooming, lasting 6-12 weeks. During this rest period, your orchid recovers and stores energy for its next growth cycle.
Creating the Perfect Light Environment

How much light does your orchid really need? While orchids don’t require direct sunlight, they thrive in bright, indirect light for 12-16 hours daily. Place your plant near an east-facing window, or 3-5 feet away from a south-facing one.
You’ll know you’ve found the sweet spot when your orchid’s leaves are bright green. Dark green leaves signal insufficient light, while reddish-tinged or yellow leaves indicate too much exposure. During winter months, you might need to supplement with a grow light positioned 6-12 inches above the plant.
If you’re using sheer curtains, they’ll provide perfect filtration while protecting your orchid’s sensitive leaves from burning.
Mastering the Art of Proper Watering
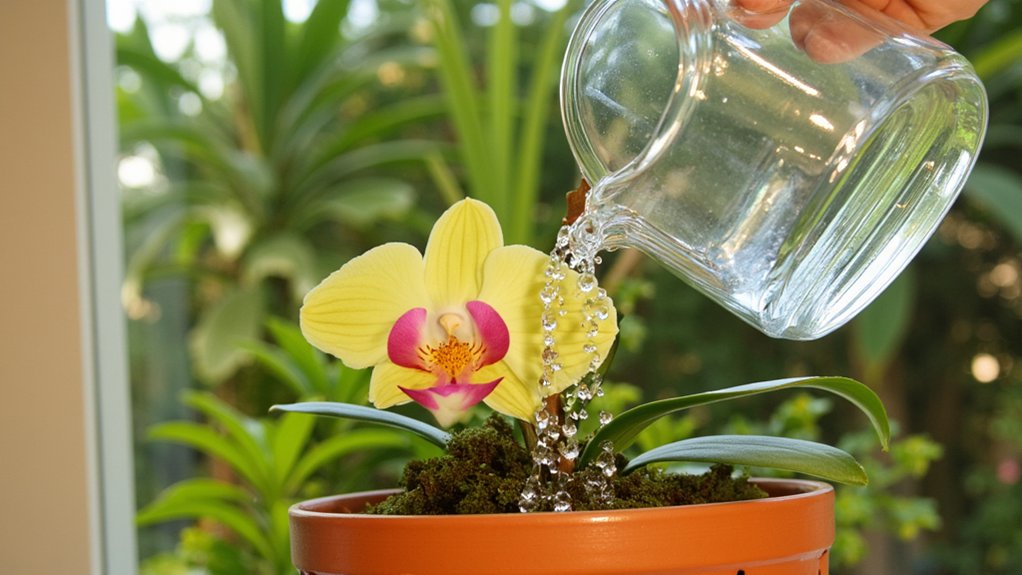
While proper lighting sets the stage for orchid health, mastering your watering technique will make or break your plant’s survival. You’ll need to water thoroughly, but only when the potting medium feels dry 1 inch below the surface.
Don’t stick to a rigid schedule—instead, check your orchid’s moisture needs every 4-5 days. Insert your finger into the growing medium; if it’s cool and moist, wait. If it’s dry and warm, it’s time to water.
Let water flow through the pot for 15-20 seconds, ensuring complete saturation. Always empty the catch tray to prevent root rot.
Temperature and Humidity Requirements
Despite their reputation as tropical plants, orchids thrive in typical indoor temperatures, making them surprisingly adaptable houseplants. You’ll want to maintain daytime temperatures between 65-80°F (18-27°C) and nighttime temperatures 10 degrees cooler.
Humidity is essential for your orchid’s success, as they prefer levels between 40-70%. Place your plant on a humidity tray filled with pebbles and water, or use a small humidifier nearby. In winter, when indoor heating can dry the air, you’ll need to monitor humidity levels more closely.
Keep your orchid away from cold drafts, air conditioning vents, and heating sources that can cause rapid temperature fluctuations.
Fertilizing for Optimal Growth and Blooming
Although orchids aren’t heavy feeders, they need consistent nutrition to produce vibrant blooms and maintain healthy growth. You’ll want to use a balanced, water-soluble fertilizer (20-20-20) diluted to quarter-strength during the growing season, applying it every two weeks.
During winter months, reduce fertilizing to once monthly, using an orchid-specific bloom booster (3-12-6) to encourage flowering. Don’t fertilize immediately after repotting or when your orchid’s roots look dry and silvery.
Remember the golden rule: it’s better to under-fertilize than over-fertilize. If you notice leaf tips turning brown or white crystal buildup on the potting medium, you’re feeding too much.
Repotting and Root Care Essentials
Proper root care and timely repotting go hand-in-hand with your orchid’s fertilization schedule. You’ll need to repot every 1-2 years or when you notice the potting medium breaking down into smaller pieces.
Examine your orchid’s roots monthly. Healthy roots should be firm and light green when wet, silvery-white when dry. If you spot black, mushy roots, trim them with sterilized scissors and dust the cuts with cinnamon.
When repotting, choose a container just 1-2 inches larger than the root ball. Use fresh orchid bark mix and position the plant so the crown sits slightly above the medium’s surface.
Identifying and Treating Common Orchid Problems
While orchids are generally hardy plants, they can develop several common issues that you’ll need to watch for. Yellow leaves often indicate too much light, while dark spots typically mean fungal infection. Treat fungal issues immediately with a copper-based fungicide.
Root rot, caused by overwatering, requires immediate attention. Trim affected roots with sterilized scissors, and reduce watering to once every 7-10 days. If you notice wrinkled leaves, your orchid’s likely dehydrated.
Watch for pests like spider mites and mealybugs, which appear as tiny white spots. Treat infestations with neem oil spray, applying weekly until the problem resolves.