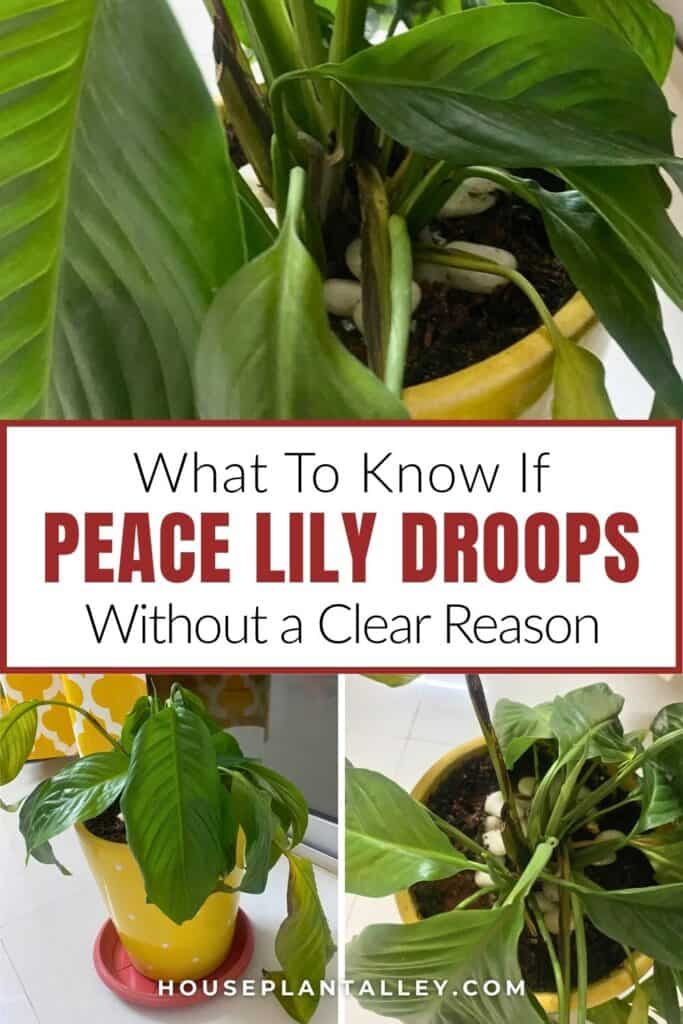
If your peace lily looks sad with drooping leaves, don’t panic. Wilting is usually your plant’s way of saying something’s wrong—often with water, light, or its environment. The good news? Peace lilies are tough and can bounce back quickly with the right care. Let’s walk through the signs, causes, and simple fixes to help your plant thrive again.
👀 How to Spot a Stressed Peace Lily
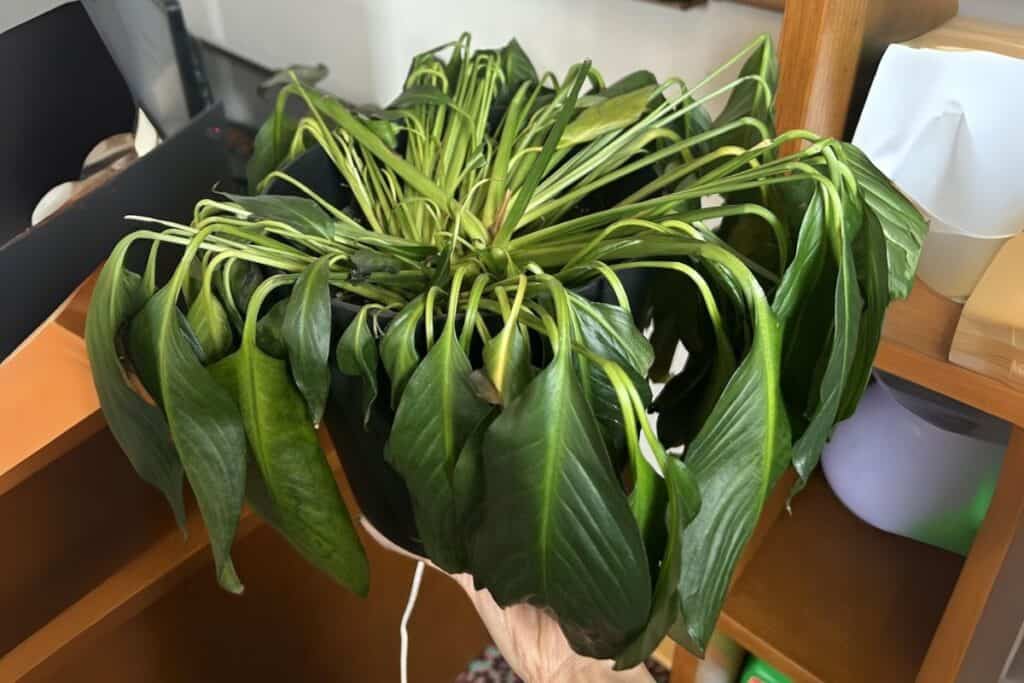
Common Warning Signs
- Drooping, limp leaves
- Brown or yellow leaf edges
- Dry, crispy tips
- Pale green leaves (nutrient deficiency)
- Dark brown spots (overwatering or fungus)
- No blooms (poor lighting)
These signs are your plant’s way of asking for help. Catching them early makes recovery much easier.
💧 Fixing Water Problems
Overwatering Symptoms
- Soggy soil that stays wet for days
- Brown leaf tips
- Mushy, brown roots (root rot)
Underwatering Symptoms
- Dramatic wilting
- Yellowing leaves
- Dry, crusty soil
- Pot feels light when lifted
- Soil pulls away from the edges
Quick Moisture Test
Stick your finger about 2 inches into the soil. It should feel like a wrung-out sponge—not soaking wet or bone dry.
☀️ Light Tips for Recovery
Peace lilies don’t like direct sunlight, but they do need bright, indirect light to recover.
Best Light Setup
- Place your plant 6–8 feet from a north or east-facing window
- Avoid direct sun—it can burn the leaves
- If using grow lights, keep them 12–24 inches above the plant for 12–14 hours daily
Light Warning Signs
- Dark spots = too much light
- Yellowing and slow growth = not enough light
Monitor your plant for 5–7 days and adjust its position if needed.
🌡️ Temperature and Humidity Tips
Peace lilies love warm, humid environments. Keeping conditions stable helps them recover faster.
Ideal Conditions
- Room temperature: 65–80°F (18–27°C)
- Humidity: 50–60%
How to Boost Humidity
- Use a pebble tray with water (pot should sit above the waterline)
- Mist the leaves daily
- Use a humidifier nearby
- Group with other plants to create a humid microclimate
- Keep away from drafts and heating vents
🪴 Check Soil and Drainage
Bad soil or poor drainage can lead to root problems and wilting.
What to Do
- Gently remove the plant and inspect the roots
- Healthy roots are firm and white
- Trim any brown, mushy roots with clean scissors
- Repot using fresh, well-draining soil made for tropical plants
- Use a pot with drainage holes and add a 1-inch layer of perlite at the bottom
- Test the top 2 inches of soil before watering again
🐛 Watch for Pests and Diseases
Pests and fungal issues can also cause wilting and leaf damage.
Common Pests
- Spider mites (look for webbing)
- Mealybugs (white fuzzy spots)
- Scale insects (brown bumps on stems and leaves)
How to Treat Them
- Isolate the affected plant
- Mix 1 tablespoon of neem oil with 2 cups of water and spray all leaf surfaces every 7 days
- For severe infestations, use insecticidal soap
- Remove leaves with brown spots and yellow halos (signs of leaf spot)
- Avoid overhead watering to prevent fungal growth
🌱 Fertilizer Tips for Healthy Growth
Feeding your peace lily the right way helps it stay strong and vibrant.
- Use a balanced 10-10-10 water-soluble fertilizer
- Apply every 6–8 weeks during spring through fall
- Dilute to half-strength: ½ teaspoon per gallon of water
- Only fertilize when soil is moist—not dry
- Skip fertilizing in winter when the plant is resting
- Resume feeding in early spring when new growth appears
🧼 Easy Maintenance Tips to Keep Your Peace Lily Happy
Routine Care
- Water when the top inch of soil feels dry (usually every 5–7 days)
- Don’t wait for wilting—it stresses the plant
- Prune yellow or damaged leaves at the base with clean scissors
- Trim brown tips at a 45-degree angle
- Wipe leaves monthly with a damp microfiber cloth
- Check for pests while cleaning
- Keep away from drafts and maintain ideal temperature