Picture yourself snipping a vibrant cutting from your polka dot plant’s colorful foliage, knowing you’re about to multiply your collection with just a few simple steps. You’ll discover that timing makes all the difference between success and disappointment, especially when you understand the seasonal cues that trigger rapid root development. While most gardeners guess at the process, there’s actually a precise method that guarantees healthy new plants every time.
Optimal Timing for Polka Dot Plant Propagation
When you’re ready to multiply your polka dot plants, timing makes all the difference between thriving new plants and disappointing failures. Early spring delivers the best results for propagation tips, as your plants enter their active growing season with superb energy reserves.
Spring growth patterns create ideal conditions for root development. Warmer temperatures naturally boost success rates, making spring and summer your prime propagation windows. You’ll find roots develop faster and stronger during these months.
Don’t attempt propagation during cooler months unless you’re prepared for extra monitoring. Cold weather increases rot risk, requiring more attention to prevent losses.
Essential Tools and Materials for Success
Before you make your first cutting, gathering the right tools sets you up for propagation success. Sharp pruning shears or clean scissors are your most essential equipment for making precise cuts. You’ll need a container with drainage holes for soil propagation techniques, paired with a well-draining mix of coconut coir or peat moss and perlite.
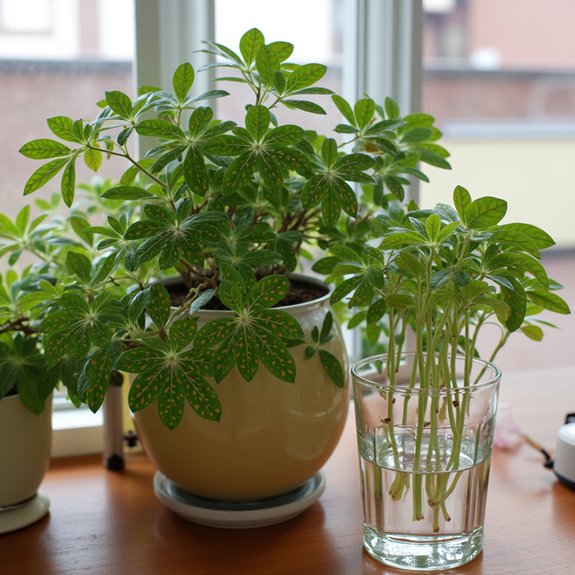
For water rooting methods, grab a narrow glass or propagation station. If you’re using wider glasses, plastic wrap helps anchor your cuttings perfectly. Having everything ready beforehand makes the entire process smoother and increases your chances of healthy root development.
Selecting and Preparing the Perfect Cutting
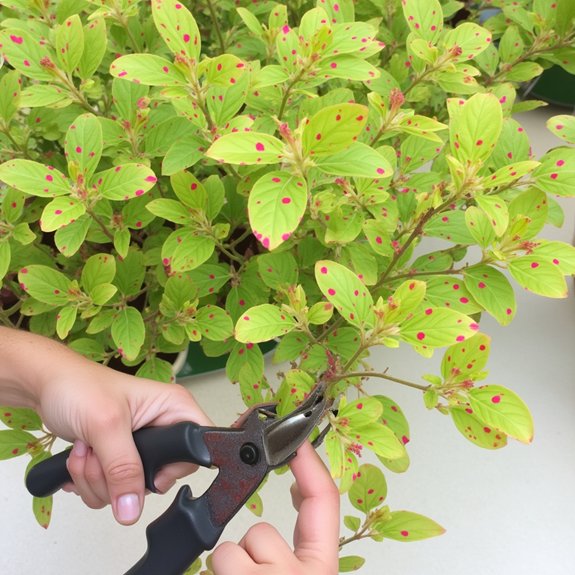
Your cutting’s health determines everything that follows, so you’ll want to spot the ideal candidate before making any cuts. Focus on cutting selection by choosing stems with vibrant, full foliage and sturdy growth. Inspect leaf health carefully, checking undersides for pests or disease signs that could doom your efforts.
Select stems that aren’t too thin or dried out, as they won’t transport moisture effectively. You’ll need about four inches of healthy stem with at least three sets of leaves on top. Make clean cuts just below a leaf node, then remove the bottom leaf set to prepare for rooting success.
Water Vs Soil Rooting Methods
Once you’ve prepared your cutting, you’ll face the classic propagation decision: water or soil rooting. Water benefits include easy monitoring of root development and watching your cutting’s progress daily. You’ll submerge the bottom half, keeping leaves dry, and change water weekly. Soil advantages involve producing stronger, more resilient roots that won’t experience transplant shock later. Plant your cutting with only the bottom half below soil line, maintaining consistent moisture without waterlogging. Both methods work well, but soil rooting creates tougher roots while water rooting lets you witness the exciting root growth process firsthand.
Caring for Your Cuttings During Root Development
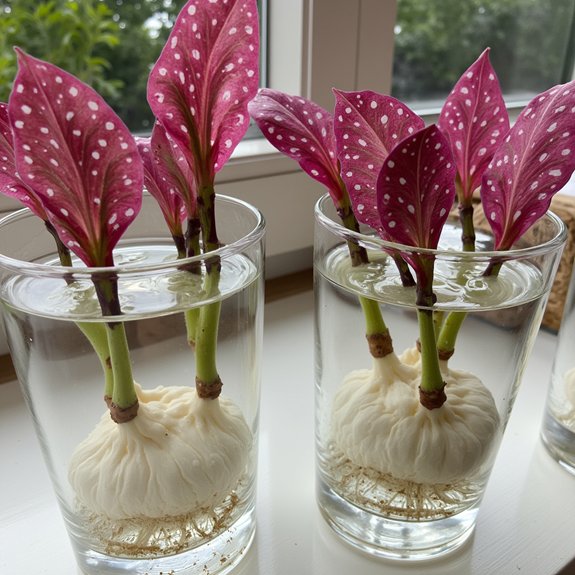
Whether you’ve chosen water or soil rooting, the next few weeks require consistent attention to create the perfect environment for root development. Moisture management becomes your top priority during this vital phase. For water propagation, top up every few days and change completely weekly to prevent bacterial growth. Soil cuttings need consistent dampness without waterlogging—water when the top layer starts drying out.
Light requirements are equally important for successful rooting. Place your cuttings near a bright window while avoiding intense direct sunlight, which can stress developing roots and cause wilting.
Transplanting and Establishing Your New Plants
After your cuttings develop strong roots over several weeks, it’s time to give them their permanent home. Wait until roots reach one to two inches long before attempting transplanting techniques—this prevents shock and guarantees survival.
Create a well-draining potting mix using two parts potting soil, one part perlite, and one part coconut coir. Plant your cutting at the same depth it was rooted, water immediately, then place in bright indirect light.
Focus on establishing roots during the first few weeks. Keep soil consistently moist but not waterlogged, and watch for new growth indicating successful establishment.