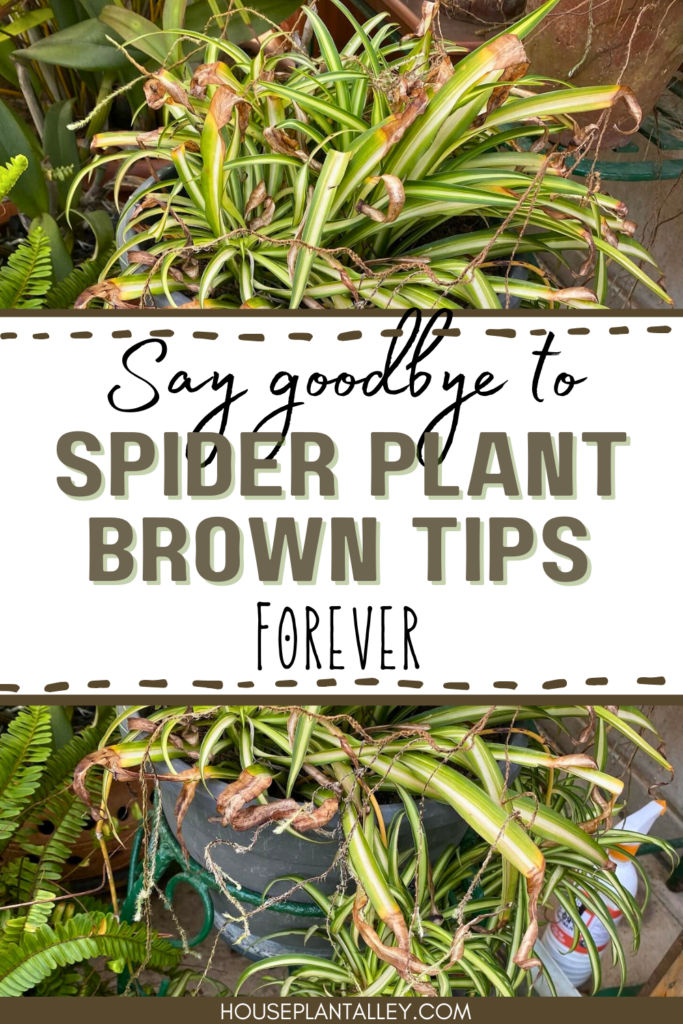
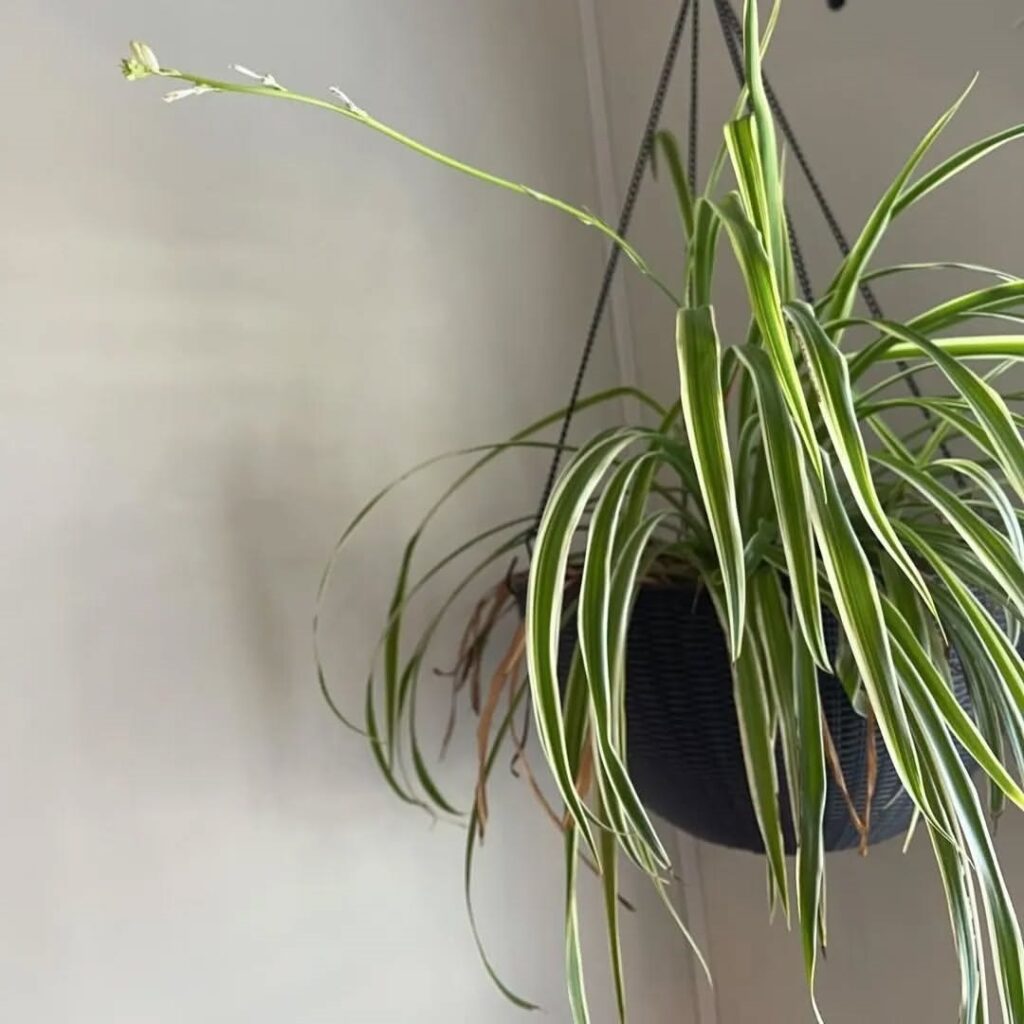
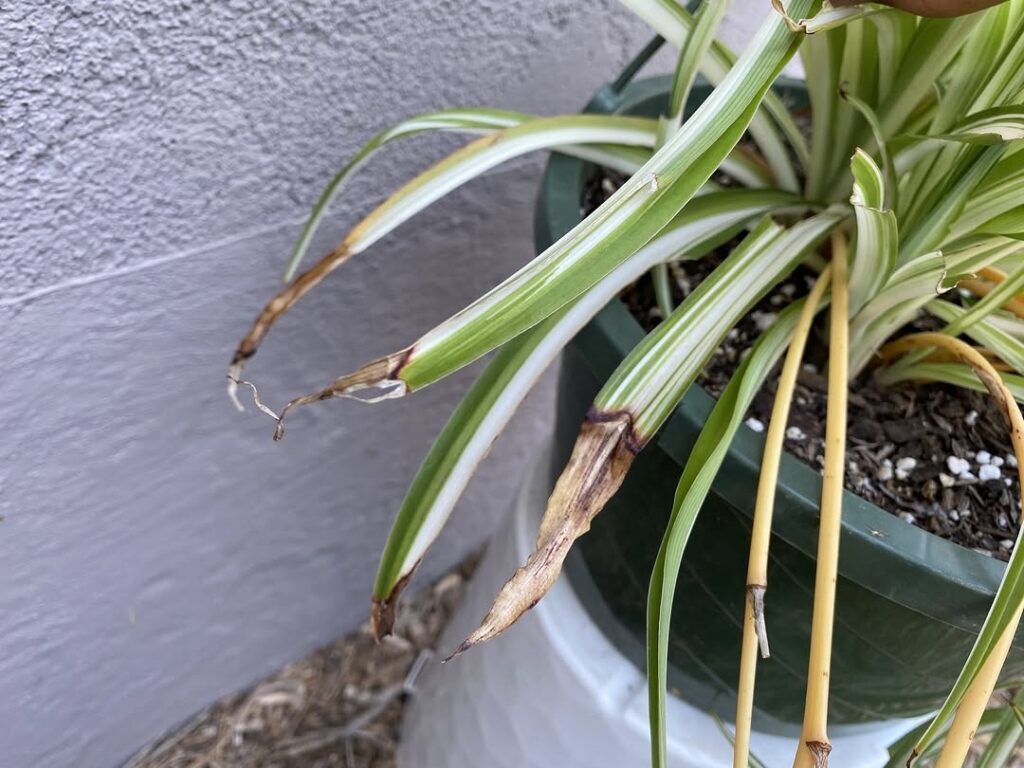
Spider plants (Chlorophytum comosum) are a favorite among houseplant enthusiasts for their resilience and air-purifying abilities. However, even the hardiest of plants can experience some issues, and one common problem with spider plants is the development of brown tips. If your spider plant is looking a bit crispy around the edges, fear not! This blog post will guide you through understanding the causes and solutions for those pesky brown tips.

Contents
Understanding Brown Tips: The Culprits
Brown tips on spider plants can be a result of several factors. Identifying the cause is the first step towards reviving your green friend.
1. Overwatering or Underwatering
Spider plants are sensitive to both overwatering and underwatering. Overwatering can lead to root rot, causing the leaves to turn brown. On the other hand, underwatering can dehydrate the plant, leading to dry, crispy tips.
2. Water Quality
Spider plants are susceptible to the chemicals found in tap water, such as chlorine and fluoride. These chemicals can accumulate in the soil and cause brown tips. Using filtered or distilled water can help prevent this issue.
3. Low Humidity
Spider plants thrive in environments with higher humidity. If your home has particularly dry air, especially during winter months, the lack of moisture can lead to brown tips.
4. Fertilizer Burn
Over-fertilizing your spider plant can cause the tips of the leaves to turn brown. This is because the salts in the fertilizer can build up in the soil, leading to nutrient imbalance.
5. Natural Aging
Sometimes, brown tips are simply a result of the plant’s natural aging process. Older leaves may develop brown tips as they prepare to shed and make way for new growth.
Solutions: Bringing Your Spider Plant Back to Life

Now that we’ve identified the causes, let’s dive into the solutions to restore your spider plant’s vibrant green appearance.
1. Adjust Watering Habits
- Check the Soil: Before watering, check the soil moisture level. The top inch of soil should be dry before you water your plant.
- Proper Drainage: Ensure your pot has drainage holes to prevent water from sitting at the bottom.
2. Use Quality Water
- Filtered or Distilled Water: Use filtered or distilled water to avoid the build-up of harmful chemicals.
- Rainwater: Collect and use rainwater if possible, as it’s free of chlorine and fluoride.
3. Increase Humidity
- Humidifier: Use a humidifier to maintain a higher humidity level around your plant.
- Pebble Tray: Place a tray with pebbles and water under your plant’s pot to increase humidity through evaporation.
4. Fertilize Wisely
- Dilute Fertilizer: Use a diluted fertilizer solution to avoid salt build-up in the soil.
- Flush Soil: Periodically flush the soil with water to remove any excess salts.
5. Trim Affected Leaves
- Prune Brown Tips: Use sharp, sterilized scissors to trim the brown tips. Cut at an angle to mimic the natural shape of the leaves.
- Remove Dead Leaves: Regularly remove any dead or dying leaves to encourage new growth.
Prevention: Keeping Brown Tips at Bay

1. Consistent Care Routine
Maintain a consistent watering and fertilizing schedule to prevent issues related to over or under care.
2. Monitor Environment
Keep an eye on the humidity and temperature levels in your home to ensure they are within the optimal range for spider plants.
3. Regular Inspections
Regularly inspect your plant for any signs of stress or pests. Early detection can help prevent minor issues from becoming major problems.
By following these tips and tricks, your spider plant will be thriving and free of brown tips in no time. Happy gardening!
Pro tip: Did you know that spider plants can produce baby plantlets? With the right care, you can propagate these plantlets and expand your indoor garden.
