You’ll discover that plastic bottles aren’t just waste; they’re versatile materials for creating innovative garden solutions. These DIY projects transform standard 2-liter bottles and smaller containers into practical growing spaces, water-saving systems, and decorative elements for your garden. From constructing vertical gardens that maximize limited space to designing self-watering planters that maintain optimal soil moisture, each project offers a sustainable approach to gardening. Let’s explore how these everyday items can revolutionize your growing space while reducing environmental impact.
Contents
- 1 Vertical Hanging Garden From Recycled Bottles
- 2 Self-Watering Herb Planters
- 3 Bottle Bottom Seedling Starters
- 4 Drip Irrigation System for Garden Beds
- 5 Decorative Window Bottle Planters
- 6 Hydroponic Growing Stations
- 7 Bottle Top Mini Terrariums
- 8 Automated Plant Watering System
- 9 Upcycled Bottle Plant Markers
- 10 Plastic Bottle Greenhouse Construction
Vertical Hanging Garden From Recycled Bottles
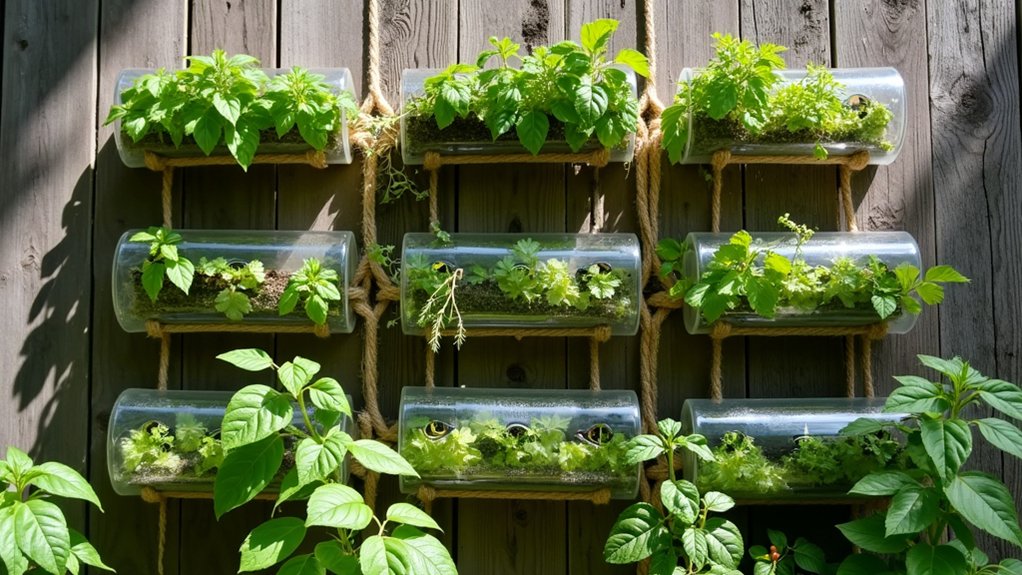
A vertical hanging garden made from recycled bottles transforms ordinary plastic containers into an innovative, space-saving gardening system. The bottles are typically arranged in vertical rows, suspended from walls or fences using sturdy rope or wire, with each bottle positioned at a slight angle to ensure proper water drainage.
Cut-out sections on the bottles’ sides serve as planting spaces, while the original bottle openings allow for easy watering and the caps can be modified to control drainage. This eco-friendly design is particularly effective for growing herbs, small vegetables, and trailing plants, creating a living wall effect that adds visual interest while maximizing growing space in small areas.
Growing Conditions:
- Location: South or east-facing position for optimal sun exposure
- Light: 6-8 hours of direct sunlight daily for most edible plants
- Temperature: 60-80°F (15-27°C) for optimal growth
- Soil: Well-draining potting mix enriched with compost
- Water: Regular monitoring as bottles can dry out faster than traditional containers
- Spacing: 8-12 inches between bottle rows for adequate air circulation
Regular maintenance is crucial for the success of a bottle vertical garden. Check the support system weekly to ensure bottles remain securely fastened, and adjust angles if water pools in any containers.
Prune plants regularly to prevent overcrowding and remove any yellowing or dead foliage promptly to discourage pest problems. Monitor the drainage holes for clogs, and clean them as needed to prevent water-logging.
During growing seasons, apply a diluted liquid fertilizer every 2-3 weeks to compensate for the limited soil volume in each bottle.
Self-Watering Herb Planters
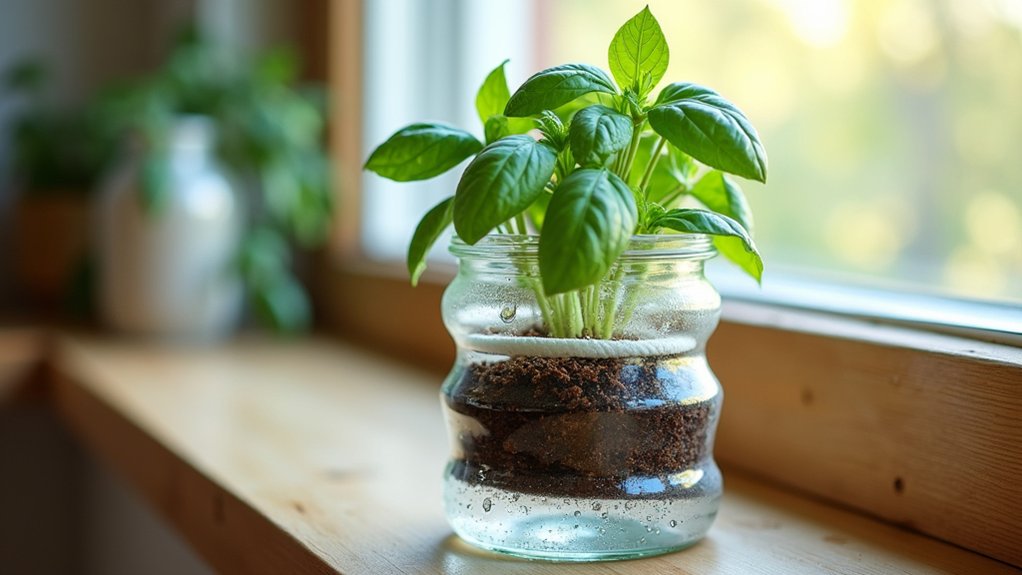
Self-watering herb planters crafted from recycled bottles create an efficient growing system that combines a water reservoir in the bottle’s bottom section with a growing chamber in the top portion. The two sections are connected by a wicking mechanism, typically made from cotton rope or fabric strips, which draws water up to the plant roots as needed. This design maintains consistent moisture levels while preventing overwatering, making it particularly suitable for herbs that require regular but measured watering.
Growing Conditions:
- Place in bright, indirect sunlight or 6+ hours of direct sun depending on herb variety
- Maintain water level in reservoir, typically refilling every 1-2 weeks
- Use well-draining potting mix designed for herbs
- Keep ambient temperature between 65-75°F (18-24°C)
- Ensure good air circulation around plants
- Position away from cold drafts or heat sources
Regular maintenance involves trimming back excessive growth to promote bushiness, removing any yellowed or dead leaves promptly, and cleaning the bottle system every few months to prevent algae buildup.
Monitor the wicking material to ensure it hasn’t degraded and replace it if necessary. Periodically check that drainage holes remain unobstructed and fertilize with a balanced, water-soluble plant food at quarter strength every 4-6 weeks during the growing season.
Bottle Bottom Seedling Starters
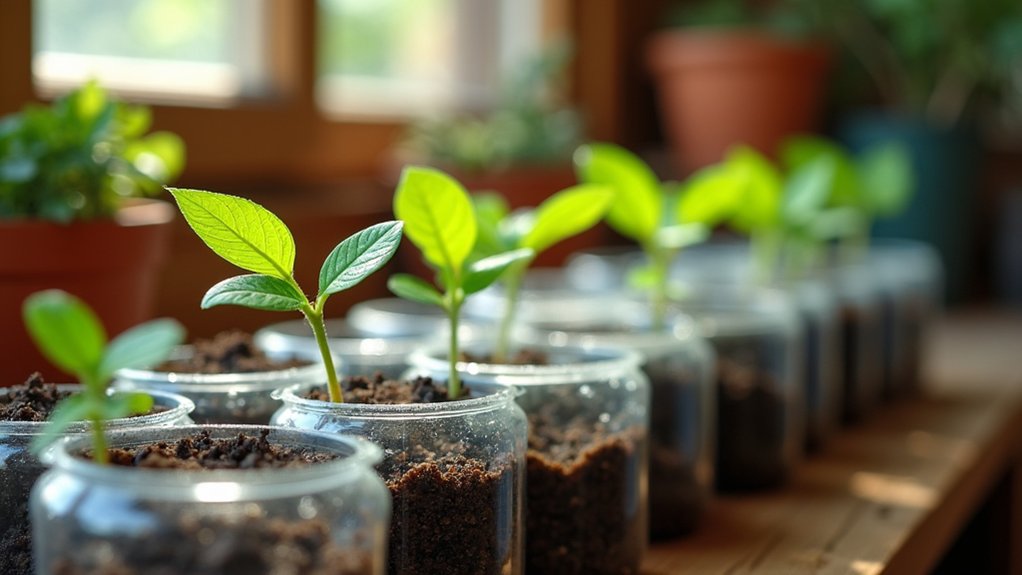
Bottle bottom seedling starters are eco-friendly plant propagation containers created from the bottom portions of plastic bottles, typically 2-6 inches in height. These transparent mini-greenhouses provide an ideal environment for starting seeds and growing young plants, featuring built-in drainage when holes are added to the bottom and natural humidity control when used with their original caps as drainage trays. The clear walls allow for easy monitoring of root development and soil moisture levels.
- Light: Bright, indirect sunlight; avoid intense afternoon sun which can overheat the plastic
- Water: Keep soil consistently moist but not waterlogged; water from bottom when possible
- Soil: Well-draining seed starting mix or potting soil
- Temperature: 65-75°F (18-24°C)
- Spacing: Place bottles 2-3 inches apart to allow for air circulation
- Depth: Fill containers 2/3 full with soil, leaving room for seedling growth
Regular maintenance for bottle bottom seedling starters includes monitoring ventilation by gradually removing bottle caps as seedlings grow, preventing algae growth by covering clear surfaces with paper when necessary, and hardening off plants before transplanting.
When seedlings develop their first true leaves, begin fertilizing with a weak solution of balanced liquid fertilizer every two weeks. Transfer seedlings to larger containers once they outgrow their bottle environments, typically when they develop 2-3 sets of true leaves.
Drip Irrigation System for Garden Beds
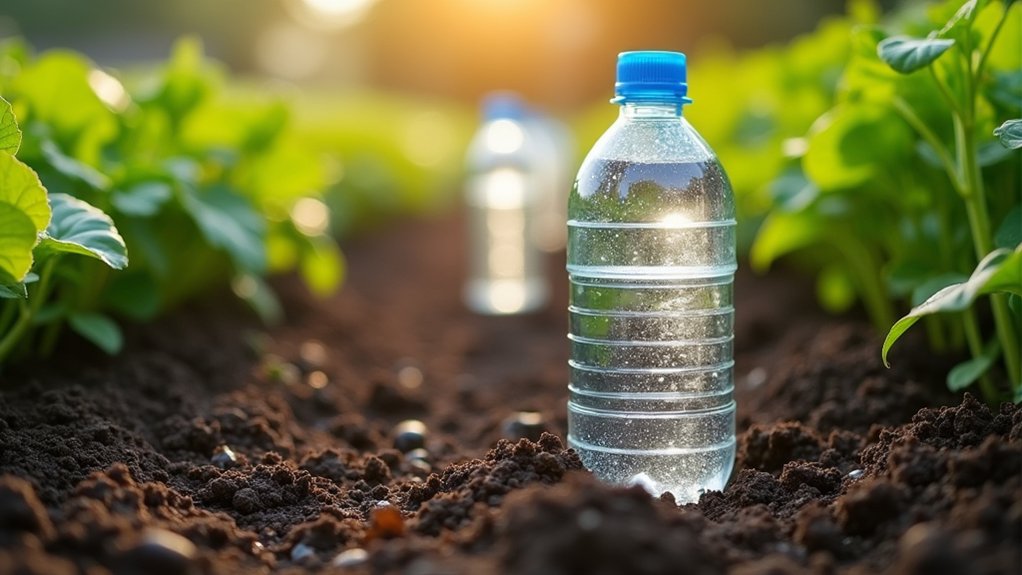
A bottle drip irrigation system transforms ordinary plastic bottles into efficient water delivery mechanisms for garden beds. The system consists of recycled bottles positioned upside-down in the soil, with small holes punctured in their caps or sides to allow for slow, consistent water release directly to plant roots. This eco-friendly setup can service individual plants or entire rows, depending on bottle placement and configuration, while reducing water waste through targeted irrigation and minimized evaporation.
Installation Requirements:
- Bottles should be buried 4-8 inches deep, depending on root depth
- Place 12-18 inches apart for optimal coverage
- Position in well-draining soil to prevent waterlogging
- Install in full sun to partial shade areas, depending on plants being watered
- Use bottles of at least 1-liter capacity for less frequent refilling
- Ensure slight slope in garden bed for even water distribution
Regular monitoring and adjustment are key to maintaining an effective bottle drip system. Check water flow rates periodically by observing soil moisture levels around the bottles, and clear any clogged holes using a thin wire or pin.
During rainy seasons, consider plugging some holes to prevent overwatering, and inspect bottles monthly for degradation or damage from sun exposure. Replace bottles showing signs of breakdown to maintain system integrity and prevent plastic contamination in the soil.
Decorative Window Bottle Planters
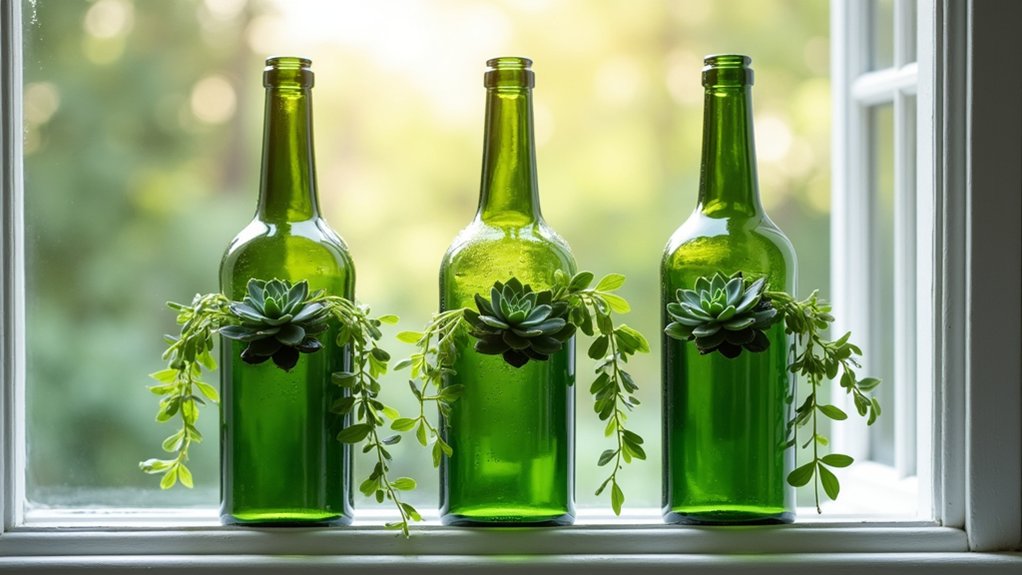
Decorative window bottle planters transform recycled glass bottles into charming vertical gardens that hang horizontally along windowsills or attach directly to window frames.
These planters typically feature bottles laid on their sides with openings facing outward, creating a unique display where plants grow sideways and cascade down. The bottles can be clear, colored, or painted, adding visual interest while allowing natural light to illuminate the plants from behind.
- Light: Bright, indirect sunlight; morning sun preferred; protect from intense afternoon rays
- Water: Moderate watering when soil feels dry to touch; ensure proper drainage holes
- Soil: Well-draining potting mix with added perlite or sand
- Temperature: 65-75°F (18-24°C)
- Humidity: Average room humidity (40-60%)
- Spacing: 6-8 inches between bottles for adequate air circulation
Regular pruning helps maintain the desired shape and prevents plants from becoming too leggy in their sideways growing position.
Remove any yellowing or dead foliage promptly to prevent fungal issues in the enclosed bottle environment. Rotate bottles quarterly to ensure even growth, and clean the exterior glass surfaces monthly to maximize light penetration.
During warmer months, check soil moisture levels more frequently, as glass containers can heat up quickly in direct sunlight.
Hydroponic Growing Stations
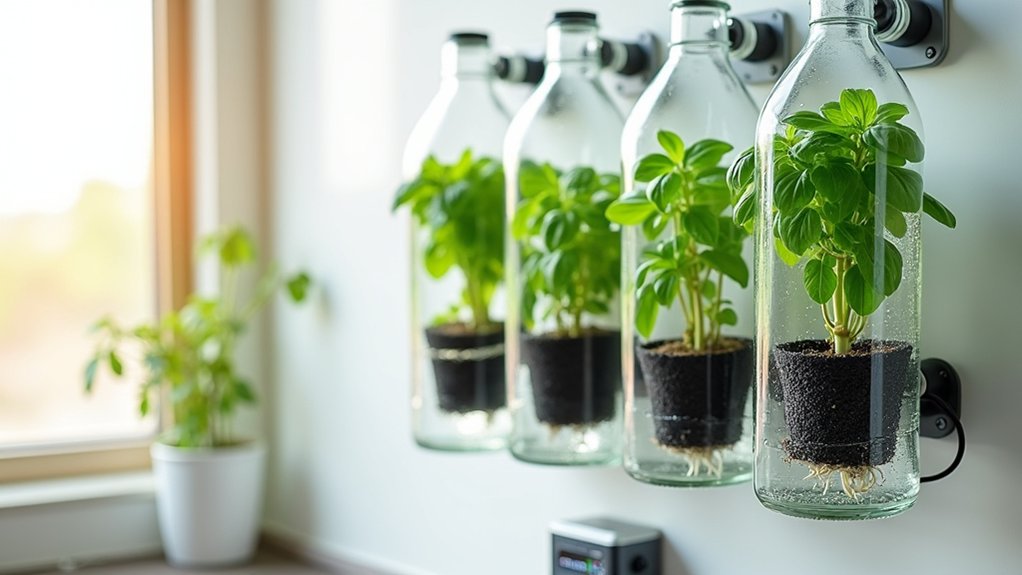
A hydroponic growing station made from recycled bottles creates a vertical or horizontal soilless gardening system where plants grow directly in nutrient-enriched water.
These stations typically feature multiple plastic bottles cut and arranged to allow water flow between containers, with plants suspended in net pots or growing medium. The setup can be mounted on walls, hung from ceilings, or arranged on countertops, making efficient use of small spaces while providing a sustainable way to grow herbs, leafy greens, and small vegetables.
Growing Conditions:
- Light: 6-12 hours of direct sunlight daily or LED grow lights positioned 6-12 inches above plants
- Water pH: 5.5-6.5 for optimal nutrient absorption
- Temperature: 65-75°F (18-24°C)
- Humidity: 50-70% relative humidity
- Airflow: Gentle circulation to prevent stagnant water and algae growth
- Nutrient solution: Complete hydroponic fertilizer changed every 2-3 weeks
Regular maintenance tasks include monitoring water levels daily, checking for and clearing any clogs in the irrigation system, and inspecting for signs of algae growth or pest infestation.
Cleaning the bottles and tubing monthly with a mild hydrogen peroxide solution helps prevent bacterial growth, while pruning dead or yellowing leaves ensures proper air circulation.
Testing nutrient levels weekly with a TDS meter helps maintain optimal growing conditions and prevents nutrient deficiencies.
Bottle Top Mini Terrariums
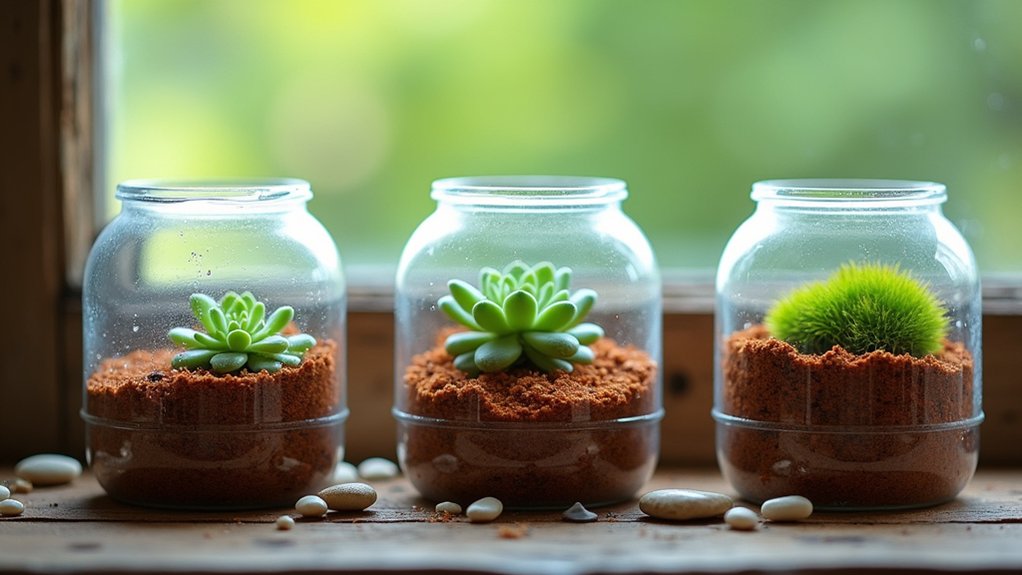
Bottle Top Mini Terrariums transform discarded plastic bottle tops into charming miniature gardens, creating tiny self-contained ecosystems perfect for small succulents, moss, or miniature plants.
These compact terrariums, typically 2-3 inches in diameter, feature a shallow growing space with drainage holes added to the base, making them ideal for desk displays or window ledges. The transparent nature of the plastic allows for easy monitoring of soil conditions while showcasing the delicate root systems of tiny plants.
Growing Conditions:
- Bright, indirect sunlight – avoid direct afternoon sun
- Well-draining succulent or cactus soil mix
- Water sparingly, allowing soil to dry between waterings
- Indoor temperatures between 65-75°F (18-24°C)
- Humidity levels around 40-50%
- Good air circulation to prevent mold growth
Regular pruning of overgrown plants and removal of dead foliage helps maintain the miniature scale of these bottle top gardens.
Inspect the drainage holes monthly to ensure they remain clear and unclogged, and rotate the terrariums quarterly to promote even growth.
When plants outgrow their tiny homes, transplant them to larger containers and start fresh with new specimens, cleaning and sterilizing the bottle tops before reuse.
Automated Plant Watering System
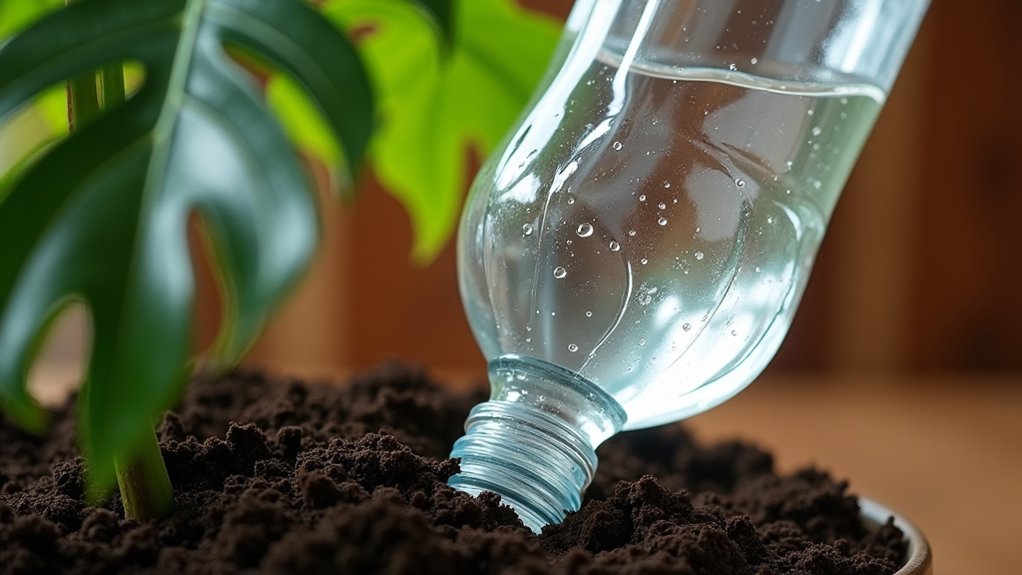
An automated plant watering system using recycled bottles creates a self-sustaining irrigation method for indoor or outdoor plants. The setup typically consists of an inverted plastic bottle with small holes in the cap or bottom, suspended above the soil near the plant’s root zone. When properly installed, the system slowly releases water directly to the roots as needed, reducing water waste and ensuring consistent moisture levels for days or weeks, depending on bottle size and plant requirements.
- Installation depth: Place bottle 4-6 inches into soil near root zone
- Water capacity: Use 1-2 liter bottles for medium plants
- Positioning: Keep bottle vertical, slightly tilted toward plant
- Hole size: 2-3 mm diameter holes for optimal flow
- Light exposure: System works in any lighting condition
- Soil type: Works best in well-draining potting mix
- Coverage area: One bottle per medium-sized plant
Regular maintenance of the automated watering system requires monitoring water levels in bottles and refilling before they empty completely.
Check for clogged holes in the bottle every few weeks and clean as needed with a thin wire or pin.
Inspect the soil moisture level initially to adjust hole size and bottle positioning until achieving ideal water flow.
Replace bottles showing signs of degradation from sun exposure every 6-12 months to prevent cracking and leaks.
Upcycled Bottle Plant Markers
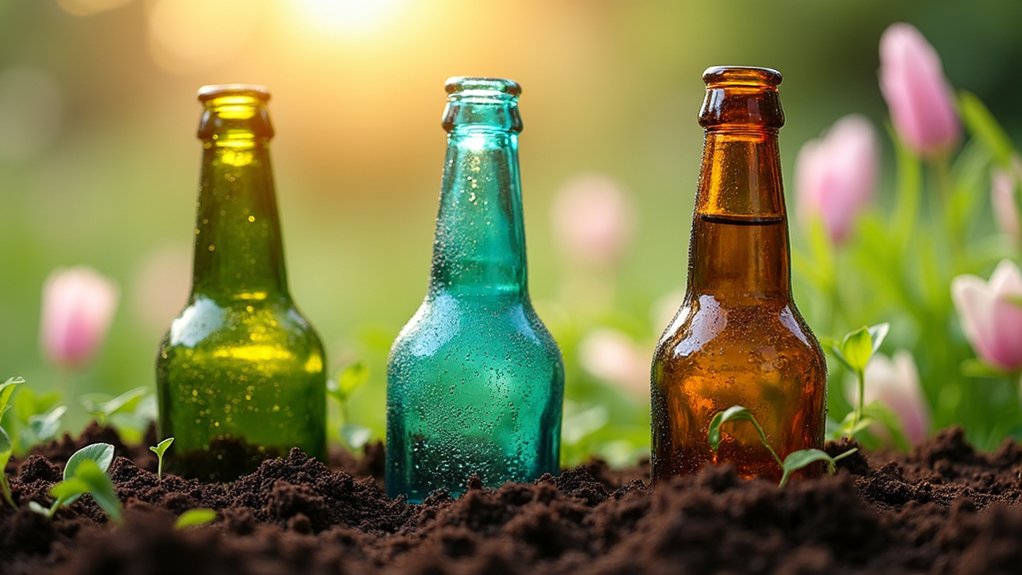
Upcycled bottle plant markers transform everyday plastic or glass bottles into practical garden labels that help identify different plants and herbs in your garden.
These eco-friendly markers are created by cutting bottles into strips or shapes, which are then painted or decorated with permanent markers to display plant names and information. The transparent nature of the bottles allows them to blend naturally into the garden setting while remaining visible enough to read easily, and their durability makes them resistant to weather conditions and garden maintenance activities.
- Place markers 2-3 inches deep in soil for stability
- Position markers where they receive indirect sunlight to prevent fading
- Ensure markers are situated where they won’t interfere with plant growth or garden maintenance
- Space markers at least 6 inches from plant stems to avoid root disruption
- Install in well-draining soil to prevent water accumulation around marker base
Regular maintenance of bottle plant markers involves occasional cleaning with mild soap and water to remove dirt buildup and maintain visibility of plant names.
Check markers monthly for stability and reposition as needed, especially after heavy rains or strong winds. Touch up any faded text with weather-resistant markers or paint, and consider rotating markers periodically to prevent sun damage on one side.
Remove any algae growth that may develop on markers in shaded or damp areas to maintain their aesthetic appeal and functionality.
Plastic Bottle Greenhouse Construction
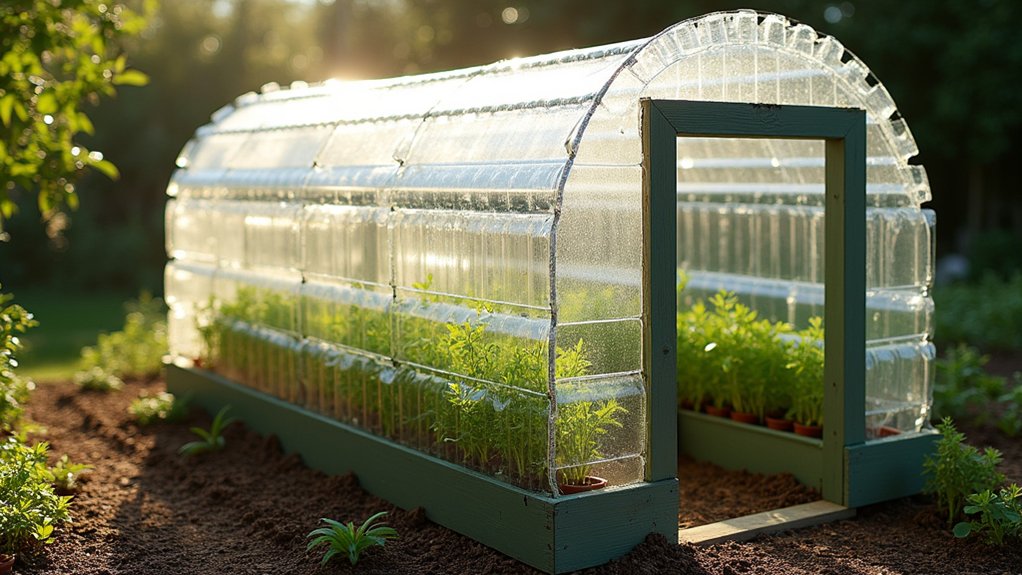
A plastic bottle greenhouse is an innovative structure made from recycled plastic bottles arranged in rows and secured to a frame, creating transparent walls and a roof that allow sunlight to penetrate while protecting plants inside.
The bottles are typically cut and overlapped like shingles, creating a weatherproof barrier that maintains warmth and humidity. This eco-friendly alternative to traditional greenhouses can range from small cold frames to full-sized structures capable of housing multiple plant varieties, with the clear bottles creating a similar effect to traditional greenhouse panels.
Growing Conditions:
- Position greenhouse in a location receiving 6-8 hours of direct sunlight daily
- Maintain internal temperature between 75-85°F (24-29°C) during growing season
- Ensure proper ventilation through strategic bottle placement or added vents
- Install on level ground with good drainage
- Consider adding a ground barrier to prevent weed growth
- Place away from strong winds and falling debris
Regular maintenance of a plastic bottle greenhouse involves checking bottle connections and replacing any damaged ones, cleaning the bottles periodically to maintain light transmission, and monitoring for gaps or leaks that could compromise the internal environment.
Seasonal inspections of the frame structure, particularly after severe weather, help prevent potential collapse, while periodic tightening of bottle attachments ensures the greenhouse remains secure.
Adding shade cloth during peak summer months can prevent overheating, and installing a basic irrigation system simplifies plant care while maintaining consistent moisture levels.
