If you’ve ever wondered how to create unique plant varieties, crossbreeding might be your next gardening adventure. You’ll need basic tools like tweezers and magnifying glasses, along with a solid understanding of plant reproduction. While the process requires patience and attention to detail, you can start hybridizing common garden plants within a single growing season. The secrets to successful plant breeding lie in selecting compatible parent plants and mastering precise pollination techniques.
Contents
- 1 Understanding Plant Genetics and Basic Terminology
- 2 Essential Tools and Equipment for Plant Hybridization
- 3 Selecting Parent Plants for Crossbreeding
- 4 Plant Anatomy and Identifying Reproductive Parts
- 5 Hand Pollination Techniques and Best Practices
- 6 Protecting Your Hybrid Plants and Seeds
- 7 Recording and Documenting Your Breeding Progress
- 8 Common Challenges in Plant Crossbreeding
- 9 Growing and Evaluating Your Hybrid Offspring
- 10 Preserving and Propagating Successful Hybrids
Understanding Plant Genetics and Basic Terminology
DNA serves as nature’s blueprint for every plant’s unique characteristics. When you’re starting with plant hybridization, you’ll need to understand terms like dominant and recessive traits, which determine how features like flower color or leaf shape are expressed in offspring.
Genetics in plants follows Mendel’s laws, and you’ll work with terms like phenotype (visible traits) and genotype (genetic makeup). For example, if you’re crossing red and white flowers, you’ll need to track both parent plants’ genetic markers.
Before attempting any crosses, familiarize yourself with plant reproductive parts: pistils, stamens, and pollen. You’ll use these structures to create your hybrid offspring.
Essential Tools and Equipment for Plant Hybridization
When you’re ready to start hybridizing plants, you’ll need to gather several essential tools for precise and sterile work. Your basic toolkit should include fine-point tweezers, small scissors, magnifying glass, and cotton swabs for pollen transfer.
You’ll also need sterilization supplies: rubbing alcohol (70%), paper towels, and disposable gloves. For labeling and documentation, grab waterproof tags, permanent markers, and a logbook to track your crosses.
More specialized equipment includes pollen storage containers, pollination bags to prevent unwanted cross-pollination, and a digital camera to document your progress. Store these tools in a clean, dedicated container to maintain sterility between uses.
Selecting Parent Plants for Crossbreeding
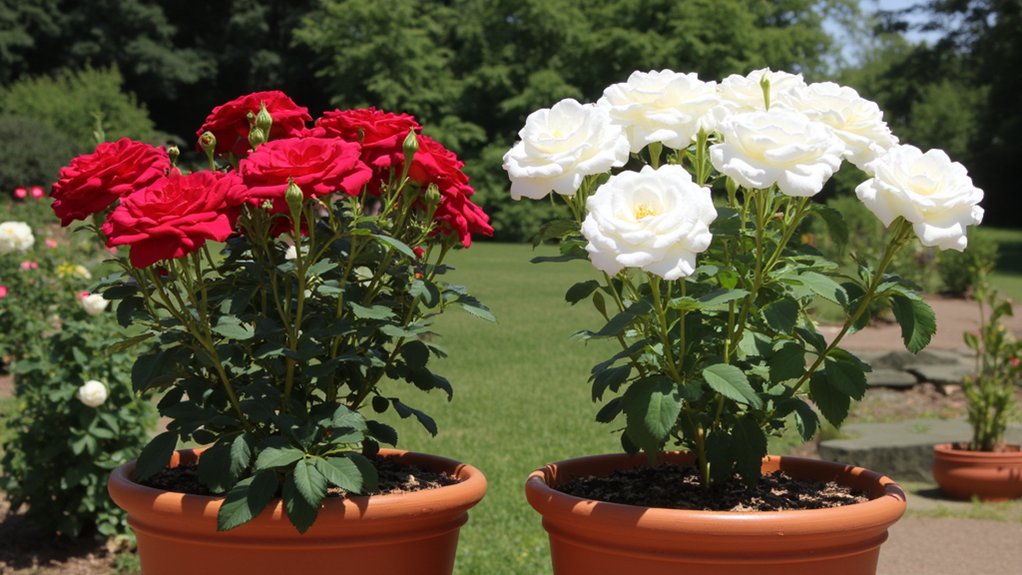
Successful plant hybridization begins with choosing parent plants that’ll give you the traits you’re looking for in the offspring. Select plants that are healthy, mature, and from the same species but different varieties to guarantee genetic compatibility.
Look for parent plants showing strong characteristics you want to combine, such as disease resistance, flower color, or fruit size. Both plants should be approaching their blooming period within 1-2 weeks of each other to enable cross-pollination.
Before making your final selection, verify that your chosen plants aren’t patented varieties, as these are legally protected from unauthorized breeding. Document each parent’s traits in your gardening journal for future reference.
Plant Anatomy and Identifying Reproductive Parts
Understanding the parts of a flower directly impacts your crossbreeding success. You’ll need to identify the stamen (male part), which includes the anther holding pollen, and the pistil (female part), containing the stigma, style, and ovary. These reproductive organs are typically found in the flower’s center.
Most flowers you’ll work with contain both male and female parts. The stamens usually form a circle around the central pistil, with anthers at their tips. You’ll find pollen as a fine, powdery substance on mature anthers. The pistil’s sticky stigma sits atop a long style, waiting to receive pollen.
Hand Pollination Techniques and Best Practices
To achieve reliable results in plant crossbreeding, you’ll need to master proper hand pollination techniques. Start by gathering your tools: small brushes, tweezers, and paper bags for isolating flowers.
Select a healthy parent plant with fresh pollen, and identify a receptor flower that’s just about to open. Using tweezers, carefully remove the anthers from the receptor flower before they release pollen. This prevents self-pollination.
Transfer pollen from your donor plant using a small brush, gently dabbing it onto the stigma. Cover the pollinated flower with a paper bag, securing it loosely. Label it with the date and parent varieties for tracking purposes.
Protecting Your Hybrid Plants and Seeds
Once you’ve successfully created hybrid crosses, proper protection of your plants and seeds becomes essential for preserving their genetic traits. You’ll need to isolate your hybrids from similar plant species by at least 50 feet to prevent unwanted cross-pollination.
Store your harvested hybrid seeds in airtight containers at 40°F, with relative humidity below 15%. Label each container with the parent plants’ names, crossing date, and generation number. You can add silica gel packets to prevent moisture damage.
For growing plants, use row covers or isolation bags to shield them from insects and airborne pollen. Check your protective measures weekly, especially during flowering seasons.
Recording and Documenting Your Breeding Progress
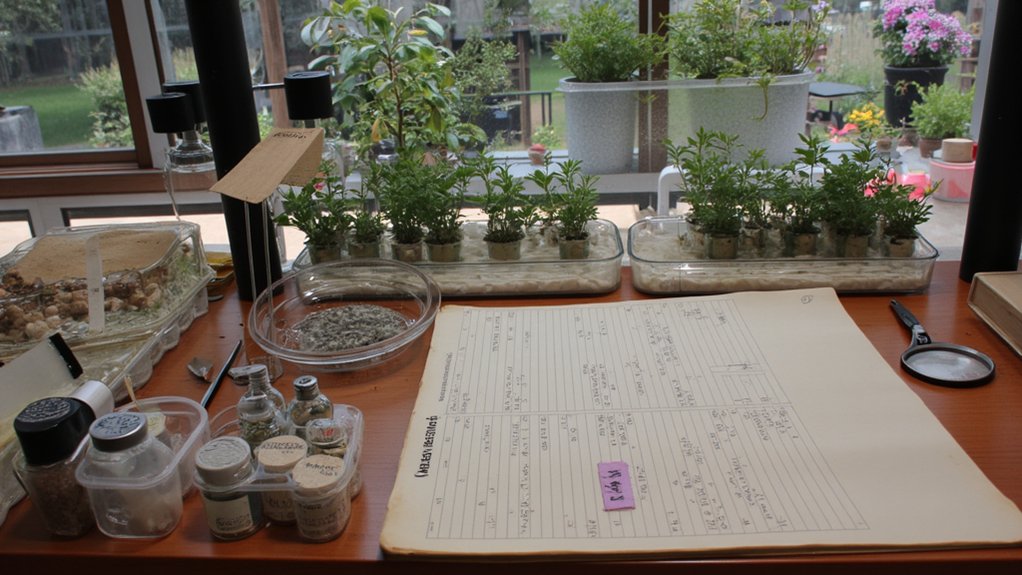
Careful documentation serves as your roadmap through the complex journey of plant hybridization. You’ll need to record dates, parent plants, pollination methods, and success rates in a dedicated journal or spreadsheet.
Label each hybrid plant with waterproof tags, including the parent plants’ names, cross date, and your assigned identification code. Take clear photos of the parent plants, flowers, and resulting offspring at various growth stages.
Track environmental conditions like temperature, humidity, and soil pH. Note any unique characteristics, mutations, or unexpected results that emerge. Don’t forget to document your failures too – they’re valuable learning opportunities for future crosses.
Common Challenges in Plant Crossbreeding
Despite your best planning efforts, plant hybridization comes with several common roadblocks that can test your patience and skills. Most beginners face issues with timing pollination correctly, as you’ll often have just a 2-4 hour window when flowers are receptive.
Environmental factors can derail your crosses, with temperature fluctuations above 85°F or below 55°F reducing pollen viability. You’ll also encounter genetic incompatibility between species, which might show up as stunted growth or sterile offspring.
Disease resistance can vary unexpectedly, and your hybrids may be more susceptible than their parents. Watch for powdery mildew and bacterial infections, particularly in the first 14 days after pollination.
Growing and Evaluating Your Hybrid Offspring
When your hybrid seeds finally emerge from dormancy, you’ll need to implement a systematic approach to track their development. Keep detailed records of growth rates, measuring height weekly and documenting leaf characteristics every 14 days.
Label each plant with waterproof tags and maintain a growth chart that includes stem thickness, flower timing, and any unusual traits. You’ll want to compare these measurements against both parent plants to identify successful crosses.
Watch for disease resistance and vigor during the first 90 days, as these early indicators often predict your hybrid’s commercial viability. Remove any weak performers to focus resources on your most promising specimens.
Preserving and Propagating Successful Hybrids
Once you’ve identified your strongest hybrid specimens, the real work of preservation begins. You’ll need to carefully document each plant’s characteristics and establish a reliable propagation method.
For seeds, store them in airtight containers at 40°F with 30-40% humidity. Label each container with the parent plants, date collected, and generation number. If your hybrid doesn’t produce viable seeds, you’ll need to use vegetative propagation techniques.
Take 6-inch stem cuttings from healthy plants, dip them in rooting hormone, and plant in sterile growing medium. Maintain temperatures between 65-75°F and mist daily. Within 3-4 weeks, you should see root development.