Think of a rock garden as a sturdy old truck—built to last with little fuss. You can create one that’s low-maintenance by starting with the right foundation. First, pick durable rocks like granite or basalt, ensuring they’re crack-free and about 12-18 inches wide. Curious about the next steps to keep your garden thriving with minimal effort? Stick around for the practical tips to make it happen.
Contents
Rock Selection
While you might think any rock will do, selecting the right ones for your rock garden is essential. You’ve gotta consider size, shape, and color to create a natural look. Aim for a mix of small pebbles, about 2-3 inches, and larger boulders, around 12-18 inches, for visual balance.
Start by scouting local landscapes or nurseries for rocks that match your vision. Don’t just grab the first ones you see; take time, maybe a weekend, to compare options. Look for varied textures, like smooth river stones or jagged granite, to add interest.
Finally, plan your layout before hauling them home. Sketch a quick design, ensuring you space rocks 6-12 inches apart for plants. Trust me, it’ll save headaches later!
Choosing Durable Rocks
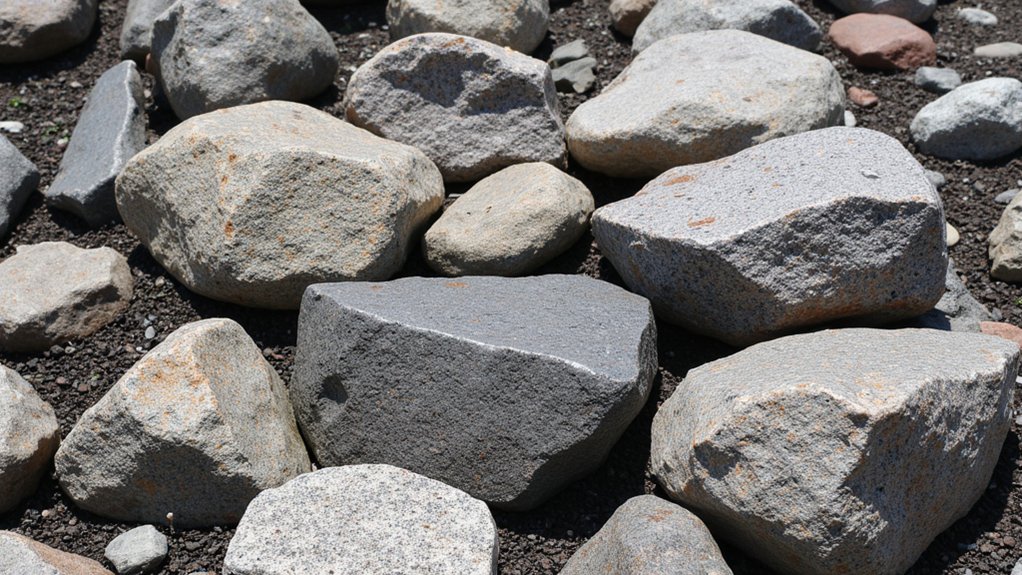
As you explore building your rock garden, picking durable rocks is a must for long-term success. You’ve gotta choose rocks that won’t crumble or break down over time. Think about hard, dense types like granite or basalt, which can handle years of wear.
Start by inspecting each rock for cracks or weak spots—skip any that look flaky. Aim for sizes between 6 inches to 2 feet in diameter, so they’re stable but manageable. Test their heft; if a rock feels too light for its size, it’s likely porous and won’t last.
Head to local quarries or landscaping stores for the best selection. Ask for rocks with a proven track record in outdoor settings, ensuring your garden stays solid for decades.
Selecting Weather-Resistant Stones

Now that you’ve got durable rocks in mind, let’s focus on selecting weather-resistant stones for your rock garden. You’ll want stones that can handle rain, frost, and heat without cracking or crumbling. Think granite, basalt, or quartzite—these are tough, natural options.
Start by inspecting stones for visible flaws, like cracks or soft spots, which might worsen over time. Visit local quarries or garden centers, and ask for stones rated for outdoor exposure. Aim for a mix of sizes, from small 6-inch pebbles to larger 2-foot boulders, for variety.
Don’t skip testing them—place a sample in water for 24 hours to see if it holds up. If it doesn’t flake, you’ve got a winner for your garden setup.
Planning Rock Placement
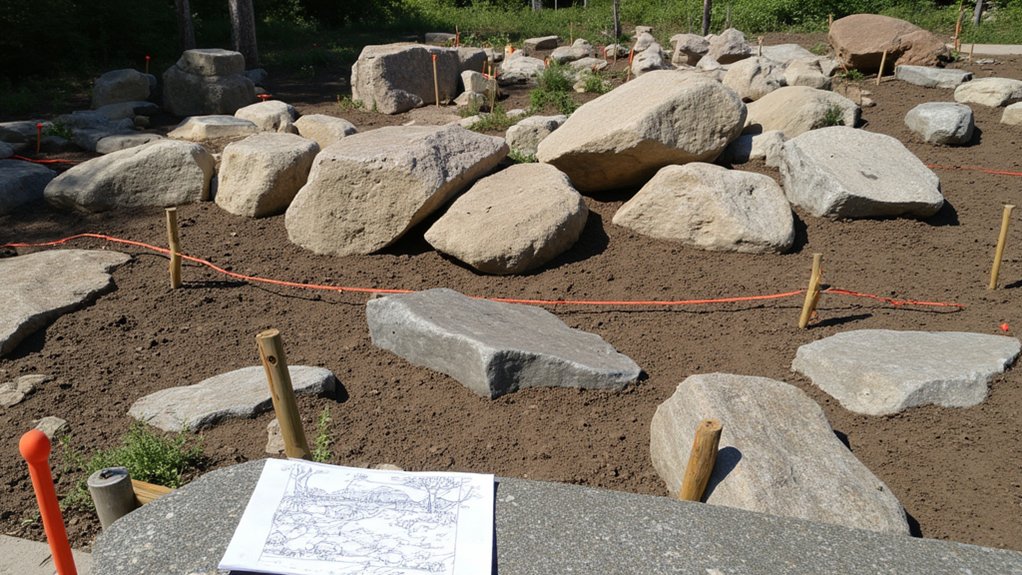
Before you start hauling rocks around, take a moment to plan their placement in your rock garden. Grab a notebook, sketch your yard, and mark where each stone’ll go. Think about size—place larger rocks, say 2-3 feet wide, as anchors first.
Next, consider balance. Don’t just clump everything in one spot; spread smaller stones, around 6-12 inches, to create a natural flow. Imagine you’re mimicking a rugged hillside, so stagger them unevenly.
Now, check your sketch against the actual space. Walk the area, set down markers like sticks or string, and adjust as needed over a day or two. This planning, though it takes a couple of hours, saves you from backbreaking do-overs later on. Trust me, it’s worth it!
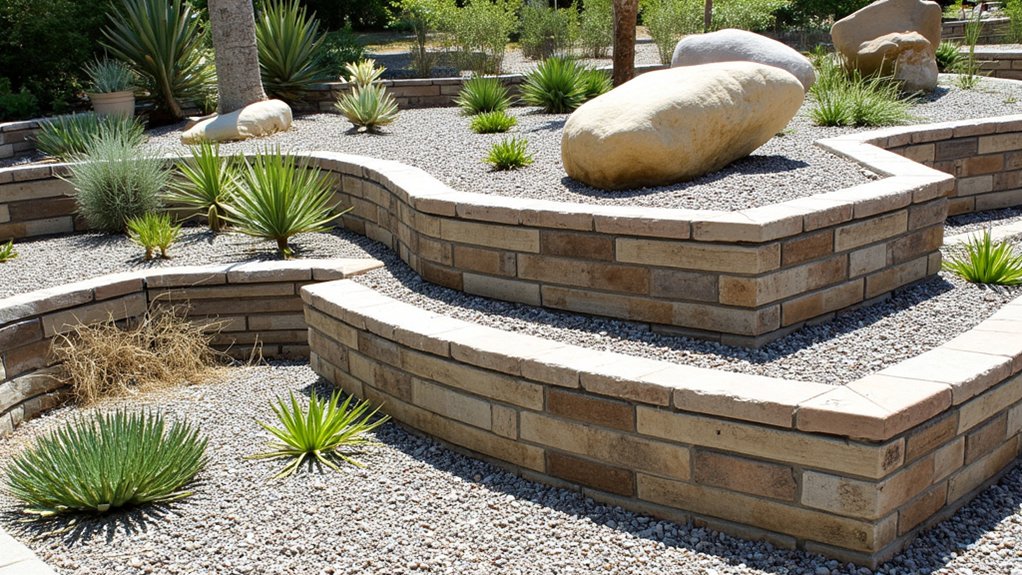
Designing Low-Maintenance Layout
Three key steps can guide you in designing a low-maintenance rock garden layout. First, sketch a simple plan on paper, mapping out a 10×10-foot area or smaller. Keep it basic, focusing on flat or gently sloped spaces to avoid erosion hassles.
Next, group rocks into clusters, spacing them 2-3 feet apart for easy access. This setup cuts down on tricky spots where debris collects, saving you cleanup time. Think practical, not fancy, with clear paths about 18 inches wide.
Finally, limit complex features like steep tiers or tight corners that demand constant upkeep. Stick to a design you can tweak in a weekend, under 5 hours. Trust me, you’ll thank yourself when maintenance stays under an hour monthly!
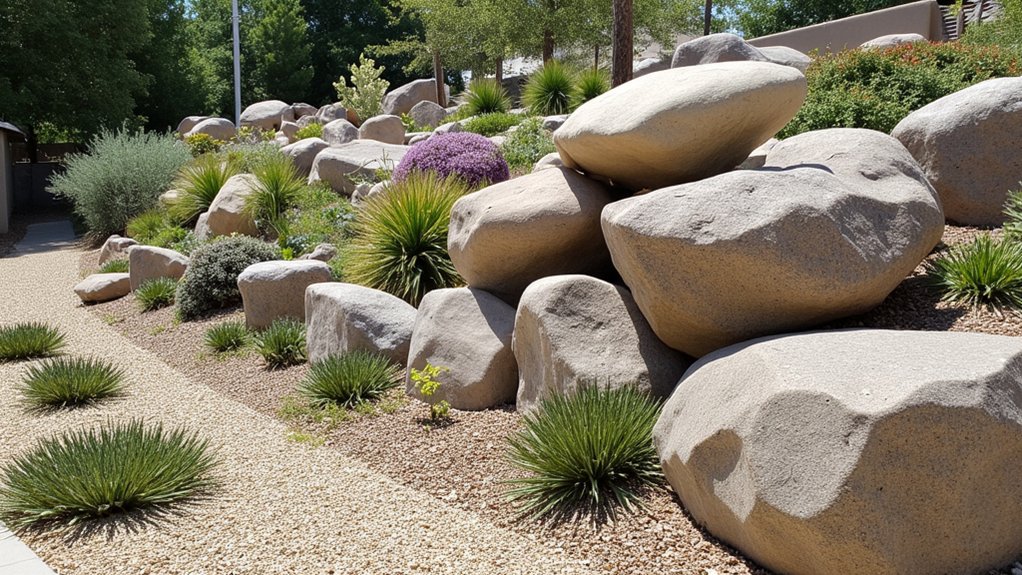
Incorporating Native Plants
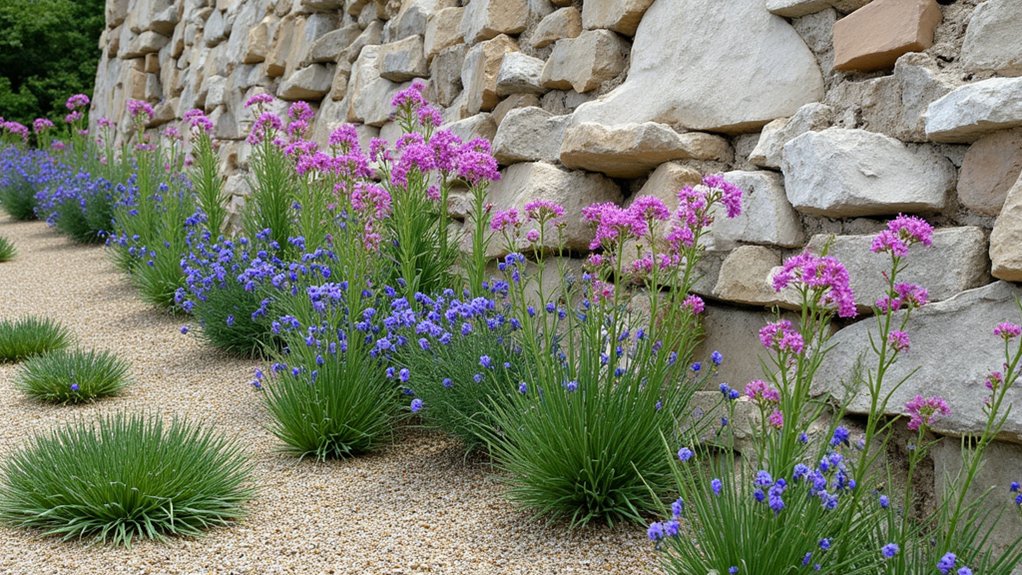
Let’s shift gears and talk about adding native plants to your rock garden. They’re a smart choice, since they’re adapted to your local climate and soil. You’ll save time on watering and care, trust me.
Start by researching plants native to your region, like prairie coneflowers or blue grama grass if you’re in the Midwest. Visit a local nursery, and ask for species that thrive in rocky, well-drained spots. Aim for a mix of heights—say, 6 inches to 2 feet—to create visual interest.
Next, plant them in clusters, spacing them 12-18 inches apart, depending on their mature size. Dig holes twice as wide as the root ball, set them in, and backfill with soil. Water them weekly for the first month to establish roots.
Using Gravel Mulch
Several key benefits come with using gravel mulch in your rock garden, and it’s easier than you might think. First, it cuts down on weeds, saving you tons of hassle. Plus, it holds heat, helping plants thrive in cooler months.
Now, let’s get to the how-to part. Spread a 2- to 3-inch layer of gravel over the soil, making sure it’s even. Use pea gravel or crushed stone, about 1/4-inch in size, for best results. This thickness stops most weeds while looking neat.
Don’t skimp on prep, though. Clear debris and level the ground before you start, or you’ll regret it later. In just a day, you’ve got a low-maintenance base that’ll last years with minimal upkeep. How’s that for easy?
Installing Drip Irrigation
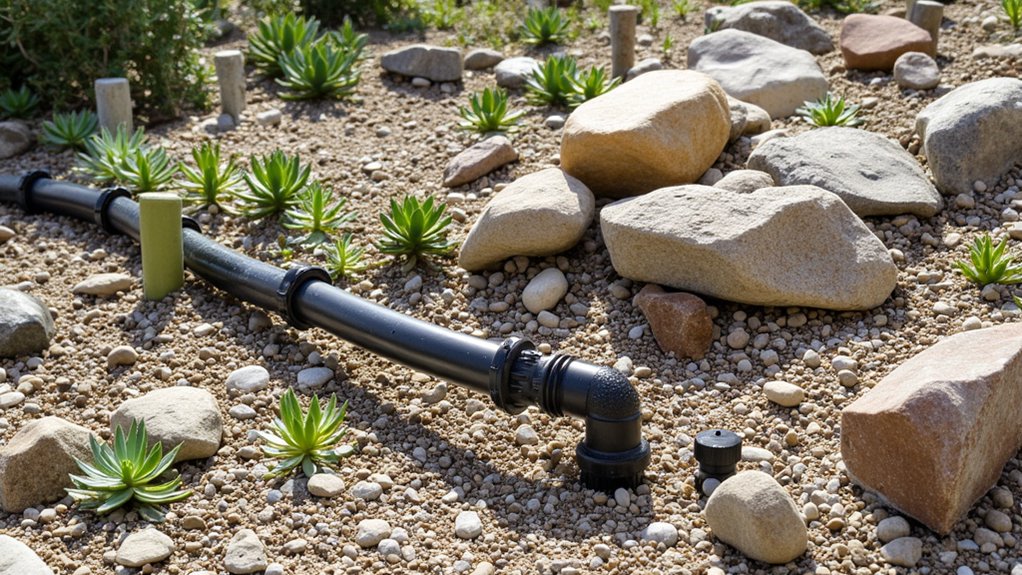
Folks, getting water to your rock garden doesn’t have to be a chore with drip irrigation. This system’s a game-changer, delivering water right to your plants’ roots with minimal effort.
First, grab a drip irrigation kit from your local garden store, usually around $20-$40. Lay out the main tubing, about 1/2-inch diameter, along your garden’s layout, securing it with stakes every 3 feet. Next, attach smaller drip lines, spacing emitters every 12 inches near plant bases for even watering.
Connect it to a timer at your outdoor faucet, setting it to water early morning for 30 minutes daily. Check for leaks after installation, tightening connections as needed. With this, you’re ensuring efficient hydration without constant manual work.
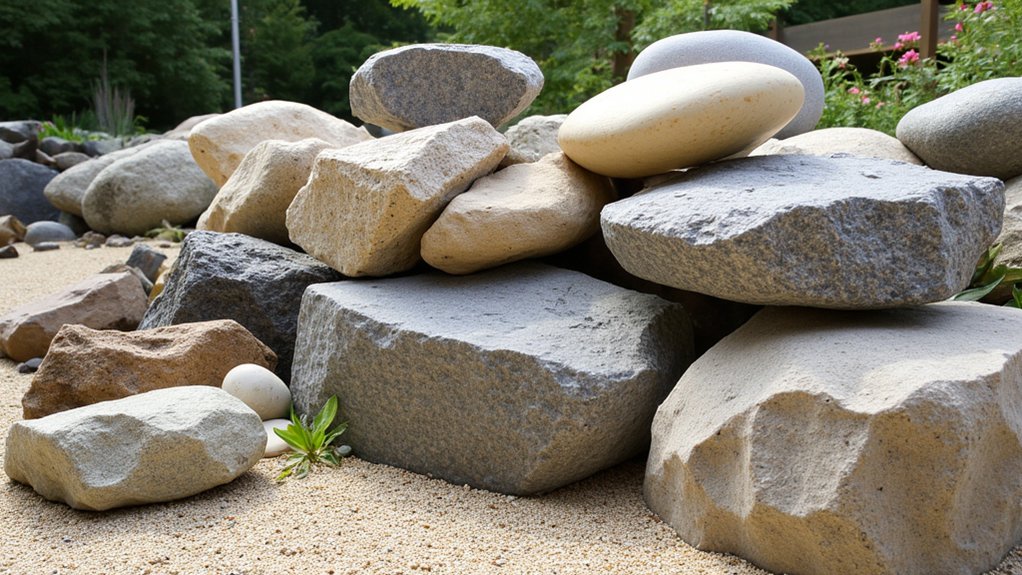
Adding Decorative Boulders
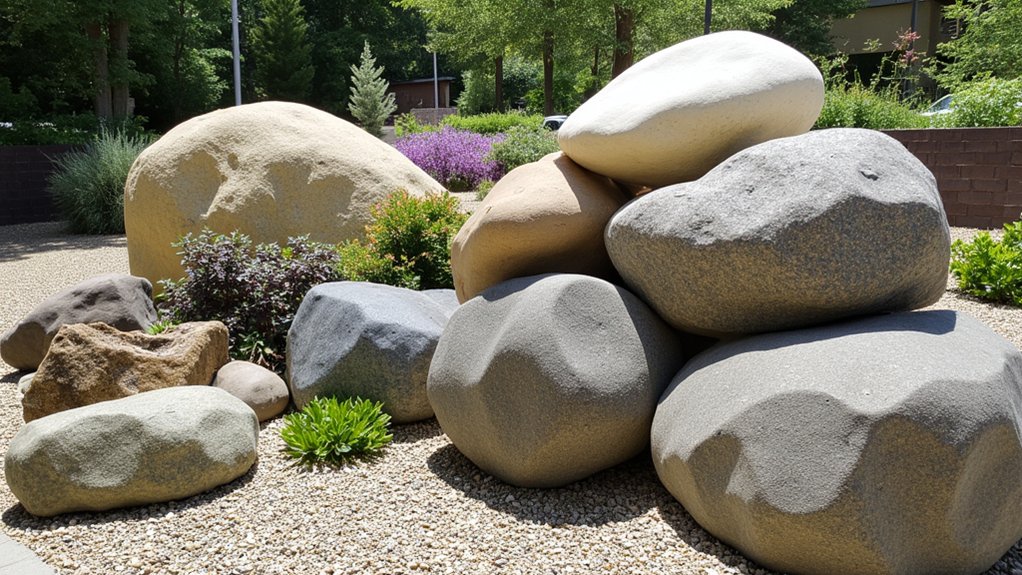
Now that your irrigation’s set up, it’s time to bring some real character to your rock garden with decorative boulders. These hefty stones, ranging from 1 to 3 feet in diameter, can define spaces and add natural beauty. Pick a mix of shapes and colors to keep things interesting.
Start by planning where you’ll place them, aiming for a balanced look across your garden. Use a shovel to dig shallow bases, about 4-6 inches deep, so the boulders sit steady. Roll or lift them into place—get a buddy if they’re over 50 pounds. Space them 2-5 feet apart, depending on your garden’s size, to create focal points. Finally, step back and tweak their positions for the best effect.
Building Stone Pathways
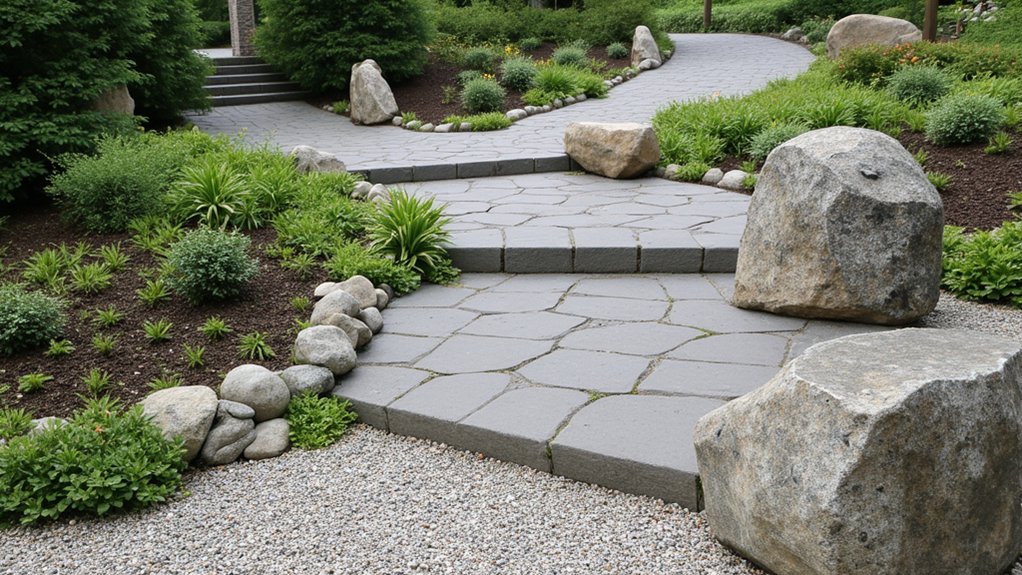
After setting up those striking boulders, let’s move on to crafting stone pathways for your rock garden. You’ll need flat stones, like flagstone, about 1-2 inches thick, and some gravel. First, plan your path’s layout, aiming for a 2-3 foot width for easy walking.
Start by marking the path with string or chalk, then dig out 4 inches of soil. Lay down a 2-inch layer of gravel for drainage, compact it well, and place your stones on top, spacing them 1-2 inches apart for stability. Fill gaps with smaller pebbles or sand for a neat look.
Work on this over a weekend; it’s straightforward but precise. You’ve got this—just keep the path level, and it’ll last years!