Hey, you’ve gotta keep a sharp eye on your plants to shield them from hidden pest damage. Start with daily checks, focusing on the undersides of leaves where bugs, like aphids, often lurk. Grab a magnifying glass, spend 5 minutes each morning, and look for tiny holes or sticky spots. Curious about what else to spot? Stick around for some key tricks to catch those sneaky critters early.
Contents
Inspecting Leaves Daily
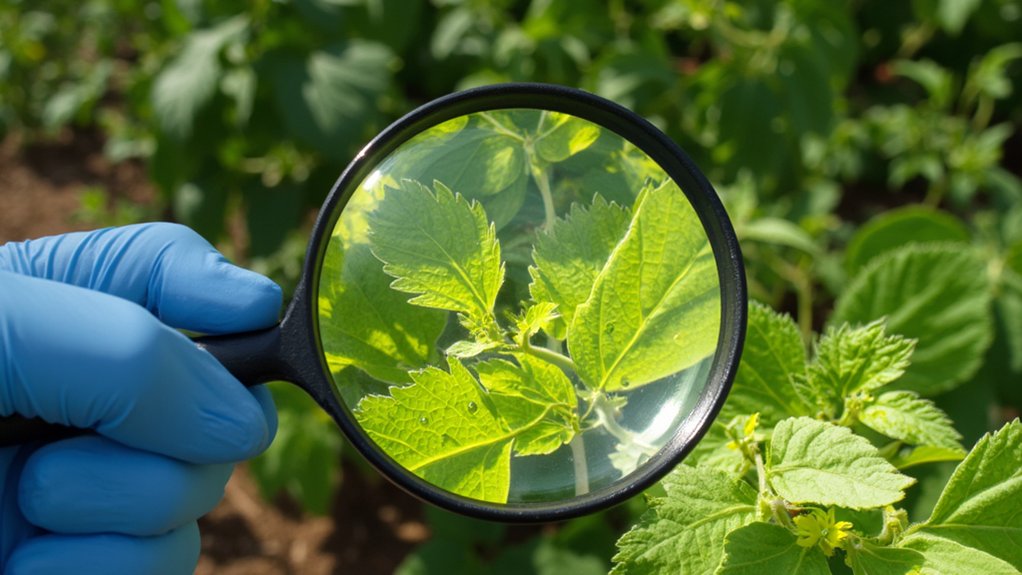
Hey, let’s plunge into inspecting your plant leaves daily, a key step to keeping pests at bay. Grab a magnifying glass, if you’ve got one, and head out early. Morning light, around 7-8 AM, helps you see tiny critters.
Start at the base of each plant, checking the undersides of leaves first. Pests often hide there, away from plain sight. Look for sticky residue or unusual discoloration, as these can signal trouble. Spend about 5 minutes per plant, ensuring you don’t rush.
Move systematically, from one leaf to the next, top to bottom. If something looks off, note it down. Check every day, without fail, to catch issues early. Consistency, trust me, is your best defense against sneaky invaders.
Spotting Tiny Holes

Let’s zero in on spotting tiny holes, a telltale sign of pest damage on your plants. You’ve gotta check leaves closely, especially under bright light. Hold each leaf up, and look for pinprick-sized holes, often smaller than 1/8 inch.
These tiny punctures usually mean insects like flea beetles or aphids are munching away. Get yourself a magnifying glass if needed, and inspect both sides of the leaf. Focus on new growth first, since pests often target tender areas.
Don’t ignore clustered holes or patterns; they’re a big clue. If you spot any, act fast—check nearby plants too, within a day or two. Catching these early, ideally within 48 hours, helps stop the spread before your garden’s in real trouble.
Checking Soil Moisture
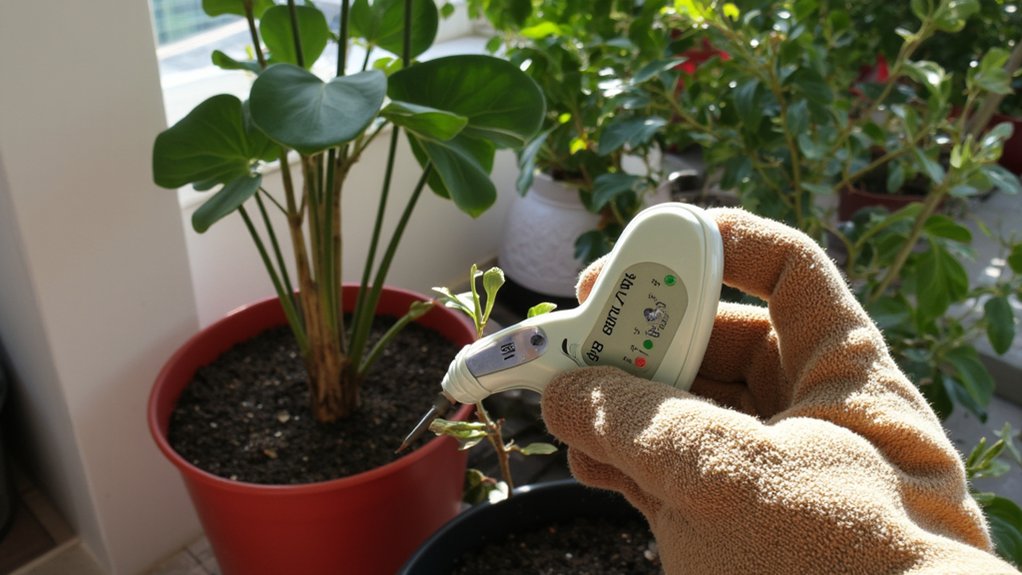
Anyone can overlook soil moisture, but it’s a key factor in keeping pests at bay. Pests often thrive in overly wet or bone-dry soil, so you’ve gotta get this right. Check your soil weekly, alright?
Stick your finger about 2 inches deep into the dirt near the plant’s base. If it feels soggy, hold off on watering for a few days, maybe 3-5, depending on the weather. Dry and crumbly? Water it slowly until the top inch feels moist, not drenched.
Use a moisture meter if you’re unsure—aim for a reading between 3 and 5 on most scales. Consistent moisture, not extremes, discourages pests from settling in. Keep at it, and you’ll spot issues before they spiral out of control.
Monitoring Stem Discoloration
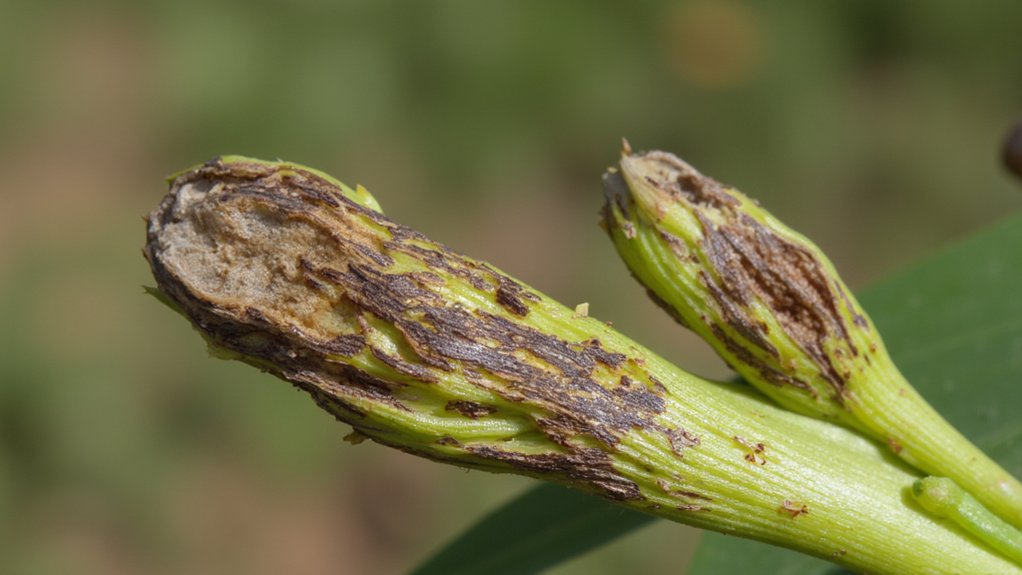
While soil moisture sets the foundation, don’t ignore the stems of your plants when hunting for pest clues. Stems can reveal sneaky pest damage, often before it’s too late. Grab a magnifying glass and inspect them closely, especially near the base.
Look for discoloration—brown, black, or gray patches that shouldn’t be there. These could signal pests like borers or fungal issues tied to infestations. Check a 2- to 3-inch section daily, focusing on unusual spots or soft, mushy areas. If you spot something odd, gently scrape the surface with a fingernail to see if it’s just dirt or deeper damage.
Note the location and size, maybe even snap a photo. This’ll help you track changes over a week and decide your next move fast.
Examining Underside Leaves
After checking the stems, turn your attention to the underside of your plant’s leaves for hidden pest activity. Pests like aphids and spider mites love hiding there, out of sight. Grab a magnifying glass if you’ve got one, and inspect closely.
Flip each leaf gently, focusing on the veins and edges where bugs often cluster. Look for tiny specks, webbing, or even small holes—signs of trouble. If you spot anything odd, note the leaf’s location for follow-up.
Check at least once a week, ideally in the early morning when pests are less active. Spend about 5-10 minutes per plant, ensuring you cover every inch. This habit catches issues before they spread, keeping your greenery safe and thriving.
Noticing Sticky Residue
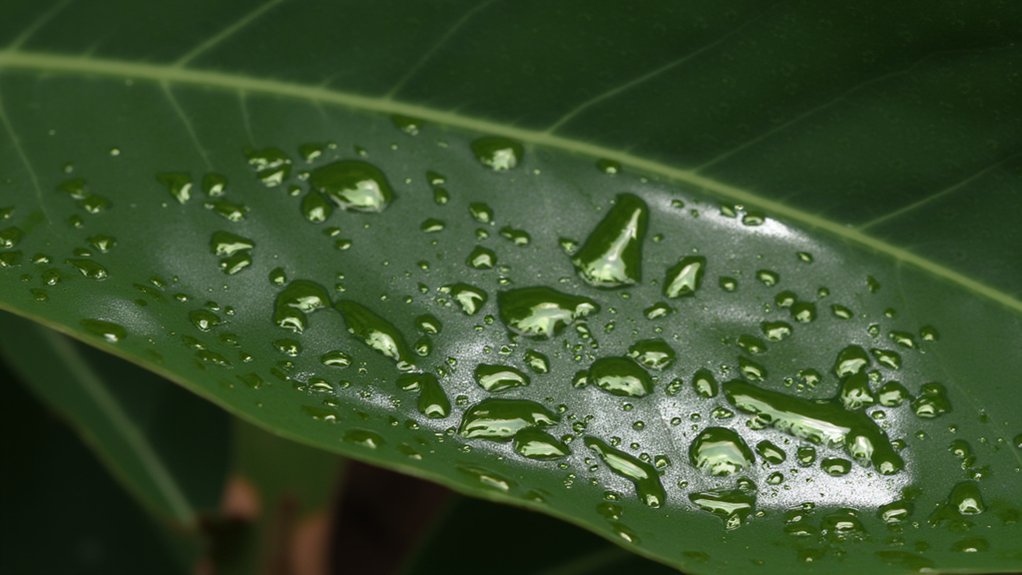
Ever notice a weird, sticky film on your plant’s leaves or nearby surfaces? That’s likely honeydew, a sugary secretion from pests like aphids or scale insects. It’s a telltale sign they’re feeding on your plant’s sap.
Check closely for this residue, especially on the upper leaves or even under pots. If you see a shiny, tacky layer—sometimes just 1-2 millimeters thick—act fast. Wipe it off with a damp cloth soaked in mild soapy water, about a teaspoon of soap per cup.
Rinse after 5 minutes to avoid buildup. Keep inspecting daily for a week; honeydew attracts ants and mold. If it persists, you’ve got an active infestation. Tackle the pests next with targeted solutions.
Detecting Unusual Wilting
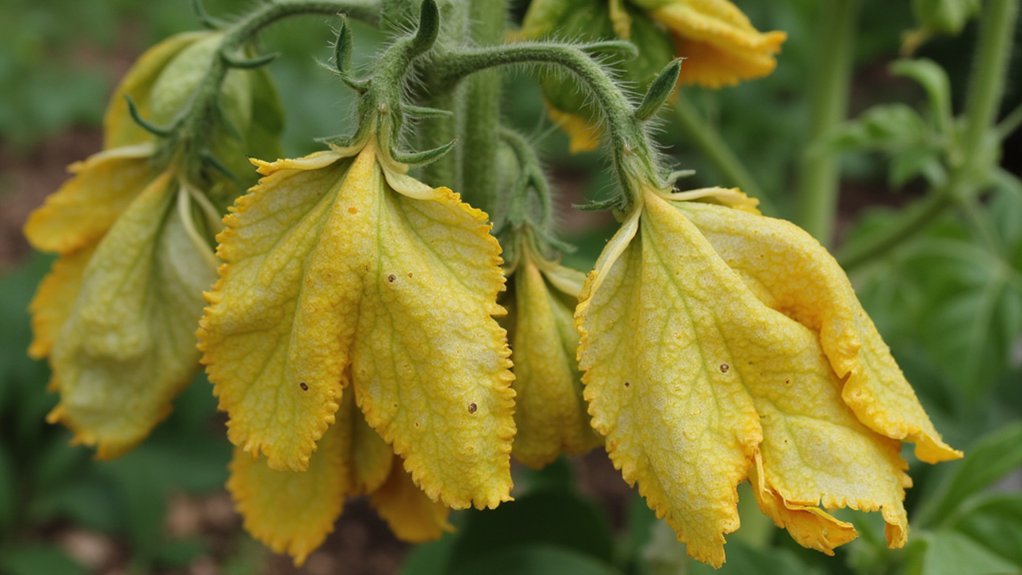
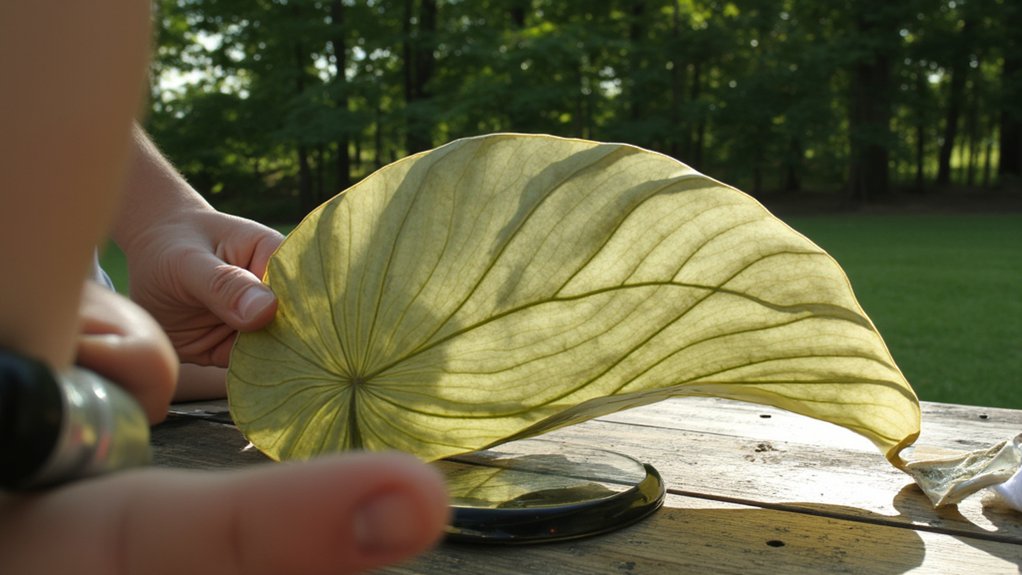
How can you spot trouble when your plants start looking droopy? First, check if the wilting happens unevenly across the plant. Pests often target specific areas, so you’ll see some leaves sagging while others stay perky. Look closely at the undersides of leaves for tiny bugs or webbing.
Next, inspect the soil moisture with your finger, about 1-2 inches deep. If it’s damp but the plant still droops, pests might be at work, not drought. Examine stems for discoloration or tiny bite marks, as these can signal hidden damage. Act fast—check daily for changes, especially in the early morning when wilting often shows first. Catching these signs within 48 hours can save your plant from serious harm.
Observing Plant Growth Stunting
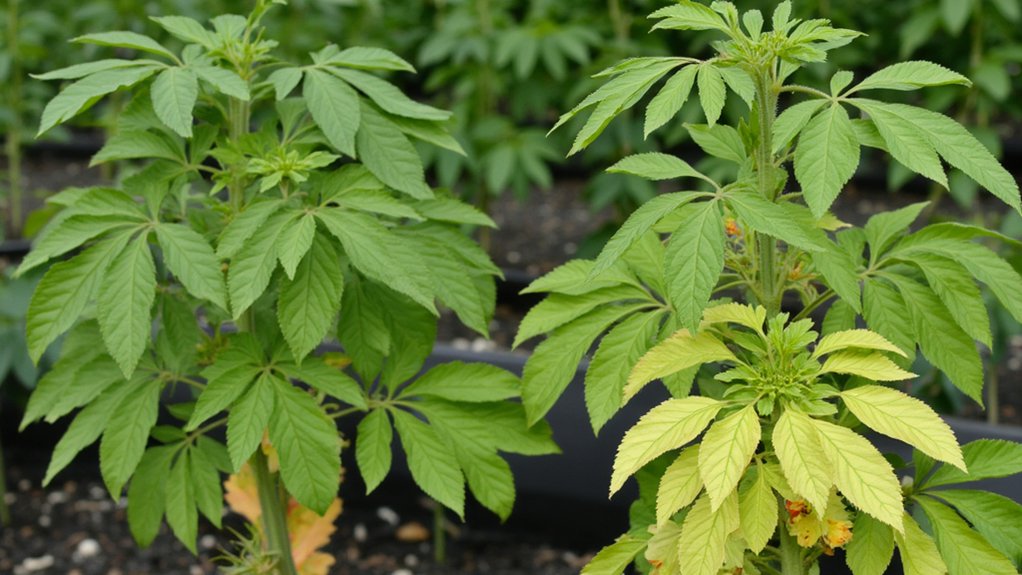
Spotting growth stunting in your plants can be a subtle challenge, but it’s crucial. Pests can sap nutrients, slowing growth noticeably. Look for plants that aren’t reaching expected heights, like tomatoes stuck under 12 inches after a month.
Check weekly for uneven development, especially in new leaves or stems. If your plant’s growth halts, measure it against a healthy one nearby. A difference of 3-5 inches in similar plants often signals trouble, likely from hidden pests.
Don’t ignore the lower leaves; inspect them closely for tiny bite marks or discoloration. These clues, though small, point to pests interfering with growth. Act fast—remove affected parts, and monitor daily for changes. You’ve got this; just stay observant!
Identifying Webbing Presence
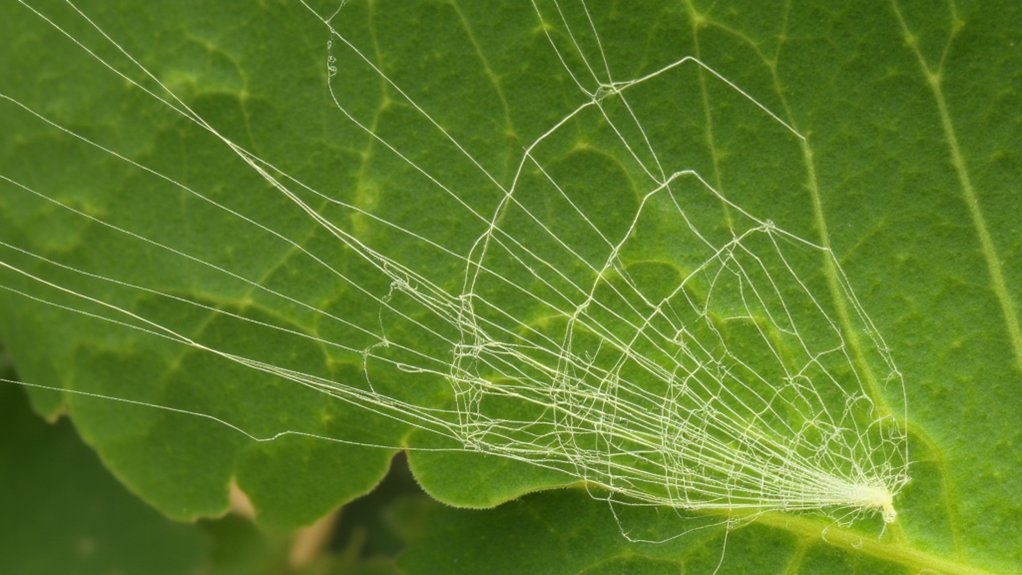
Wondering what else to check for when pests invade your garden? Look closely for webbing, a sneaky sign of trouble. Spider mites and other pests often leave silky threads on leaves or stems, especially in hidden spots.
Start your inspection under the leaves, where webbing usually appears first. Use a magnifying glass if you’ve got one; these threads can be finer than a human hair, sometimes spanning just 1-2 millimeters. Check near leaf joints or along edges for sticky, web-like patches.
Don’t ignore the plant’s base either. Pests can weave their mess there, often within a week of infestation. If you spot any, act fast—rinse the area with water or wipe it gently with a cloth to disrupt their hideout.

Curious about what else pests might be hiding in your garden? Well, let’s talk about detecting hidden eggs, a sneaky pest tactic. Pests like aphids and moths often lay eggs under leaves or in soil crevices, out of plain sight.
Start by inspecting the undersides of leaves, using a magnifying glass if you’ve got one. Look for tiny, oval shapes, often white or yellowish, about 1-2 millimeters long. Check daily, especially in spring, when egg-laying peaks.
Next, dig gently around plant bases, no deeper than an inch, to spot buried clusters. If you find any, remove them with a small brush or gloved hand. Don’t wait—act fast to stop hatching, which can happen within 7-10 days. You’ve got this!