The beauty of an orchid plant is undeniable. With their delicate blooms and vibrant colors, they can be a stunning addition to any home. But, if you’re an orchid enthusiast, you know that caring for these plants can be a tricky endeavor. One of the most difficult aspects of orchid care is learning how to repot orchids with air roots.
If you’re an orchid lover who’s struggling to understand how and when to repot orchids with air roots, you’re not alone. Many novices and expert orchid growers alike grapple with the same issue. Fortunately, repotting orchids with air roots doesn’t have to be a complicated task.
In this article, you’ll learn the steps for successfully repotting orchids with air roots. With the right knowledge and expertise, you can ensure your orchid stays healthy and happy for years to come.
Contents
How To Repot Orchids With Air Roots
1. Gather Materials
- A new pot with drainage holes
- Orchid potting mix or a mix of bark chips and sphagnum moss
- Scissors or a sharp knife
- A clean cloth or paper towels
- A plastic or wooden skewer or a toothpick
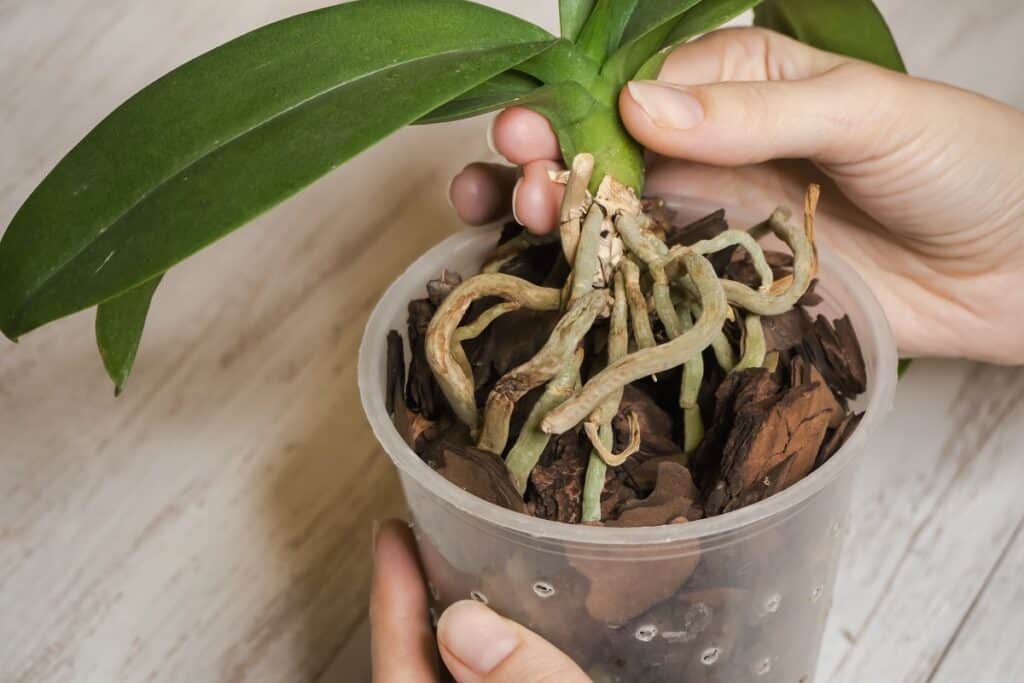
2. Remove The Orchid From Its Old Pot
- Start by gently turning the pot upside down and carefully shaking the orchid out of the pot. Be careful not to damage the roots.
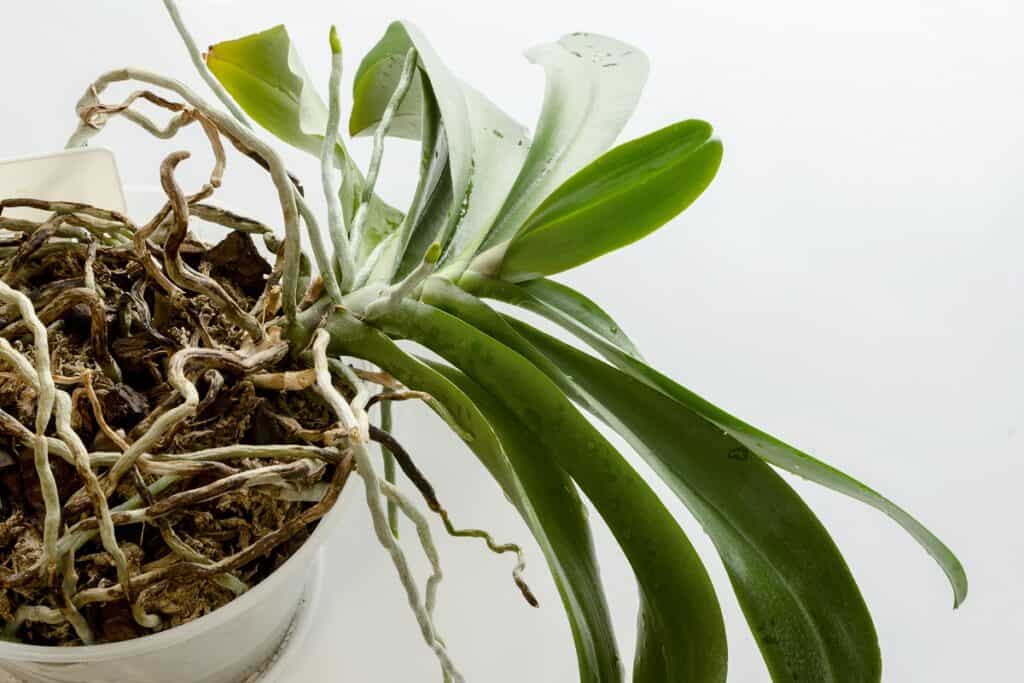
3. Remove the Old Potting Medium
- Once the orchid is out of the pot, gently remove any old potting medium that is still attached to the roots. This can be done by gently shaking the roots or using your fingers to loosen and remove the potting medium.
4. Rinse and Soak the Orchid Roots
- Next, rinse the roots of the orchid under lukewarm water to remove any remaining potting medium and debris.
- Once the roots are clean, soak them in a bowl of lukewarm water for about 15-30 minutes. This will help to hydrate the roots and make them more pliable, which will make it easier to handle them when repotting.
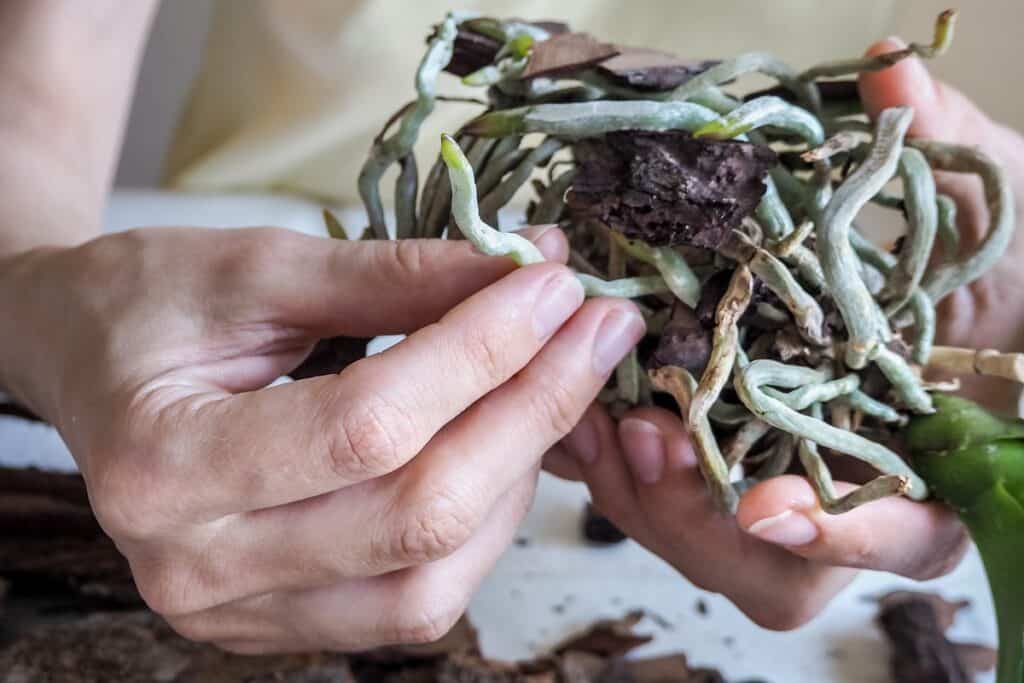
5. Trim Dead and Rotting Roots
- After soaking the orchid roots, carefully examine them for any dead or rotting roots. These roots should be trimmed off with scissors or a sharp knife. Make sure to cut as close to the base of the root as possible without damaging any healthy roots.
6. Sterilize the Orchid Roots
- To prevent the spread of any infections or diseases, it is a good idea to sterilize the roots of the orchid before repotting. This can be done by dipping the roots in a solution of one part water and one part hydrogen peroxide for a few minutes. Rinse the roots thoroughly with clean water after sterilizing to remove any excess solution.
7. Place Orchid In New Pot
- Once the roots are clean, trimmed, and sterilized, it is time to repot the orchid. Fill the new pot with orchid potting mix or a mix of bark chips and sphagnum moss.
- Gently place the orchid in the pot, making sure that the roots are evenly distributed and not crowded. If the orchid has any air roots, these can be placed on top of the potting mix.
- Once the orchid is in the pot, gently pack the potting mix around the roots to secure the plant in place. Water the orchid well to help settle the potting mix and hydrate the roots.
How Often To Repot Orchids With Air Roots?
The frequency of repotting orchids with air roots depends on the specific needs of the plant and the potting mix it is growing in. In general, orchids should be repotted every one to three years, or whenever the potting mix starts to break down or become compacted. Orchids with air roots may need to be repotted more frequently than other orchids, as these roots may not have access to the same nutrients and moisture as roots growing in the potting mix.
If the orchid is growing in a potting mix that is well-draining and providing sufficient water and nutrients, it may not need to be repotted as frequently. However, if the orchid is showing signs of stress, such as wilting or yellowing leaves, or if it has a large number of air roots, it may be time to repot the plant.
When repotting an orchid with air roots, it is important to use a potting mix that is well-draining and will not retain too much moisture. A mix of bark chips and sphagnum moss is a good option for orchids with air roots, as it provides good drainage and allows the roots to absorb moisture and nutrients from the air. It is also important to choose a pot that is the appropriate size for the plant, as an orchid that is pot-bound or crowded in a small pot may be more prone to stress and the development of air roots.
In summary, the frequency of repotting orchids with air roots will depend on the specific needs of the plant and the potting mix it is growing in. It is important to monitor the health of the orchid and repot the plant as needed to ensure that it has the proper environment and nutrients to thrive.
Related Post:
How To Water Orchids In Moss
Frequently Asked Questions
What do I do with air roots on my orchid?
Air roots are roots that grow above the potting mix and do not have a root system in the soil. These roots are often seen as a sign of stress in the plant and can indicate that the orchid is not getting enough water or nutrients.
When repotting an orchid with air roots, it is important to handle them carefully and avoid damaging them. These roots can be left on the plant or trimmed off, depending on the health of the orchid. If the air roots are healthy and green, they can be left on the plant and placed on top of the potting mix when repotting. If the air roots are brown or withered, they should be trimmed off.
What do you soak orchid roots in before repotting?
Before repotting an orchid, it is a good idea to soak the roots in lukewarm water for about 15-30 minutes. This will help to hydrate the roots and make them more pliable, which will make it easier to handle them when repotting. Soaking the roots in water can also help to remove any remaining potting medium or debris that may be stuck to the roots. After soaking the roots, it is important to rinse them thoroughly with clean water to remove any excess dirt or debris.
Why is my orchid growing so many air roots?
Orchids may grow air roots for a variety of reasons, including stress, insufficient water or nutrients, or a lack of humidity. If an orchid is not getting enough water or nutrients, it may start to grow air roots as a way to try and find a source of moisture or nutrients. Similarly, if the humidity is too low, an orchid may start to grow air roots in an attempt to absorb more moisture from the air. In some cases, air roots may also be a natural part of the orchid’s growth and development.
Should you cut off orchid air roots?
Whether or not to cut off orchid air roots depends on the health of the roots and the overall health of the plant. If the air roots are healthy and green, they can be left on the plant and placed on top of the potting mix when repotting. These roots can help the orchid absorb moisture and nutrients from the air. However, if the air roots are brown or withered, they should be trimmed off as they are not providing any benefit to the plant. It is important to carefully assess the health of the air roots before deciding whether to leave them on the plant or trim them off.
Can an orchid have too many air roots?
While air roots can be a natural part of an orchid’s growth and development, having too many air roots can indicate that the plant is stressed or not getting enough water or nutrients. If an orchid has a large number of air roots, it is important to carefully assess the overall health of the plant and take steps to address any issues that may be causing stress.
This may include adjusting the watering and fertilizing schedule, increasing the humidity, or repotting the orchid in a potting mix that is better suited to its needs. It is important to remember that every orchid is different and the specific needs of each plant may vary, so it is important to monitor the plant closely and make adjustments as needed.
Conclusion
In conclusion, repotting orchids with air roots is a relatively simple process and can be done by even the most novice gardeners. It is important to remember to use a well-draining potting mix and an appropriately-sized pot, and to monitor the health of the orchid and repot as needed to ensure that it has the proper environment and nutrients. By following the steps outlined in this article, you can ensure that your orchid survives the repotting process and continues to thrive.