Watering orchids in moss is a great way to ensure that the orchid is getting the hydration it needs to thrive. In addition to providing hydration, moss also helps to maintain humidity levels to keep the orchid in optimal health. However, some people may be unsure of how to go about watering an orchid in moss. Have you ever wondered how to water orchids in moss?
The first step in watering an orchid in moss is to make sure the moss is damp but not saturated. If the moss is too wet, it can cause the orchid’s roots to rot. To ensure the moss is damp, water it lightly and wait for the water to absorb into the moss before adding more. Then, fill a container with lukewarm water and submerge the moss-covered pot in the water.
Types Of Moss For Orchid Care
Moss is an important part of orchid care, as it retains moisture in the potting mix and helps to keep the orchid’s roots healthy. There are many types of moss that can be used for orchid care, including sphagnum moss, long-fibered sphagnum moss, and sheet moss. Each type has its own unique properties and benefits.
Sphagnum moss is a popular choice for orchid care, as it is lightweight and easy to work with. It is an excellent source of moisture, and it also provides aeration to the orchid’s roots. Additionally, sphagnum moss is naturally acidic, which helps to keep the orchid’s soil pH levels balanced.
Long-fibered sphagnum moss is similar to regular sphagnum moss in that it helps to retain moisture and provide aeration, but it also contains higher levels of nutrients that can be beneficial to the orchid’s health. Long-fibered sphagnum moss is also less likely to compact, which can help to keep the orchid’s roots from becoming waterlogged.
Sheet moss is another type of moss that is often used for orchid care. It is a lightweight, fibrous moss that is easy to work with and can help to retain moisture in the potting mix. Sheet moss also helps to keep the orchid’s roots aerated, and it can help to keep the orchid’s soil pH levels balanced.
No matter which type of moss you choose, it’s important to ensure that the moss is free of pests and diseases before adding it to the orchid’s potting mix.
Preparing And Dampening The Moss
The second step in watering an orchid in moss is to prepare and dampen the moss. Moss provides the orchid with an environment that has the right moisture and aeration balance, which is essential for the health of the plant.
To prepare the moss, it should be soaked in water for about fifteen minutes. This will help to get rid of any dust or debris that may be present. After it has been soaked, the moss should be squeezed out until it is damp but not dripping. If the moss is too wet, it can lead to root rot or other problems.
Once the moss is damp, it should be placed in a container that is slightly bigger than the root system of the orchid. The container should be filled with the damp moss until it is level with the top of the orchid’s root system. It is important to make sure that the moss is spread evenly throughout the container so that the roots of the orchid are supported.
Finally, the container should be covered with a plastic bag to help retain moisture. The bag should be secured around the rim of the container so that it does not slip off. Once the moss has been dampened and prepared, the orchid can be placed in the container and watered as needed.
Potting The Orchid In Moss
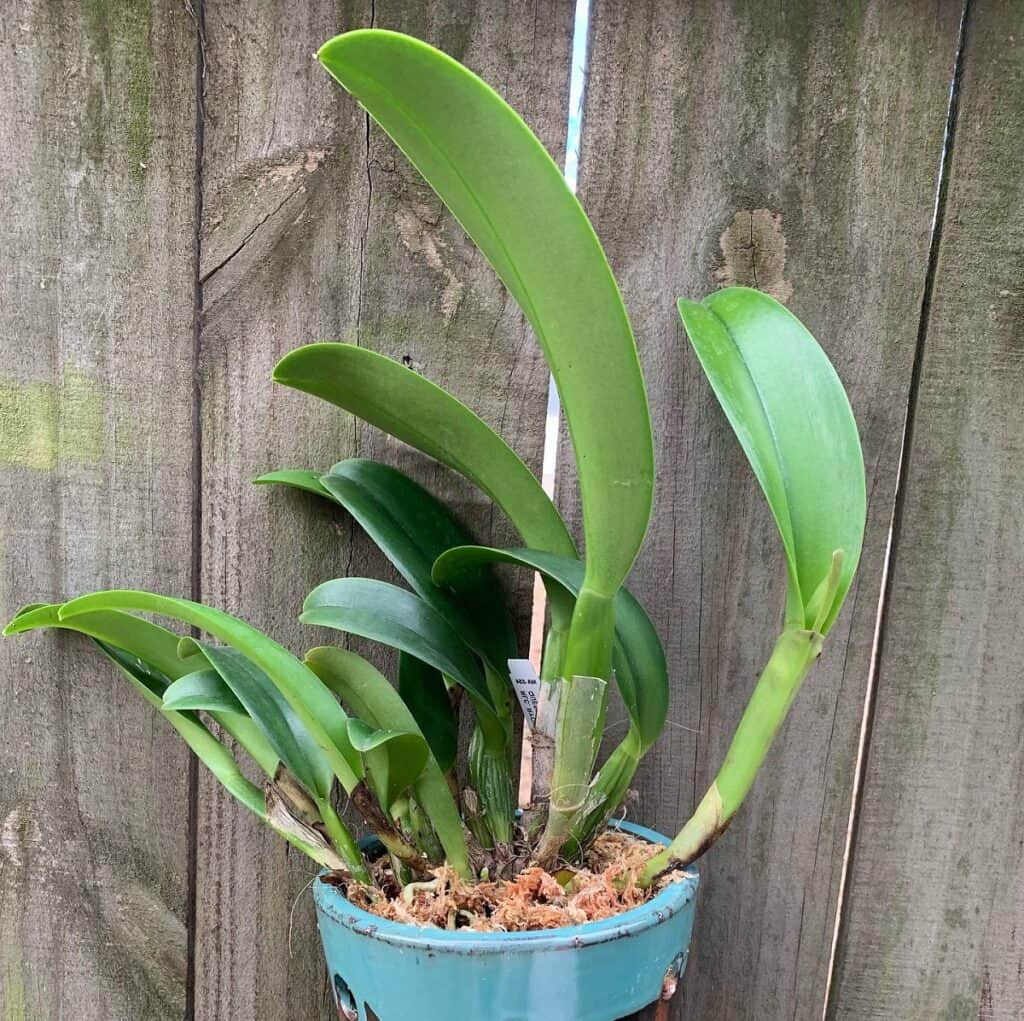
When it comes to potting the orchid in moss, the goal is to create a moist environment that will help the orchid to thrive. The most important thing to remember is to use a potting medium that is designed specifically for orchids, such as sphagnum moss.
The first step is to fill the pot with the moss, leaving about an inch of space between the top of the pot and the moss. Once the pot is filled, make sure to press the moss down firmly so that it is evenly distributed. This will ensure that the orchid is able to get sufficient moisture.
Next, place the orchid into the pot of moss. Make sure to position it in the center and then lightly press the moss around the roots to secure the plant in place. Once the orchid is firmly planted, water the moss until it is damp but not saturated.
Finally, make sure to place the pot in an area with bright, indirect light. This will help to ensure that the orchid is able to get sufficient sunlight without becoming too hot or dry. With proper care and attention, your orchid should be able to flourish in its new home.
How To Water Orchids In Moss
Watering an orchid in moss is a great way to keep your plant healthy and thriving. Water the moss until it is completely saturated and then allow it to drain. Be sure that the roots of the orchid are completely covered by the moss. You will want to water your orchid in moss once a week, depending on the type of orchid and the type of moss that you are using.
When you are watering your orchid in moss, you will want to make sure that you are using lukewarm water. Orchids prefer lukewarm water over cold water, as cold water can shock their system. You will also want to use distilled water, as tap water can contain minerals that can be harmful to the orchid.
Finally, you will want to monitor your orchid carefully to ensure that the moss is not completely dry or overly wet. You will want to keep the moss damp but not overly wet. If the moss is too wet, it may cause root rot. If the moss is too dry, the orchid may not be able to absorb the necessary moisture for healthy growth.
How To Fertilize An Orchid In Moss
Fertilizing an orchid in moss is an important part of keeping it healthy and happy. A good fertilizer will provide the plant with the proper nutrients and minerals it needs to stay healthy and bloom. There are a few different methods to fertilize an orchid in moss, depending on the type of orchid and the kind of moss you are using.
The most common way to fertilize an orchid in moss is to use a balanced liquid fertilizer. This type of fertilizer contains all the necessary nutrients the orchid needs, including nitrogen, phosphorous, and potassium. It should be applied to the moss once a month, or as directed by the fertilizer label. The fertilizer should be diluted at a ratio of one part fertilizer to three parts water. Care should be taken to not over-fertilize, as this can damage the roots and leaves of the orchid.
Another way to fertilize an orchid in moss is to use a slow-release fertilizer. This type of fertilizer slowly releases nutrients over a period of time, providing the orchid with a steady supply of nutrients. It is usually applied to the moss in granule form and should be applied at the rate directed on the fertilizer package.
Finally, some people choose to use organic fertilizer to feed their orchids. This type of fertilizer is made from natural sources, such as compost, manure, or fish emulsion. Organic fertilizers are great because they provide the orchid with a steady supply of nutrients without the risk of over-fertilizing. Organic fertilizers should be applied at the rate directed on the package.
No matter which type of fertilizer you choose to use, it is important to remember to fertilize your orchid in moss regularly. This will ensure that your orchid has the necessary nutrients to stay healthy and bloom
Troubleshooting Common Problems With Orchids In Moss

Orchids are a popular houseplant, but sometimes the moss in which they are grown can cause issues. Here are some common problems to watch out for when growing orchids in moss.
1. Root rot
This occurs when the moss is kept too wet, which can cause the orchid’s roots to become waterlogged and start to rot. To prevent this, make sure to water your orchid in moss only when the top of the moss is dry.
2. Pests
Another common issue is that moss can become infested with pests such as mites and aphids. These can be difficult to spot, but if you notice any unusual spots or discolorations on the orchid leaves, it’s possible that pests have made their way in. Regularly checking for pests and treating the moss with a suitable insecticide can help to keep them at bay.
3. Too much fertilizer
Thirdly, moss can sometimes contain too much fertilizer. This can be toxic to the orchid and can cause the leaves to become yellow and wilted. To avoid this, make sure to use moss with a low fertilizer content or one that has been washed and dried.
4. Compact roots
Finally, if the moss around the orchid becomes matted and compacted, it can restrict the roots from taking in the water and nutrients they need. To prevent this, make sure to aerate the moss regularly and loosen it up with a fork or stick.
By being aware of these common orchid-in-moss problems and taking the necessary precautions, you can ensure that your orchids are kept healthy and thriving.
Frequently Asked Questions
How Often Should I Water My Orchid In Moss?
When caring for an orchid in moss, it is important to consider how often the orchid should be watered. Properly watering an orchid in moss is essential to keeping the plant healthy and happy.
For an orchid in moss, it is best to water it once a week. However, the frequency of watering may vary depending on the plant’s specific needs and the environment it is kept. During the growing season, the orchid may need to be watered more frequently than in the winter. Additionally, if the moss is kept in a warm, sunny spot, it will likely require additional water.
When watering an orchid in moss, it is important to make sure the moss is thoroughly soaked. For best results, the moss should be soaked in a bucket of lukewarm water until it has released all of its air bubbles. Once the moss has been saturated, the excess water should be discarded.
Finally, it is important to monitor the moisture of the moss to ensure that it is neither too dry nor too wet. To do this, check the moss every few days and assess how wet or dry it feels beneath the surface. If the moss feels dry, it is time to water the orchid. If the moss feels overly wet, it is best to wait a few days before watering again.
How Much Water Is Necessary When Watering An Orchid In Moss?
To determine how much water is necessary, it is important to know the size of the orchid and the type of moss. For small orchids, it is best to use about one cup of water for every five gallons of moss, while for large orchids, it is best to use about two cups of water for every five gallons of moss. For orchids in sphagnum moss, it is best to use slightly less water than for orchids in other types of moss.
It is also important to monitor how much water is being used and how quickly it is being absorbed by the moss. If the moss is quickly absorbing the water, then more water may be necessary. If the moss is not absorbing the water or is taking too long to absorb it, then the amount of water should be reduced.
Finally, it is important to remember that it is always better to underwater rather than overwater an orchid in moss. Too much water can cause the roots of the orchid to rot, which can lead to serious damage or even death of the orchid. Therefore, it is best to err on the side of caution when it comes to determining how much water is necessary for an orchid in moss.
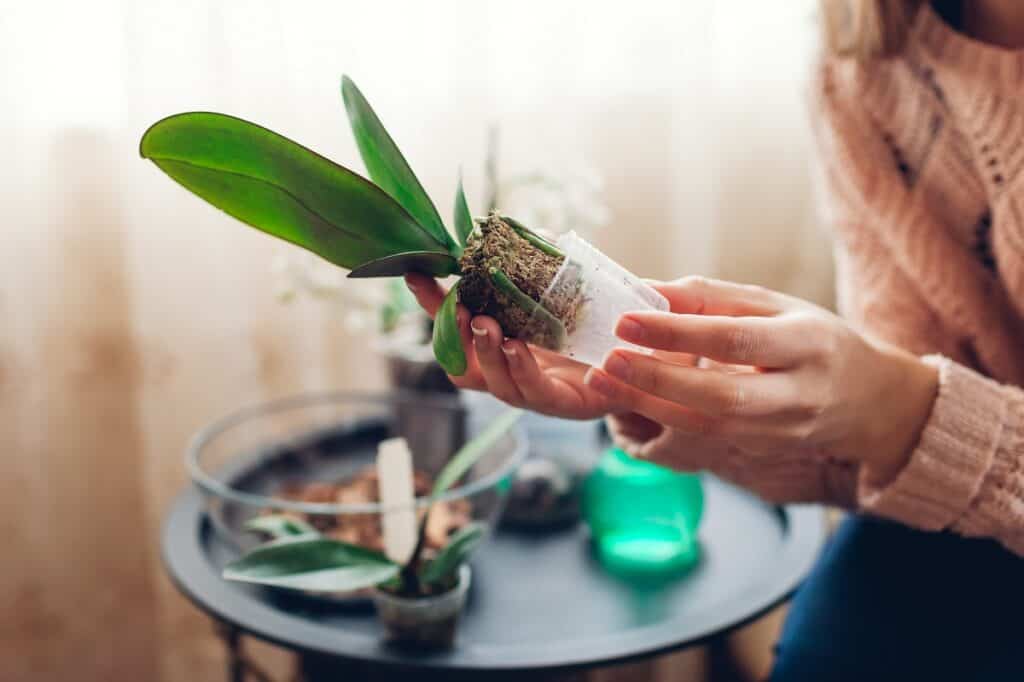
Do I Need To Repot My Orchid When Using Moss?
Repotting your orchid is an important step when using moss as a growing medium, but it is not always necessary. If your orchid is in a pot that has adequate drainage, has plenty of room at the top for moss, and is not too small or too large for the size of the orchid, then you may be able to use the existing pot.
If the pot is too small, it can be difficult for the orchid to take in enough water and nutrients, leading to poor growth and health. If it is too big, the potting mix may become soggy and water-logged, causing root rot. In either case, it is best to repot your orchid.
When repotting, use a pot that is just slightly larger than the current one. Make sure that the pot has drainage holes in the bottom and is specifically made for orchids. Place some sphagnum moss in the bottom of the pot and then add a layer of your preferred potting mix. Place the orchid in the pot and then fill in around the sides and top with extra potting mix, making sure to leave enough room for the moss to be added.
Once the potting mix has been added, gently place a layer of moss on top, making sure to leave some space around the edges for air circulation. Water your orchid and then monitor the moisture level of the moss. If the moss feels dry, add a bit more water, but be careful not to over-water it. With the right care, your orchid should thrive in its new moss-filled home.
Are There Any Special Techniques I Should Use When Watering An Orchid In Moss?
When it comes to watering an orchid in moss, there are a few special techniques that should be used to ensure the health and longevity of the orchid. Firstly, it is important to ensure that only rainwater or distilled water is used when watering an orchid in moss. This is because water from the tap can contain chemicals and minerals that can be harmful to the orchid. Secondly, it is important to water the orchid evenly, making sure that all parts of the moss are adequately hydrated. Orchids planted in moss should be watered less often than those planted in soil, as moss retains more water.
Another technique that can be used is to water from the bottom. This prevents water from collecting on the leaves of the orchid and potentially rotting the plant. Fill a bowl or tray with water and place the moss pot in it for a few minutes, allowing the roots to soak up the water. When the pot is sufficiently moist, remove it from the bowl or tray and allow any excess water to drain away.
Finally, it is important to remember to not over-water the orchid. Over-watering can cause root rot, which can be fatal for the plant. To avoid this, allow the top layer of the moss to dry out before watering again. If the moss feels very wet, wait until it feels slightly dry before watering again.
Conclusion
In conclusion, it is clear that the best way to water an orchid in moss is to keep the moss consistently moist, but not saturated. By following the steps outlined in this article, you will be able to keep your orchid in good health. Make sure to monitor the orchid for signs of distress and adjust your watering schedule accordingly. In the end, the best way to ensure the health of your orchid is to give it the proper care it needs.