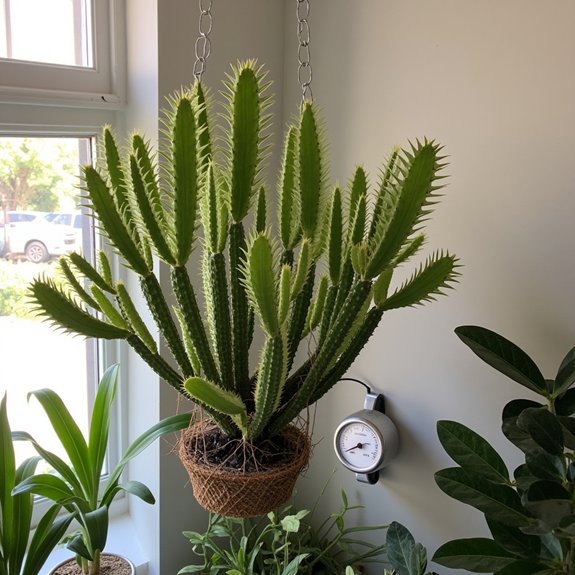
Picture a zigzag masterpiece cascading from your favorite hanging spot, its fishbone-shaped stems creating natural art that’d make your neighbors pause mid-step. You’ve probably admired this stunning epiphyte at the garden center, but bringing one home means understanding its jungle origins and specific care requirements. Unlike typical desert cacti, this beauty demands a completely different approach to watering, light exposure, and soil composition that’ll either make or break your growing success.
Contents
- 1 Understanding the Fishbone Cactus: A Unique Jungle Epiphyte
- 2 Light and Location Requirements for Optimal Growth
- 3 Watering Techniques and Moisture Management
- 4 Soil Mix and Drainage Essentials
- 5 Temperature, Humidity, and Environmental Conditions
- 6 Fertilizing Schedule and Nutrient Needs
- 7 Propagation Methods and Repotting Guidelines
- 8 Troubleshooting Common Care Issues and Plant Problems
Understanding the Fishbone Cactus: A Unique Jungle Epiphyte
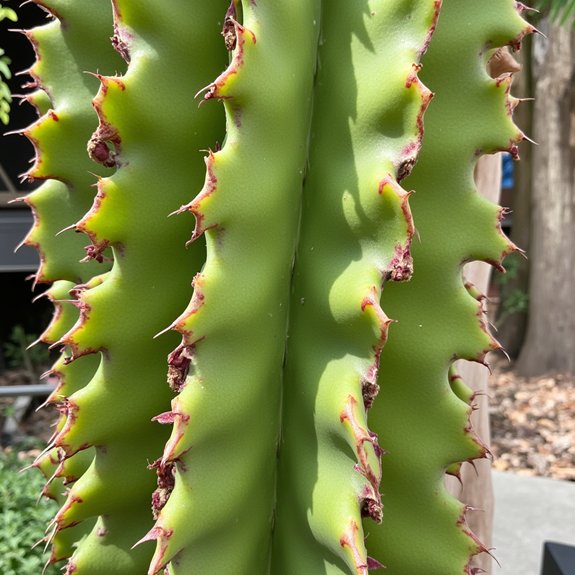
When you first encounter a fishbone cactus, you might wonder how this peculiar plant earned its name. Look closely at those angular, zigzag leaves with their distinctive alternating bumps, and you’ll see the resemblance to a fish skeleton. This fascinating specimen, scientifically known as Epiphyllum anguliger, breaks every rule you know about cacti.
Unlike desert dwellers, this Mexican native grows as an epiphyte in jungle canopies. Its aerial roots cling to trees, absorbing moisture from humid air. Understanding fishbone cactus history reveals its unique adaptation, while exploring fishbone cactus varieties shows remarkable diversity within this genus.
Light and Location Requirements for Optimal Growth
Unlike their desert cousins that crave blazing sunlight, fishbone cacti thrive in bright, indirect light that mimics their natural jungle canopy habitat. You’ll want to position yours near an east-facing window where it’ll receive gentle morning sun, then filtered light throughout the day.
Light intensity matters more than duration—too much direct sunlight creates brown patches and stunted growth. For ideal placement, choose spots 3-6 feet from south or west windows, or directly in north-facing ones. If your plant develops thin, stretched stems, it’s reaching for more light and needs repositioning closer to your brightest indirect source.
Watering Techniques and Moisture Management
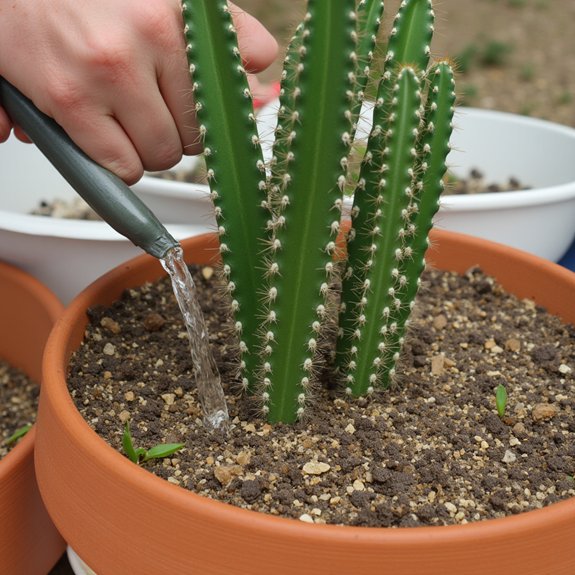
After finding the perfect bright spot for your fishbone cactus, mastering its watering schedule becomes your next priority. Check soil moisture by inserting your finger one inch deep—if it’s dry, it’s time to water. Your watering frequency should be every 7-10 days during growing season, less in winter.
Pour water slowly until it drains from the bottom holes, ensuring thorough saturation. The loose, airy soil mix provides excellent moisture retention without becoming soggy. Underwatering causes wrinkled leaves, while overwatering leads to root rot—a more serious problem for these jungle epiphytes.
Soil Mix and Drainage Essentials
Since your fishbone cactus grows as an epiphyte in nature, it demands a specialized soil mix that mimics its jungle environment. Standard potting soil won’t cut it—it’s too dense and retains moisture.
Your best bet is a premixed orchid mix, which provides excellent aeration. Alternatively, use well-draining succulent mix amended with coconut coir, bark chips, and perlite. This soil composition guarantees proper root health.
Drainage techniques are vital for success. Choose containers with drainage holes, and never let water pool at the bottom. The soil should feel loose and airy between your fingers.
Temperature, Humidity, and Environmental Conditions
While most cacti tolerate temperature swings, your fishbone cactus needs consistent warmth to thrive indoors. Keep temperatures above 65°F year-round for ideal growth. Your plant can survive slightly below 50°F, but prolonged cold exposure causes permanent damage.
High humidity levels around 60% are essential for healthy growth. If your indoor humidity drops below 40%, you’ll notice stressed, wrinkled leaves. Combat dry air with a humidifier or regular misting around the plant.
Avoid placing your fishbone cactus near heating vents, air conditioners, or drafty windows. These temperature fluctuations stress the plant, leading to poor growth and potential leaf drop.
Fertilizing Schedule and Nutrient Needs
Moderation becomes your best friend when feeding your fishbone cactus. These jungle dwellers need surprisingly little nutrition compared to typical houseplants. Feed once yearly in early spring using liquid cactus fertilizer at full strength.
Different fertilizer types work well, including balanced 10-10-10 or specialized cactus formulas. If your plant struggles mid-summer, apply half-strength liquid fertilizer as a boost. Watch for nutrient deficiency signs like yellowing leaves, weak stems, or poor growth.
Over-fertilizing causes more problems than under-fertilizing. Fresh, nutrient-dense soil during repotting often eliminates the need for additional feeding.
Propagation Methods and Repotting Guidelines
Although fishbone cacti require minimal care, they reward you with incredibly easy propagation that turns one plant into many. Cut 4-5 inch segments in early spring, then let them dry for several days before planting. These propagation techniques work best in equal parts coconut coir and perlite. Water sparingly after planting to prevent rot.
Repotting timing matters every 2-3 years when roots emerge from drainage holes. Choose containers one size larger, gently teasing roots during removal. Fresh, nutrient-dense soil often eliminates fertilizing needs. Signs include leaf discoloration and cramped root systems requiring immediate attention.
Troubleshooting Common Care Issues and Plant Problems
Even the most well-intentioned fishbone cactus care can go awry, leaving you puzzled by brown patches, wrinkled leaves, or stunted growth. Direct sunlight creates brown, scorched patches, so relocate your plant to bright, indirect light immediately. Wrinkled leaves signal underwatering – water thoroughly and maintain consistent moisture checks.
Leaf discoloration often indicates overwatering or poor drainage. Check roots for rot, repot if necessary using well-draining soil. For pest management, inspect regularly for spider mites or scale insects. Wipe leaves with diluted rubbing alcohol if pests appear. Low humidity causes stunted growth, so maintain 40% humidity minimum using humidifiers or misting.